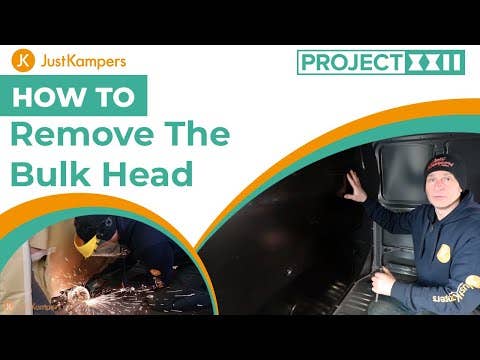
How to remove the bulkhead from your VW T5 or VW T6 Transporter
How to remove the bulkhead from your VW T5 or VW T6 Transporter
Mark our JK Mechanic shows how to remove the bulkhead from your VW T6.1 Transporter.
How to Remove the Bulkhead in your VW Transporter
We’ve put together this helpful guide on removing the bulkhead from your Volkswagen van.
If you’re working on transforming your VW into a camper, then removing the bulkhead is a huge step towards getting everything ready, and totally transforms the look and feel of your van, but it can be a pretty daunting job.
Luckily, it’s not as difficult or intimidating as it may seem, and we’re here to guide you through the steps you’ll need to take to get the job done safely and quickly.
Step One: Get your tools ready
Before you start, gather up all the necessary tools and equipment:
Trim tool or flat-bladed screwdriver
T30 screwdriver
22mm socket and ratchet
16mm socket and spanner
Number 10 spline tool
Drill with appropriate bits
Angle grinder with cutting disc and soft pad flapper wheel grinding disc
Safety equipment: goggles or face mask, ear defenders or plugs, metalworking gloves
Step Two: Removing the bulkhead
Start by removing all the 10mm nuts and securing the top of the bulkhead using a ratchet. You’ll need to remove the plastic trim from the remaining fixings using a trim removal tool or screwdriver, before taking the nuts themselves off. Once all fixings are removed, you can carefully lift and remove the top half of the bulkhead and set it aside somewhere out of the way. Repeat the process for the bottom half of the bulkhead, ensuring all fixings are removed.
Step Three. Removing seatbelts and trim
Soon we’ll need to start grinding and cutting, but before we do that we’ll need to remove the seats and seatbelts from your Transporter’s cab, so they don’t get damaged or get in the way.
Use a number 10 spline tool to remove seatbelt fixings, and remove the trim pieces and seatbelt covers using a trim tool or screwdriver. Disconnect electrical connections for seats and remove any remaining fixings securing the seats in place, then gently lift and remove the seats from the vehicle.
Step Four: Grinding and cutting
With your safety equipment on, carefully use an angle grinder with a cutting disc to cut through welds where the bulkhead lip meets the floor.
Take your time and cut sections at a time to avoid damaging surrounding areas.
Use a screwdriver or lever bar to stretch the metal and help with cutting.
Switch to a soft pad flapper wheel grinding disc to grind away any remaining welds and smooth out edges.
Step Five: Protecting the bare metal:
Once all grinding is complete, clean the area thoroughly with a vacuum to remove any grinding particles and other debris.
With this all done, and the area thoroughly cleaned up, apply a direct-to-metal paint to cover bare metal surfaces and prevent corrosion.
Congratulations! You've successfully completed a major stage of your van conversion project!
Did you know that our colleagues at Just Kampers Insurance have been offering specialist vehicle insurance since 1998?You can get a great deal on insurance for a huge range of vehicles, from daily drivers to treasured campervans, and everything in between. Just Kampers Insurance works with a huge network of insurers to find you the best deals, and they're so confident that they'll send you a £50 Just Kampers gift voucher if they can't beat your like-for-like quote!
Insuring your vehicle with Just Kampers Insurance also gets you a 10% discount on orders here at Just Kampers, which could save you even more money!


