


Project 22 - Transform Your Van Into A Camper For £10K!
We've been working away in our on-site workshop here at JK HQ to transform a pretty standard, entry-level VW T6.1 into a dream campervan.
The work on our Transporter, dubbed 'Project 22' is now complete, and we're really pleased with how it's turned out!
Here's an overview of what we did, how we did it and how we transformed a basic T6.

Who are Just Kampers?
If you're new here, Just Kampers has been going strong since 1989, when our Chairman Mark Reynolds set JK up as a workshop for restoring classic VW campervans.
Since then, we've evolved from a small workshop into a world-leading supplier, manufacturer and producer of parts for classic and modern vans and other vehicles. Based in Odiham, Hampshire, we ship tens of thousands of orders a year to customers across the world, as well as attending shows and events throughout the UK and Europe and even hosting our own JK Open Day each summer for charity.
As well as supplying parts and accessories, we also produce a huge range of our own exclusive parts, many of which are made right here in the unit next to ours.
Why did we take on the Project 22 transformation?
Our initial purpose for undertaking the conversion project was to prove that, using some Just Kampers parts and some DIY knowledge, anyone can take a standard VW Transporter and take it from an ordinary van to a dream camper.
It's safe to say we've done that, and proved that it's definitely feasible to get stuck into a campervan conversion yourself and start living your vanlife dreams!
There's been a lot of other benefits to undertaking all this work though, which is just as great.
We've filmed every stage of the conversion, and now have over a dozen new How To Videos, which are live on our YouTube page. Each one is presented by Mark B. (sometimes called 'mechanic Mark' so as not to confuse him with Mark who founded Just Kampers back in 1989!), who undertook all of the conversion work.
The videos guide you through each process, and are easy to follow and don't get bogged down in anything technical. These are a great resource for anyone who's looking to understand their own camper conversion, or just wants to know how to do one individual job like fitting new windows or installing soundproofing.

What We Spent :
So, we've said you can take an entry-level VW Transporter and transform it into your dream camper for £10,000, but how does that all add up? Well, here's a full cost breakdown of what we spent doing which jobs, and which parts and accessories you used.
We hope this will give you a baseline to work from, as well as some inspiration and motivation to go out and get your own vanlife journey started.
Cost Breakdown
We bought the van for £24,495.
We spent £6,250 on the interior.
We spent £3,650 on the exterior.
Approximate value after conversion £45,000*
*We had our Project 22 camper independently valued by the team at Just Kampers Insurance, which is how we came up with this total.
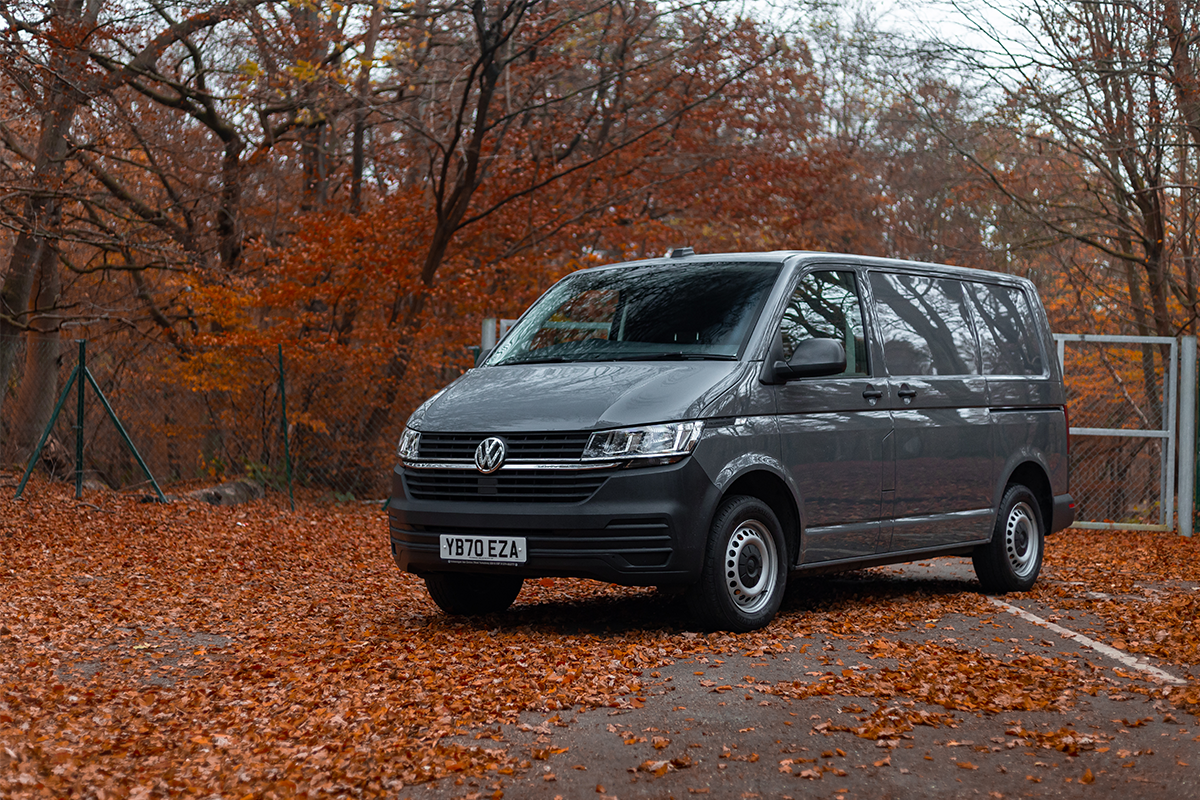
Before & After :
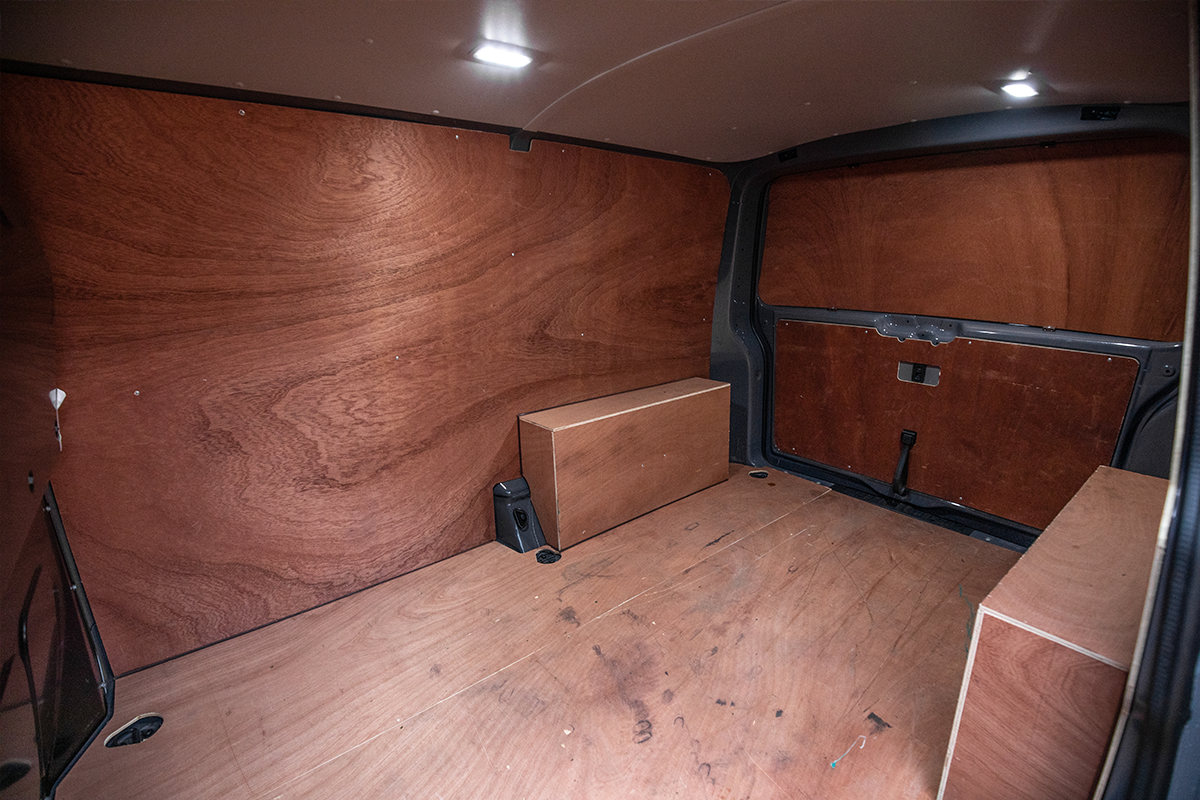
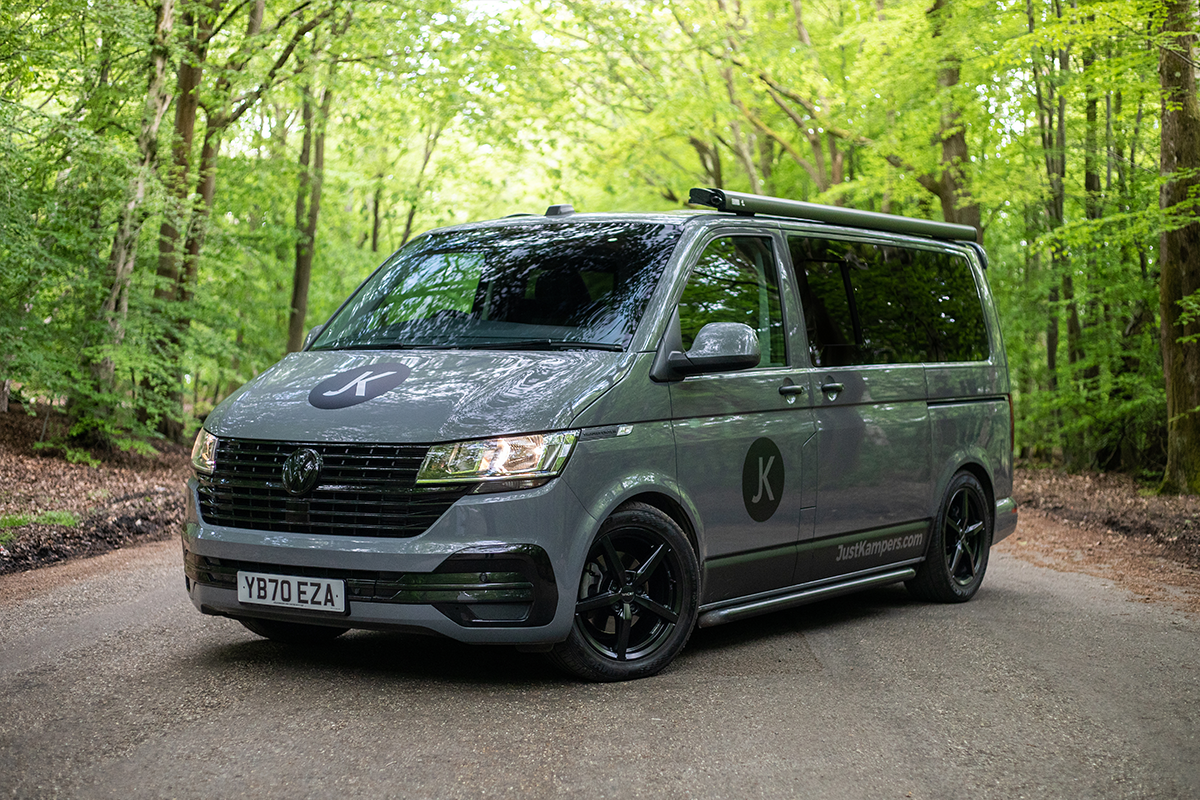
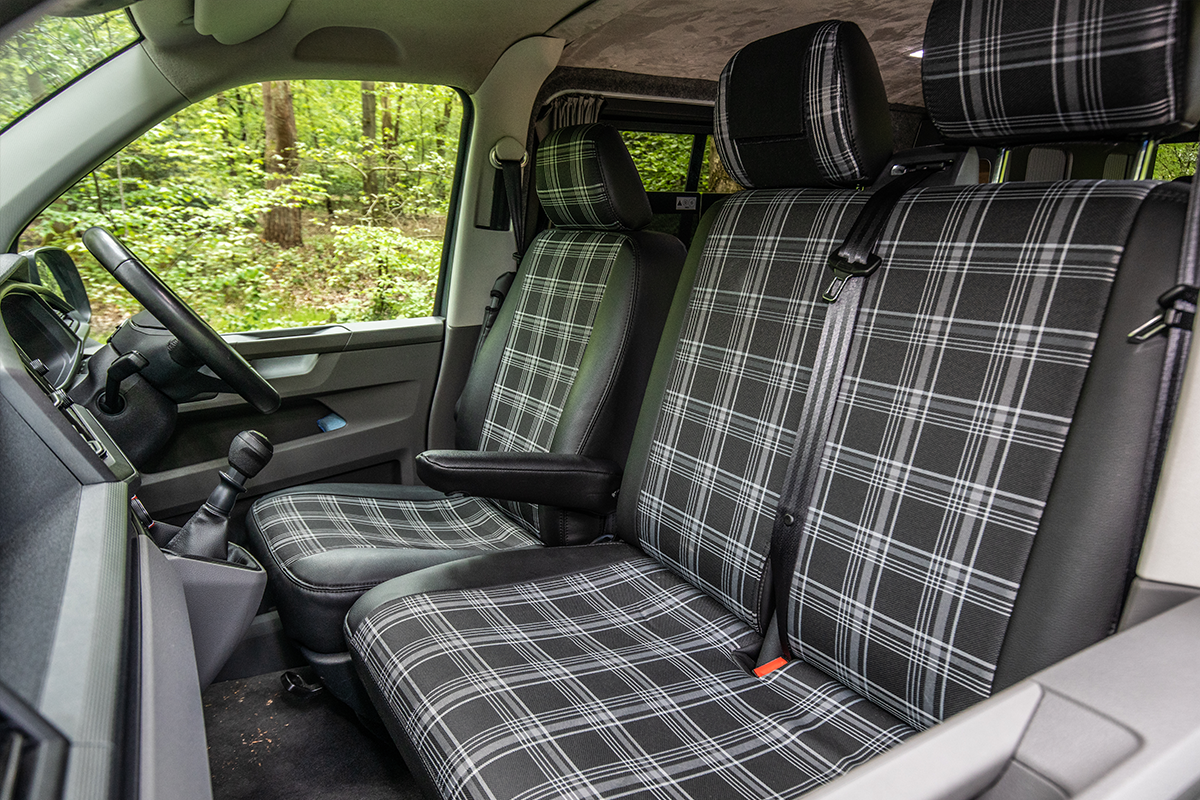
Take a look at these photos of the Project 22 Transporter before and after we started work on it, to get a proper feel for just how much of a transformation to camper has undergone.
Before:
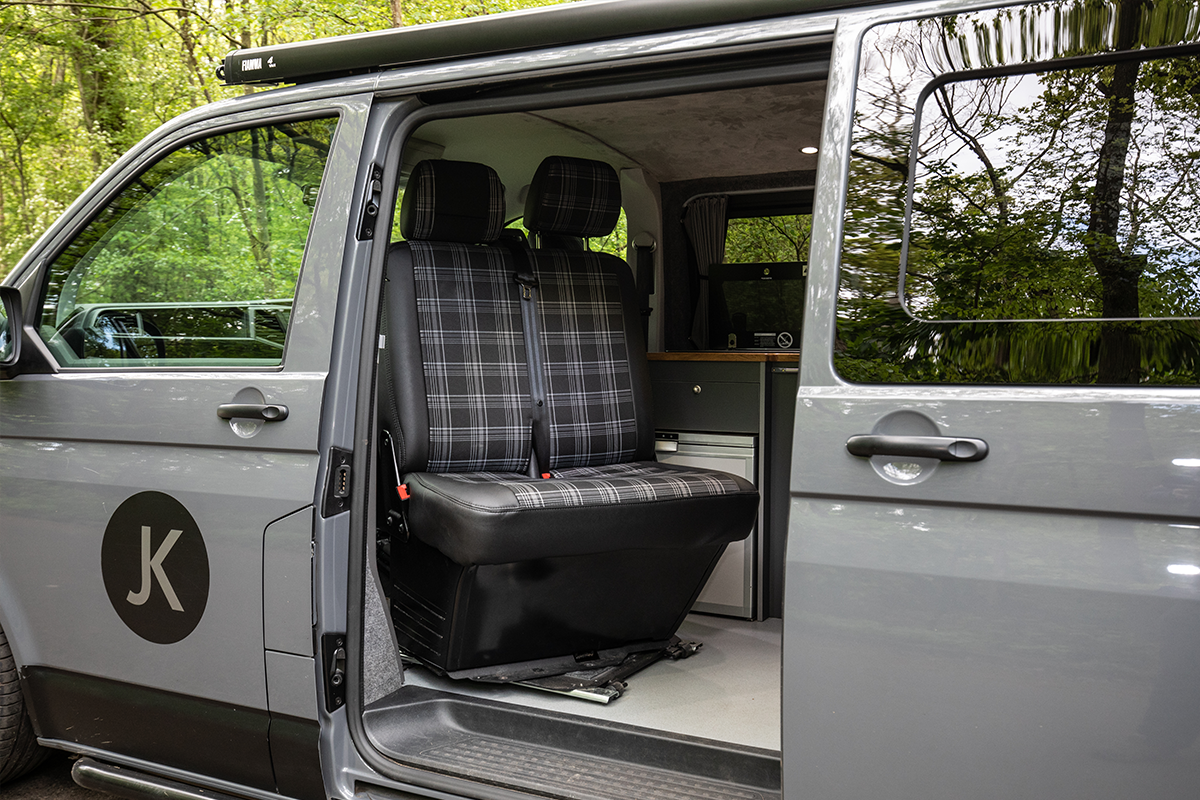
After:
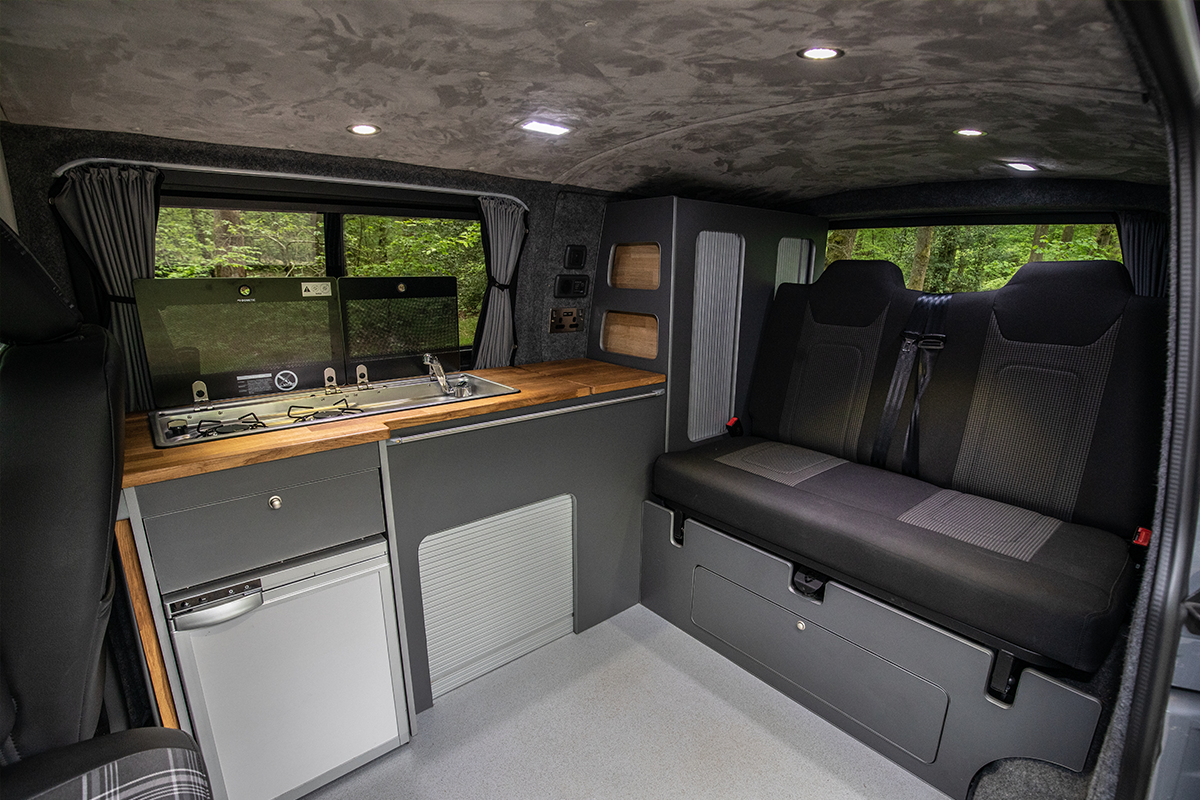
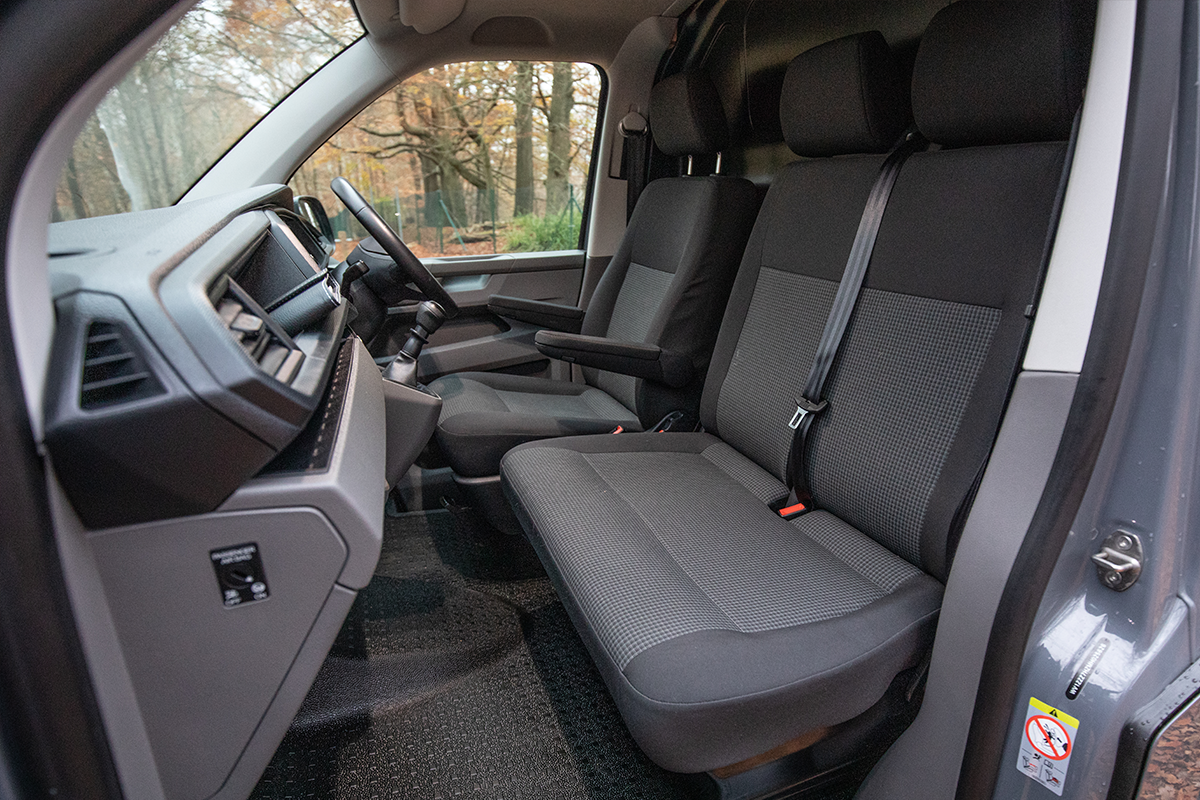
What did we do to the Project 22 Transporter?
We took an entry-level VW T6.1 and transformed it into a practical, stylish campervan. It was a big project, and we're really pleased with it now it's done. Here's a quick rundown of what we did:
| Job Undertaken | Duration To Complete |
|---|---|
| Stripped out the ply lining and removed the bulkhead, to give us a bit of a blank canvas | 2.0 Days |
| Cut holes in the sides of the van to fit new tinted windows (which we make ourselves) | 2.0 Days |
| Installed soundproofing throughout the rear of the van, followed by insulation | 1.5 Days |
| Installed a wood floor base and lino. | 1.5 Days |
| Fitted carpeting through the van, to test out a new range of carpets we're now stocking | 2.0 Days |
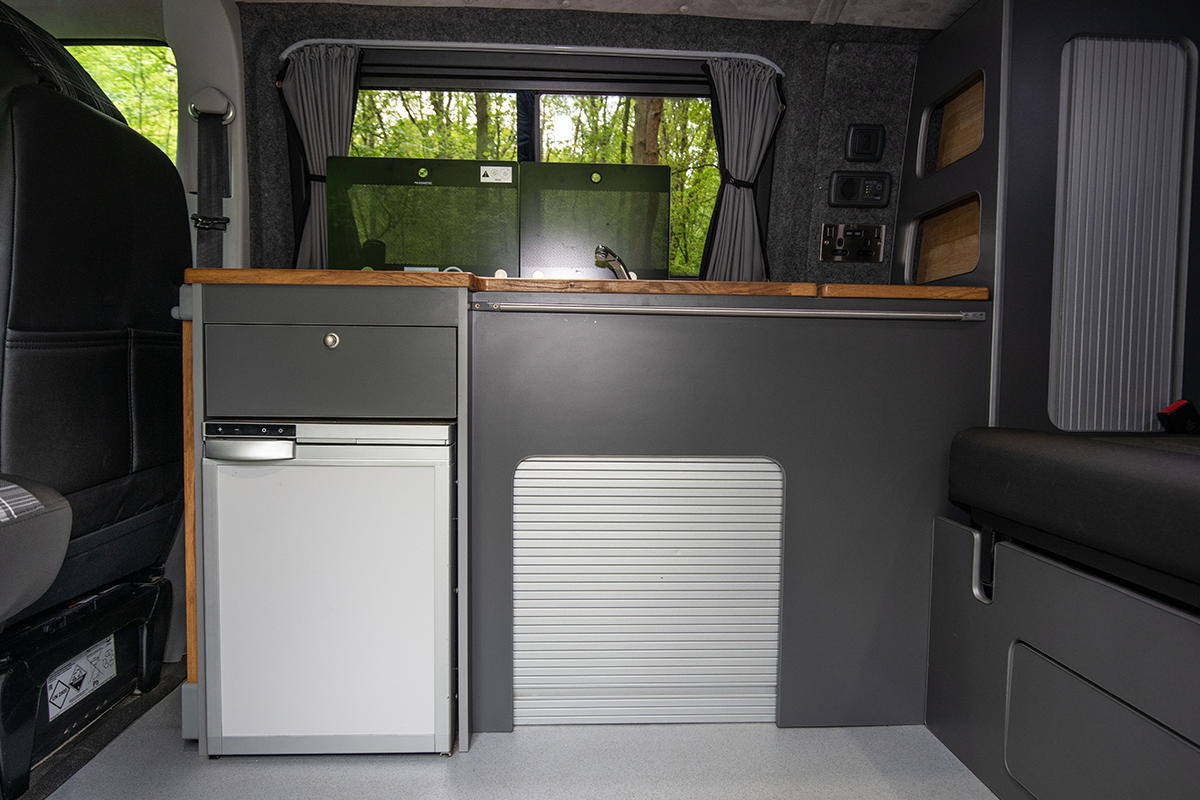
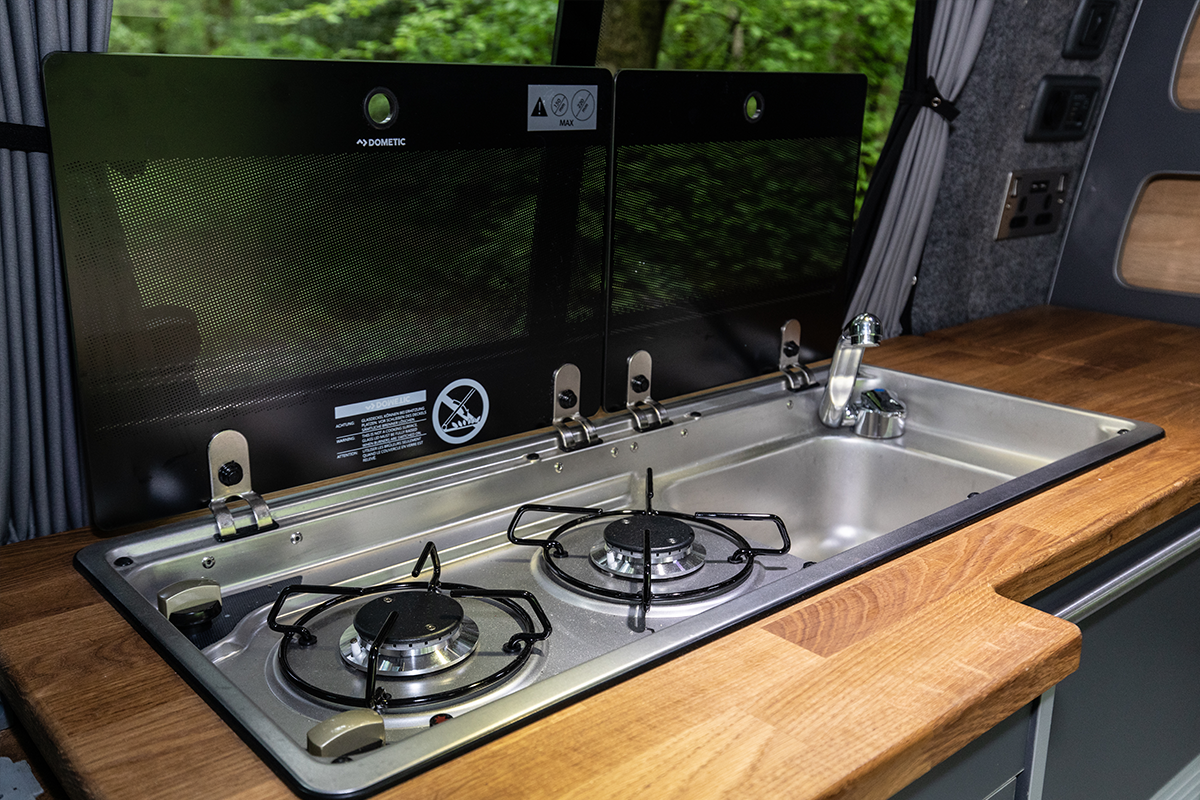
| Built and installed the new kitchen units into the rear of the camper | 2.0 Days |
| Added an awesome new folding bed system, which we've also now added to our range | 0.75 Day |
| Installed a 12v leisure battery with smart charge/split charge | 1.0 Day |
| Installed both 12v and 240v electrical systems, each of which has multiple outlets | 2.0 Days |
| Added roof bars and side bars to the exterior of the camper | 0.75 Day |
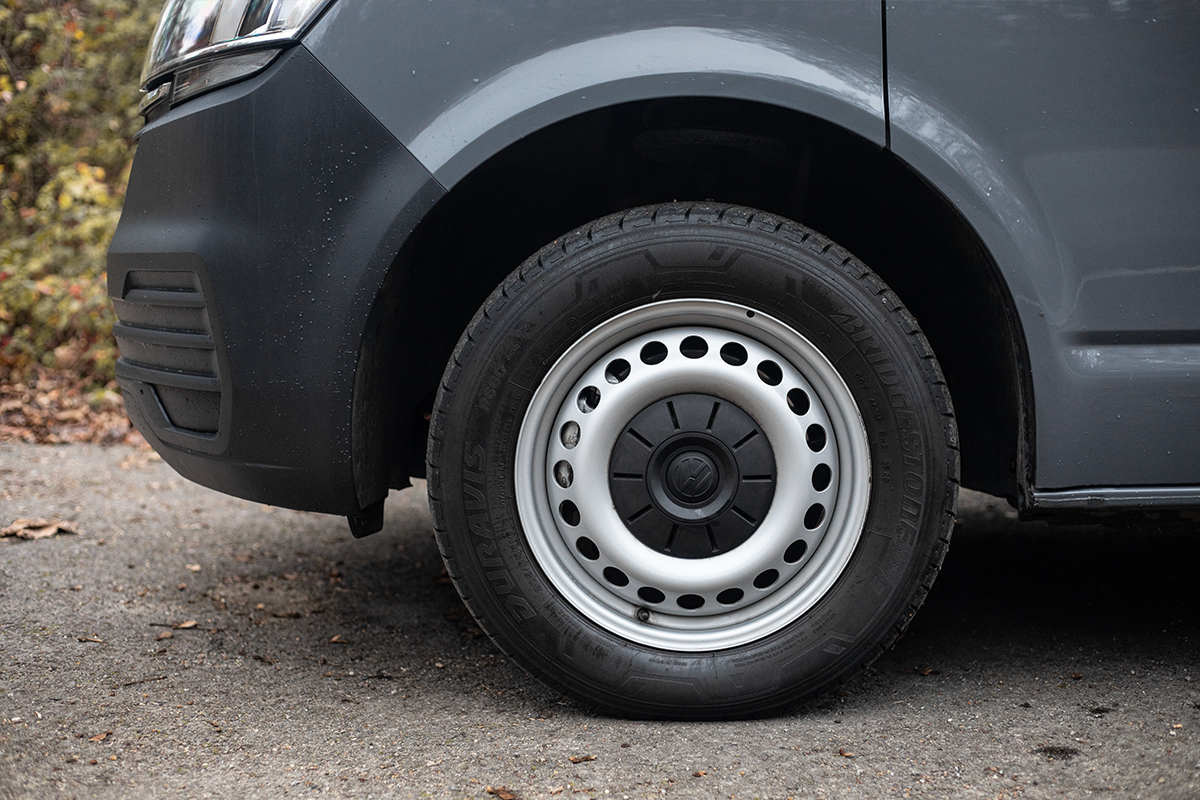
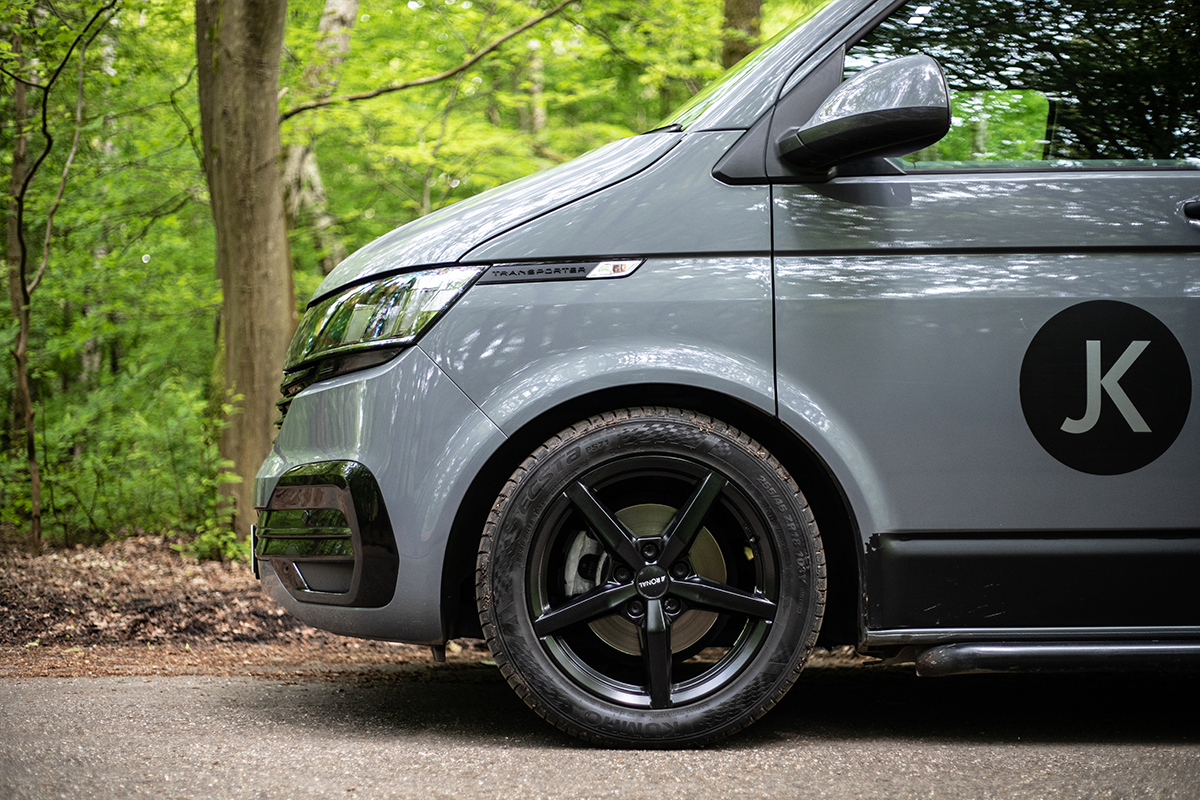
| Fitted new alloy wheels and a lowering kit to finish off the project and give it a cool stance | 1.5 Days |
|
Plumbed a water system and installed a gas system to power the kitchen |
1.5 Days |
|
Finishing and contingency |
2.5 Days |
Total Time Taken = 21 Days |
|
So how long did the Project 22 van conversion take?
Overall, undertaking all the work which went into the Project 22 conversion would take you about 21 days, if you were working for around eight hours a day, and had a fairly solid idea of what you were doing.
In reality it took us longer than that to finish the van conversion, because we were doing things slower than normal to allow for filming, refilming, taking photographs and other bits which you won't need to do for your own conversion project!
There weren't any single jobs which should take you more than two days to complete, which means that you could definitely work away at the conversion over several weekends instead.
However you're planning to divide up your time, you won't need months of spare time or heaps of cash to transform your entry-level van into your dream camper.
How did we do all of this work? And where was it done?
All of the work was undertaken here at Just Kampers in Odiham, Hampshire. We've got a workshop on site here, which we use to work on our own vehicles when we've got the time, and the space has been transformed into 'Project 22 HQ' and has been a home-away-from-home for our mechanic, Mark B., for the last few months. It's also been filled with filming equipment as we worked on creating all of the How To videos which are now live on our YouTube channel.
Like taking on any huge project, we found it best to break the whole conversion down into smaller pieces and tackled them one at a time. First removing everything from the inside to give us a blank canvas, before fitting all of the new campervan components, one by one, to take it from a simple van to a stylish camper.

Shop Products We've Used :
Project 22 has been a fantastic chance to get hands-on testing done for a whole range of new parts and accessories for modern vehicles. We've tried loads of new products and added a lot of them to our range which you can shop from us below to enable you to build your very own dream camper :


-
 10m Anthracite 4-Way Ultra Stretch Carpet Lining for Camper Vans - Kit with 12 cans of carpet lining adhesive
From £79.80 Regular Price £93.00
To £175.86 Regular Price £205.00


")


 VW T6 2015–On")


-
 Black Aluminium Roof Bars (Short Wheelbase) With Cross Bars VW T5 VW T6
From £50.78 Regular Price £56.50
To £111.00 Regular Price £123.50

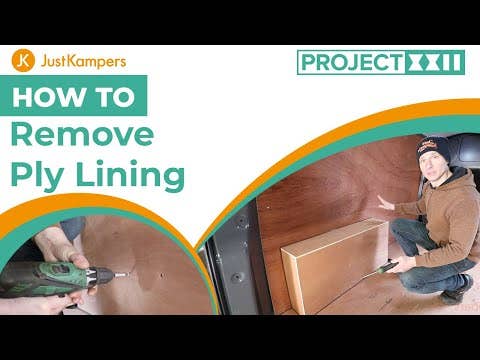
Mark shows us how to remove the ply lining from a T6.1 panel van.
Tools Needed :
Screw Driver - Electric drill - T25 Screwdriver - Knife - 3mm Allen Key - Trim Tool or flat-bladed Screwdriver
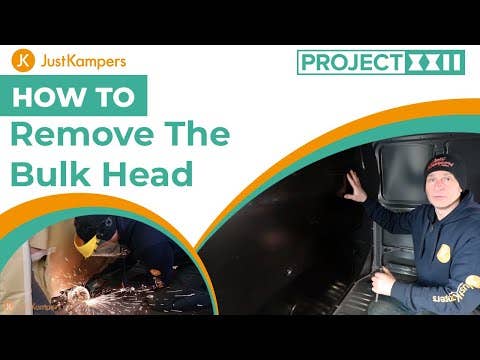
Mark shows us how to remove a bulkhead on this T6.1 panel van.
Tools Needed :
Trim Tool or Flat Bladed Screwdriver - T30 - Ratchet with 22mm and 16mm socket - 16mm Spanner - m10 Spline - 10mm Socket - Drill or Screwdriver - Angle Grinder with cutting dish & soft pad flap disk
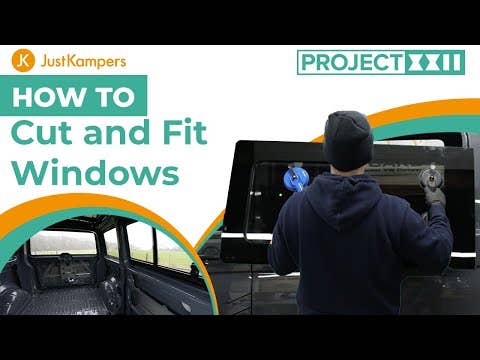
Mark shows us how to install glass on this T6.1 panel van.
Tools Needed :
Drill With 3mm and 8mm drill bit - Jigsaw with a metal cutting blade - Angle Grinder with thin cutting disk and a soft pad - Scotch Brite
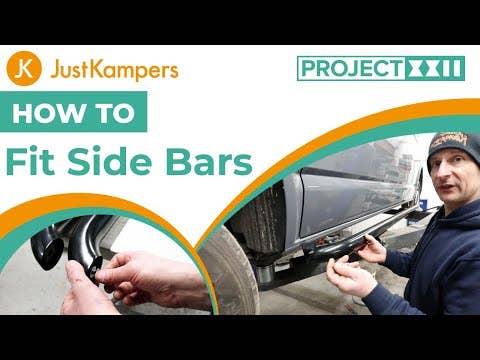
Mark shows us how to fit sidebars to your T5, T5.1, T6 or T6.1.
Tools Needed :
16mm and 13mm Spanner - 8mm and 10mm Socket
- Safety Glasses
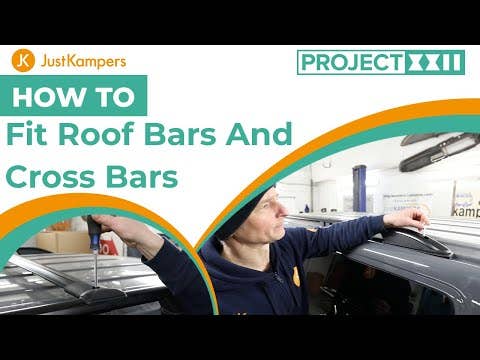
Mark shows us how to fit roof bars and cross bars to your T5 - T6.1.
Tools Needed :
Phillips Screwdriver - 5mm Allen Key

Mark shows us how to sound deaden your campervan conversion.
Tools Needed :
Tape Measure - Pen - Pair Of Scissors - Knife
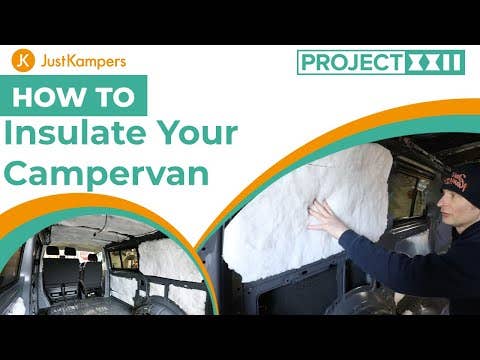
Mark shows us how to professionally insulate your campervan with Dynaliner and recycled plastic bottle insulation.
Tools Needed :
Scissors - Tape Measure - Pen

Mark shows us how to professionally carpet your campervan interior with Anthracite 4-Way Ultra Stretch Carpet Lining.
Tools Needed :
Sharp Scissors - Tape Measure - Marker Pen - Flat Blade Screwdriver - 17mm Spanner - 17mm Socket & Ratchet - Angle Grinder with 1mm Cutting Disc & Soft Pad Grinding Disc - Wooden Trim Tool (For pushing carpet into edges) - No.10 Spine Drive Tool - Phillips Screwdriver - 10mm Drill Bit & Drill (Burr Removal).

Mark shows us how to fit flooring to your T5, T5.1, T6 or T6.1.
Tools Needed :
Jigsaw (with wood cutting blade) - Drill - 3.2mm Drill bit- Phillps screwdriver - Knife - Heat gun (or hairdryer) - Paintbrush or spatula.

Mark shows us how to fit a leisure battery to your T5, T5.1, T6 or T6.1.
Tools Needed :
13mm Spanner - 10mm Spanner - 8mm Spanner - Torx 27 Screwdriver - Knife - Side Cutters - 10mm Socket & Ratchet - Thin Flatblade Screwdriver - Phillips Screwdriver.
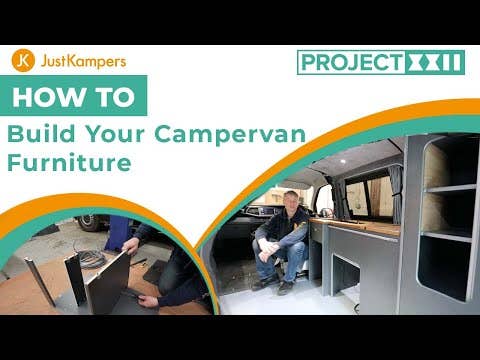
Mark shows us how to professionally build your campervan furniture.
Tools Needed :
Rubber Hammer - Phillips Screwdriver - Side Cutters - Knife - Drill with 2.5mm Drill Bit - Hacksaw - Paintbrush (for oiling the top).
Mark shows us how to fit a 12-volt charging system to your campervan.
Tools Needed :
Rubber Hammer - Drill with 3.2mm Drill Bit - Knife - Handfile - Phillips Screwdriver - Small Phillips Screwdriver - Trim Tool - Torx 25 Screwdriver - Tin Snips - Side Cutters.
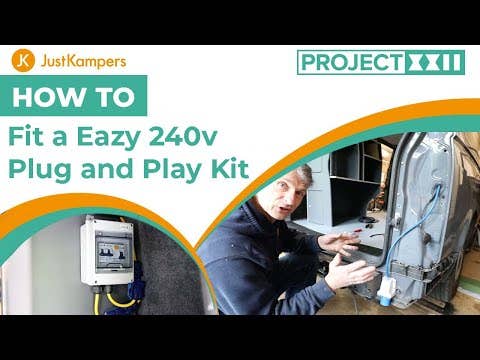
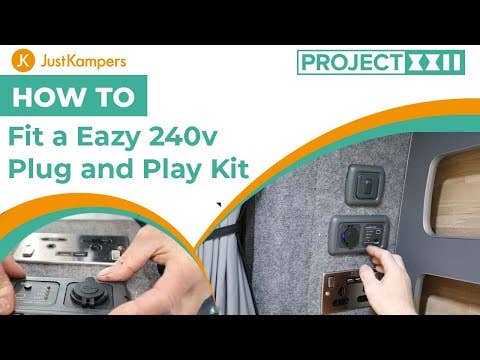
Mark shows us how to fit a 240-volt plug-and-play hook-up system to your campervan.
Tools Needed :
Rubber Hammer - Drill with 3.2mm Drill Bit - Knife - Handfile - {hillips Screwdriver - Small Phillips Screwdriver - Trim Tool - Torx 25 Screwdriver - Tin Snips - Side Cutters.
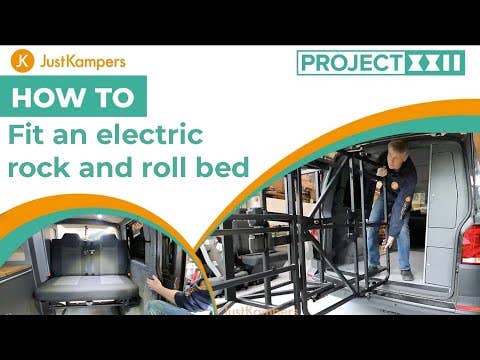
Mark shows us how to fit an electric rock and roll bed system to your campervan.
Tools Needed :
8mm Socket & Ratchet - 10mm Socket & Ratchet - Flat Blade Screwdriver - Drill - 3.2mm, 5mm, 10mm, 12mm, 12.5mm Drill Bits - 19mm Spanner - 19mm Socket & Ratchet, 13mm Spanner, 13mmm Socket & Ratchet, Wire Strippers - Terminal Crimping Tool - Phillips Screwdriver.