

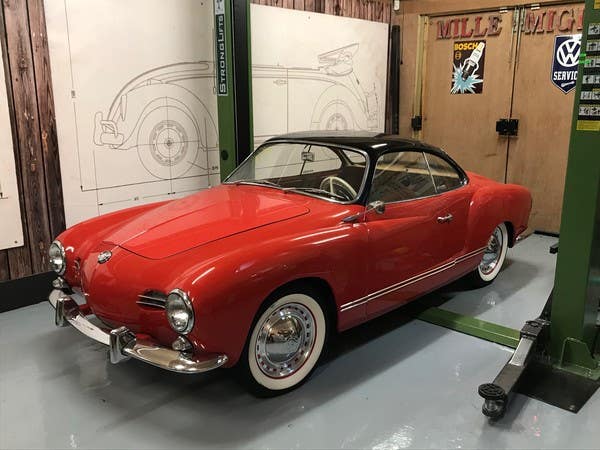


It's finally arrived! I've been looking on and off for years for a ‘Lowlight’ Ghia. That's a Karmann Ghia made between 1955 and 1959, the obvious difference from the later Ghia’s is, as their nickname suggests, the front and rear lights are lower. I'd looked at some in the UK and Europe but did not have the time available to undertake a full resto. Hence when this one came up at auction in Arizona and knowing it had been restored 20 years and 3,000 miles ago by Bob Koch in California, I was interested and then very interested once I learnt it had a Denzel 1300cc vintage speed engine in it!

So, it's arrived in the UK and luckily there was no surprises. It's a driver, not a trailer queen, which is perfect for me as I drive my cars, not hide them in the garage. Since its arrival I have been going through the car to make sure it will pass an MOT. I know it's over 40 years old and does not need an MOT, but I'm old school and still take all my classics for an annual MOT. My reasons are three-fold; one, it is proof of the history of the vehicle. Two, it's good to get a second set of eyes to check the vehicle over. Three, if you are selling a car and it's not got an MOT, the buyer will almost certainly wonder why and what other things you have tried to save money on!
Anyway, jobs so far completed:
Starting with the lights, nothing on the front worked! This was quickly traced to 2 wires having fallen out of the headlight switch.

With these sorted out, I discovered there were no wires going to the side lights! Random, as it had the bulb holders and the whole loom was replaced when it was restored. Thanks to The Samba, I printed off a colour 1959 Ghia wiring diagram and set to work installing, as neatly as possible, a side light loom.
On removing the battery, I lifted the rubber mat and found the battery tray had a lot of surface rust. So, a good scrape, sand and clean, it's been masked off and carefully had as small an area as possible treated with 'POR15', that will need a second coat and then it’s time to start going through the brakes.

My tip for pulling multiple cables through the heat shrink cable tubing. Feed through a length of MIG wire first, fold the wire over and tape the cables to it, then pull the MIG wire back through, dragging the electrical cables with it.

When I lifted the spare out, I noticed it was, more than just flat!

I used traditional wire connectors as they had from new.

Battery tray looking a bit sad

Battery tray after a good scrape, sand, clean and first coat of POR 15

Now it's time to get out in the sun and have some fun!