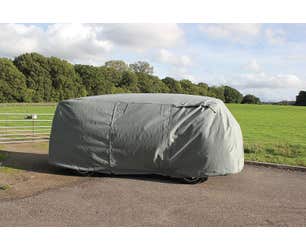
Before you fit the cover
There’s a couple of things to check before you fit your new Luxury Van Cover to your camper, to make sure that you get the absolute most out of it.
Make sure your camper is clean and dry
It’s important to ensure that your bus is as clean as possible when covering it up, to prevent damage to the paintwork and glass.
If there’s dirt and dust on the exterior of the vehicle, this can be rubbed against the paint and cause abrasions and scratches as the material of the cover is moved by the wind.
You’ll also need to make sure that your van is dry before fitting the cover, to stop condensation within the vehicle from forming and causing issues.
Location is important
Whenever possible, try to ensure you’re parking your vehicle up on hard ground, rather than grass. This will help minimise the amount of condensation which does inevitably build up within your vehicle while it’s parked.
The dew which forms on the grass overnight can evaporate from under your vehicle and effectively become trapped in there, which can really mess with your soft furnishings, rubber seals and camper cupboards.
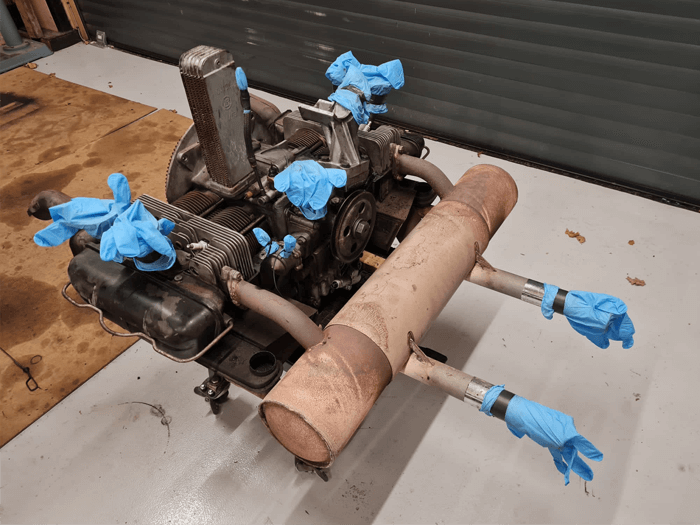
Check for snagging points
We recommend folding your vehicle’s mirrors in, if possible, and taking extra care around exhausts, vehicle-mounted awnings, roof racks, side steps and anything else which might catch on your cover and cause damage.

Image credit to Dylan Luder, via Unsplash
Fitting your luxury van cover
When your camper is clean, dry and ready to go into hibernation for a while, your first step will be to locate which end of the cover is the front.
Our van covers have zipped flaps to allow you access to the cab doors, so you’ll want to make sure these are lined up properly.
With your cover laid out next to your camper, it might be time to ask for someone else to give you a hand, especially if the roof of your bus is much taller than you are – you’ll need to secure the front edge of the cover to the front of your vehicle, and then get the rear edge up onto your roof and gently pull it backwards toward the rear of the vehicle. This is often much easier with one person on each side of the van, but it’s definitely doable on your own.
Once you’ve got the rear edge secured over the back end of your camper, you’ll need to walk around it and make any little adjustments to make sure it’s sitting correctly and it’s covering the body of the vehicle all the way around.
With this done, pass the securing straps underneath the vehicle, click the buckles together, and adjust the length of the straps so they’re nice and tight under your camper.
Congratulations! You’re done – go enjoy a nice cup of tea and relax knowing that your pride and joy is protected from the elements, bird droppings and harsh UV light.
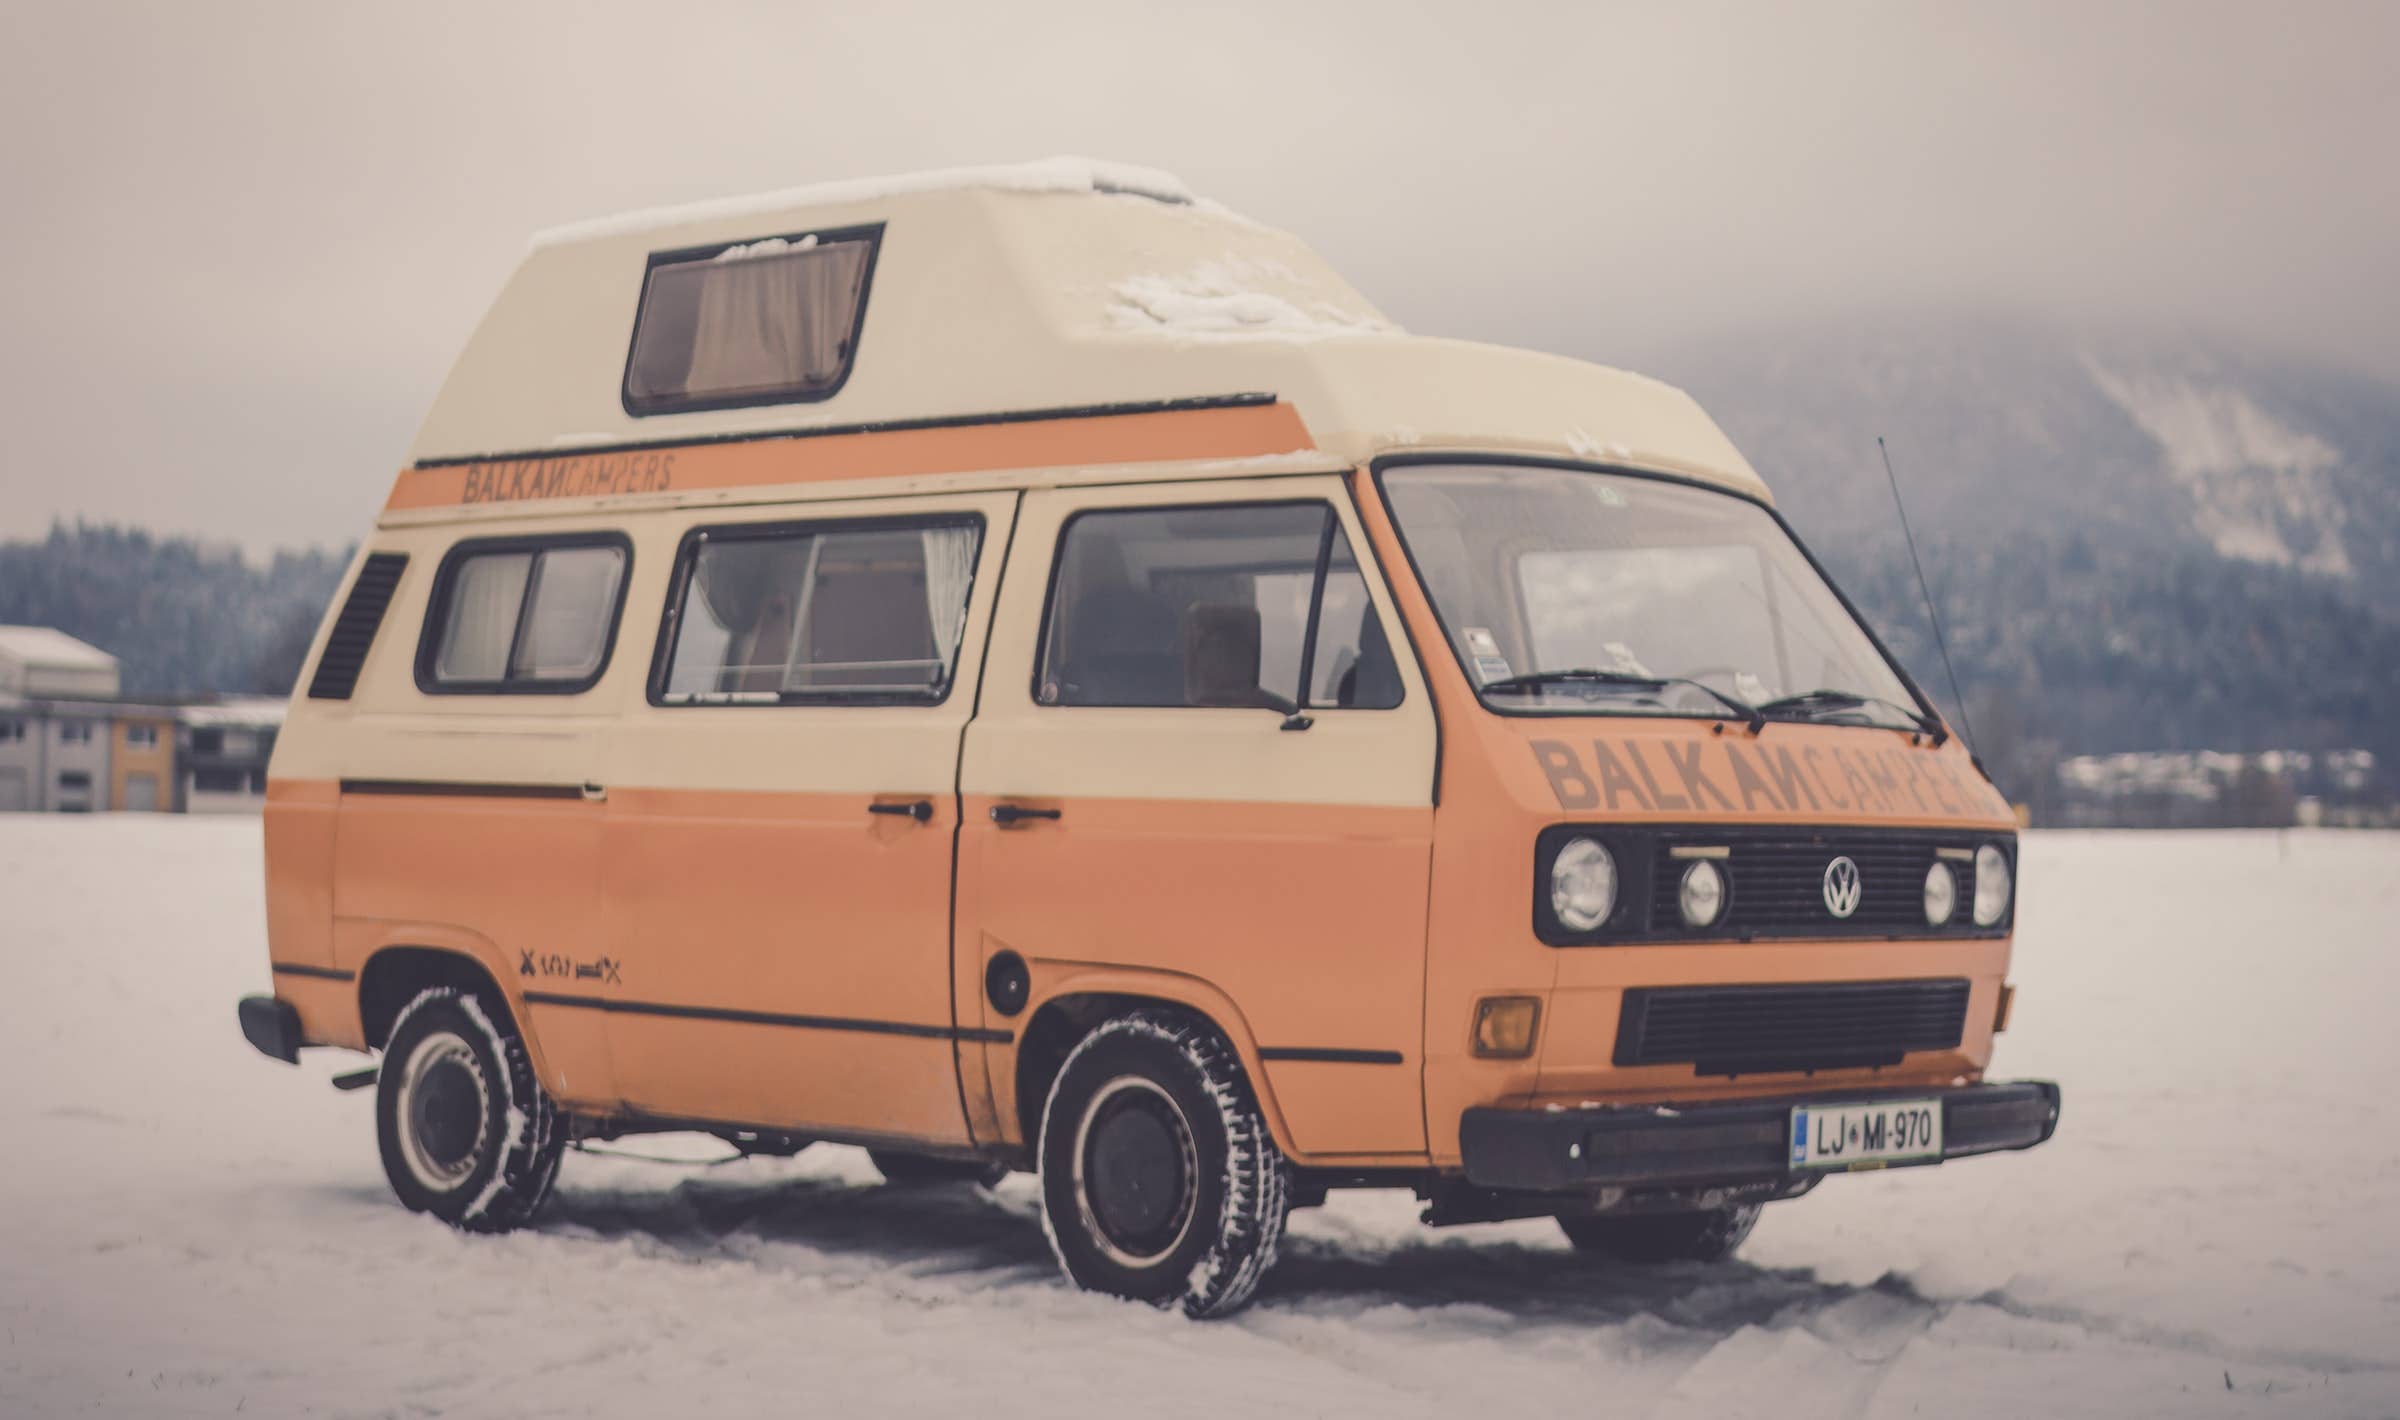
Image credit to Balkan Campers, via Unsplash
Checking on your vehicle once your cover is fitted
We strongly recommend that you continue to check on the condition of your vehicle after the cover is fitted, every few weeks.
Condensation will always build up on your van no matter how breathable the cover’s material is. This may be confused with the cover leaking if it builds up too much.
As the cover is breathable, your vehicle will dry out on its own, but still recommend that you remove the cover and let some air into the van. The zips over the cab doors and both nearside and offside sliding door are a great way to air out the interior if you don’t want to remove the whole cover.
Invest in a little moisture trap
We also suggest getting yourself a moisture trap for the interior, to collect any condensation which does build up inside the vehicle, and emptying it out each time your air the camper out. You can get yourself a moisture trap, and replacement crystals, here.
Let your van run
It’s always a good idea to turn the van over at least once a month and let it run for 20 minutes, especially with older VWs which don’t love being left sitting for extended periods of time.
However, it’s really important that you remove the cover before starting your vehicle. Not only could your exhaust burn a hole in the cover, but the interior of your camper could fill up with toxic fumes.
Check the straps are still secure
A final check to carry out every couple of weeks is a quick tug on the pair of straps which run underneath the vehicle, just to make sure they’re still tight. You can adjust them in necessary, as they may loosen over time if wind gets under the vehicle.
Still unsure how to fit your new Luxury Van Cover? Take a look at our video guide:
The guide explains how to fit a van cover to a VW T4, T5 or T6, but the process is the same for any of our covers.