
The biggest threat to any classic vehicle is rust, and unfortunately our beloved Volkswagens seem to suffer badly from this. Rust is an iron oxide that forms by a reaction between iron and oxygen in the presence of water. With the British climate being renowned for its rainfall we need all the help we can to keep rust at bay.
There are numerous products on the market to help combat the problem, if you do your research there are various opinions on the most suitable solution. Over the years we at JK have tried most products and found Waxoyl, Dinitrol and Ankor Wax to offer the best results, the actual choice of which product to use comes down to personal choice or ease of application.
Starting with Waxoyl. This is a long established and proven method for combating rust. In simple terms, Waxoyl is a petroleum based wax product with self-healing properties that contains oxidation inhibitors that slow down the growth of rust. It works by covering the treated area, thus preventing water and air contacting the treated area. The semi cured coating is fluid and will move around and cover tight corners and penetrate box sections as the wax melts with rises in ambient temperatures.
Dinitrol is an oil based product that contains rust inhibiting ingredients to treat and stop rust after it has been applied. It also orms a barrier that prevents further corrosion occurring. Dinitrol is supplied in several different forms, a cavity wax for use in inner sills etc. and a under body wax that dries to a flexible tough film that withstands rain and salt.
Ankor Wax is a long term corrosion preventative, having low viscosity and surface tension thereby enabling it to spread rapidly, penetrating into all inaccessible areas and covering all surfaces, however irregular.It dries to leave a continuous firm wax protective coating that imparts excellent corrosion protection properties. Ankor Wax has de-watering properties and therefore can be used where the metal parts to be treated are wet.
Rustproofing A VW Beetle
Early cars were built from thicker steel and seem less prone to rusting over later models but both will suffer without protection. The only way to carry out the job properly is to strip the interior. You will need to remove all the seats, carpet and door cards. It’s also advisable to thoroughly vacum the interior, as dust and dirt will stick to freshly applied rust treatment.
Starting with the biggest problem, the heater channels; these can be accessed from either end but it’s also advisable to drill an access hole just in front of the door B post to allow 100% coverage using a probe.
The bottoms of the doors and the rear quarters are straight forward to treat with the side panels removed. We also recommend treating the base of the A-posts which are easily accessed from under the bonnet.


On later Beetles Volkswagen used a horrible foam substance to insulate the rear C-posts. This has an extremely negative effect of trapping water and in turn, rusting this area from the inside out. Although it’s not easy to access this area due to the foam (and it’s hard to get the foam out) it is worth trying to spray rust treatment in from inside the engine bay area.


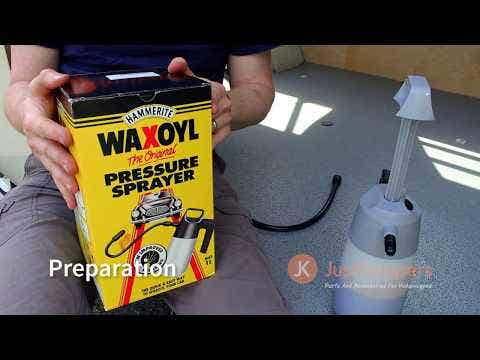
Video: A guide to applying rust prevention treatment to a T2 Bay
Watch our short guide covering the basics of applying rust prevention treatment using a Waxoyl High Pressure Sprayer / Applicator:
Split, Bay & T25
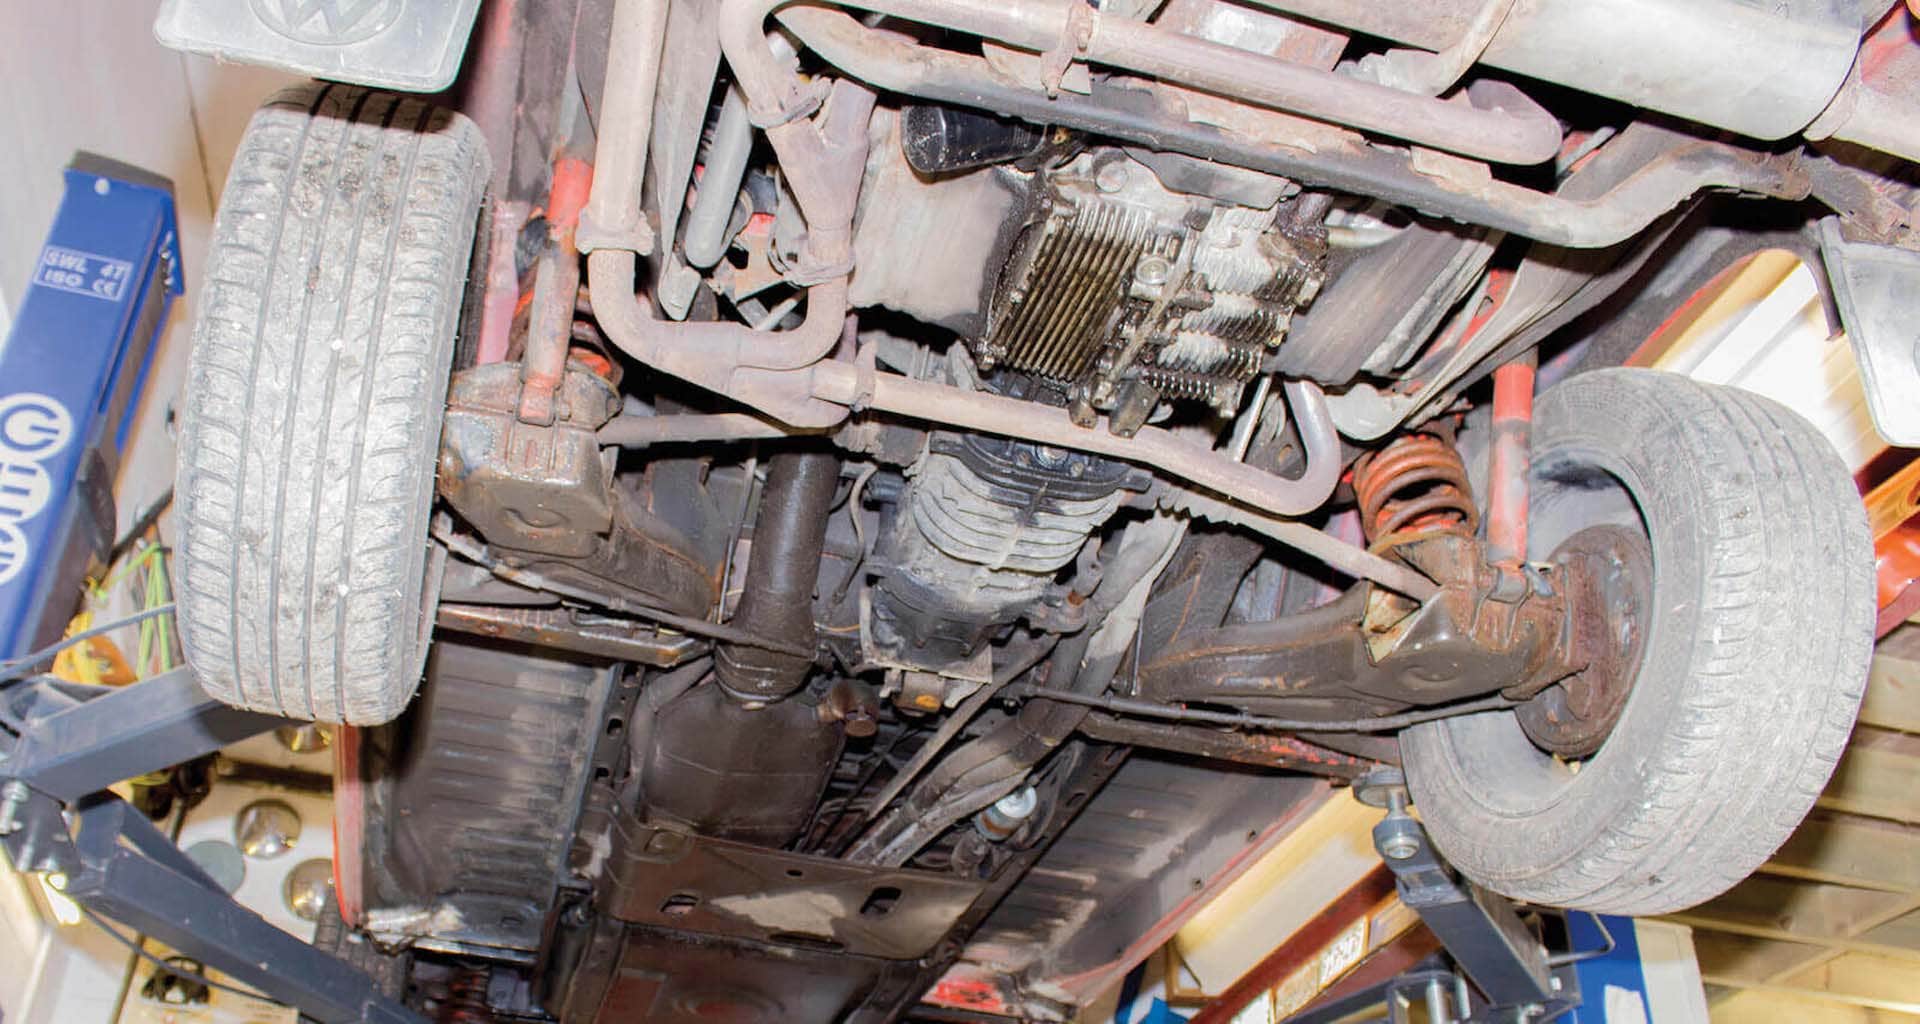
The range of rear engined transporters are all unique in their own way, but all suffer from corrosion in the same way. One problem that is particular to a Camper is that we create more moisture due to us living inside, just boiling a kettle will produce large amounts of rust inducing steam, sleeping in the van presents its own problems as we sweat and breath out moisture. The underside of any Van is straight forward to protect. The usual suspect areas such as inner sill front valance etc. are easy to access from underneath, but the inside structure is more challenging. The front and side door cards are easy enough to remove but the rear will require removal of the interior furnishings and panels to gain access, a time consuming exercise but worthwhile as we’ve seen plenty of vans with rust on the inner seams and structure.


 and spray wax liberally unto the double skinned section at the bottom.")


. Spray the wax into the bottom edge of the double skinned section and about 3 inches up the sides")


T4, T5, & T6
Due to modern manufacturing techniques the later range of Transporters are less prone to rusting but like all Volkswagens they will eventually fall prey to the dreaded rust bug. Although treated with rust protection from new it is recommended that this is maintained and renewed after several years of use. As with the earlier Vans converting these into Campers creates the added problem of moisture generated by cooking etc. Again removal of the interior and inner trim is the only way to get a comprehensive finish. Treating a newer Van will help preserve it for the future and can add to the resale value at a later date.


")
