Normally I’d go for a test drive but had to skip this as I hadn’t looked at the brakes yet. All the revving had finally got oil pumped into the tappets at last they had stopped clacking the engine ran sweet and purred through its new exhaust. It still smoked on start-up and when you revved it hard, but I chose to still ignore this.
I needed to look at the brakes so lowered the van back down to crack off the wheel bolts and rear hub nuts. The wheels were fitted with alloy wheel bolts with an internal spline drive and a special key to undo them.
The fronts slackened OK but when I got to the rear disaster… As I pulled on the breaker bar, I felt the key twist and it snapped, the end of the key, of course, was stuck in the offending nut. Cursing I concluded I would have to drill the broken end out, starting with a small bit I drilled into the remains, as I did the this snagged and luckily, I managed to pull the broken key out of the nut. The key is a “tuner” style key I had to order one and wait a couple of days until I could get back on the van.
The new key arrived so I carefully slackened the nuts off on the opposite wheel then went back to the problem one. All the nuts came undone apart from one, I tried pulling backwards and forwards on the bar to persuade the nut off, then promptly snapped the new key! Another one ordered I decided to start on the front brakes.
A quick inspection showed that the pads were worn at an angle, this normally means the front wheel bearings are loose. Both front flexies were starting to crack and one of the metal brake pipes was corroded. The wheel bearings were way out so I adjusted these and replaced the lock nuts J10294.

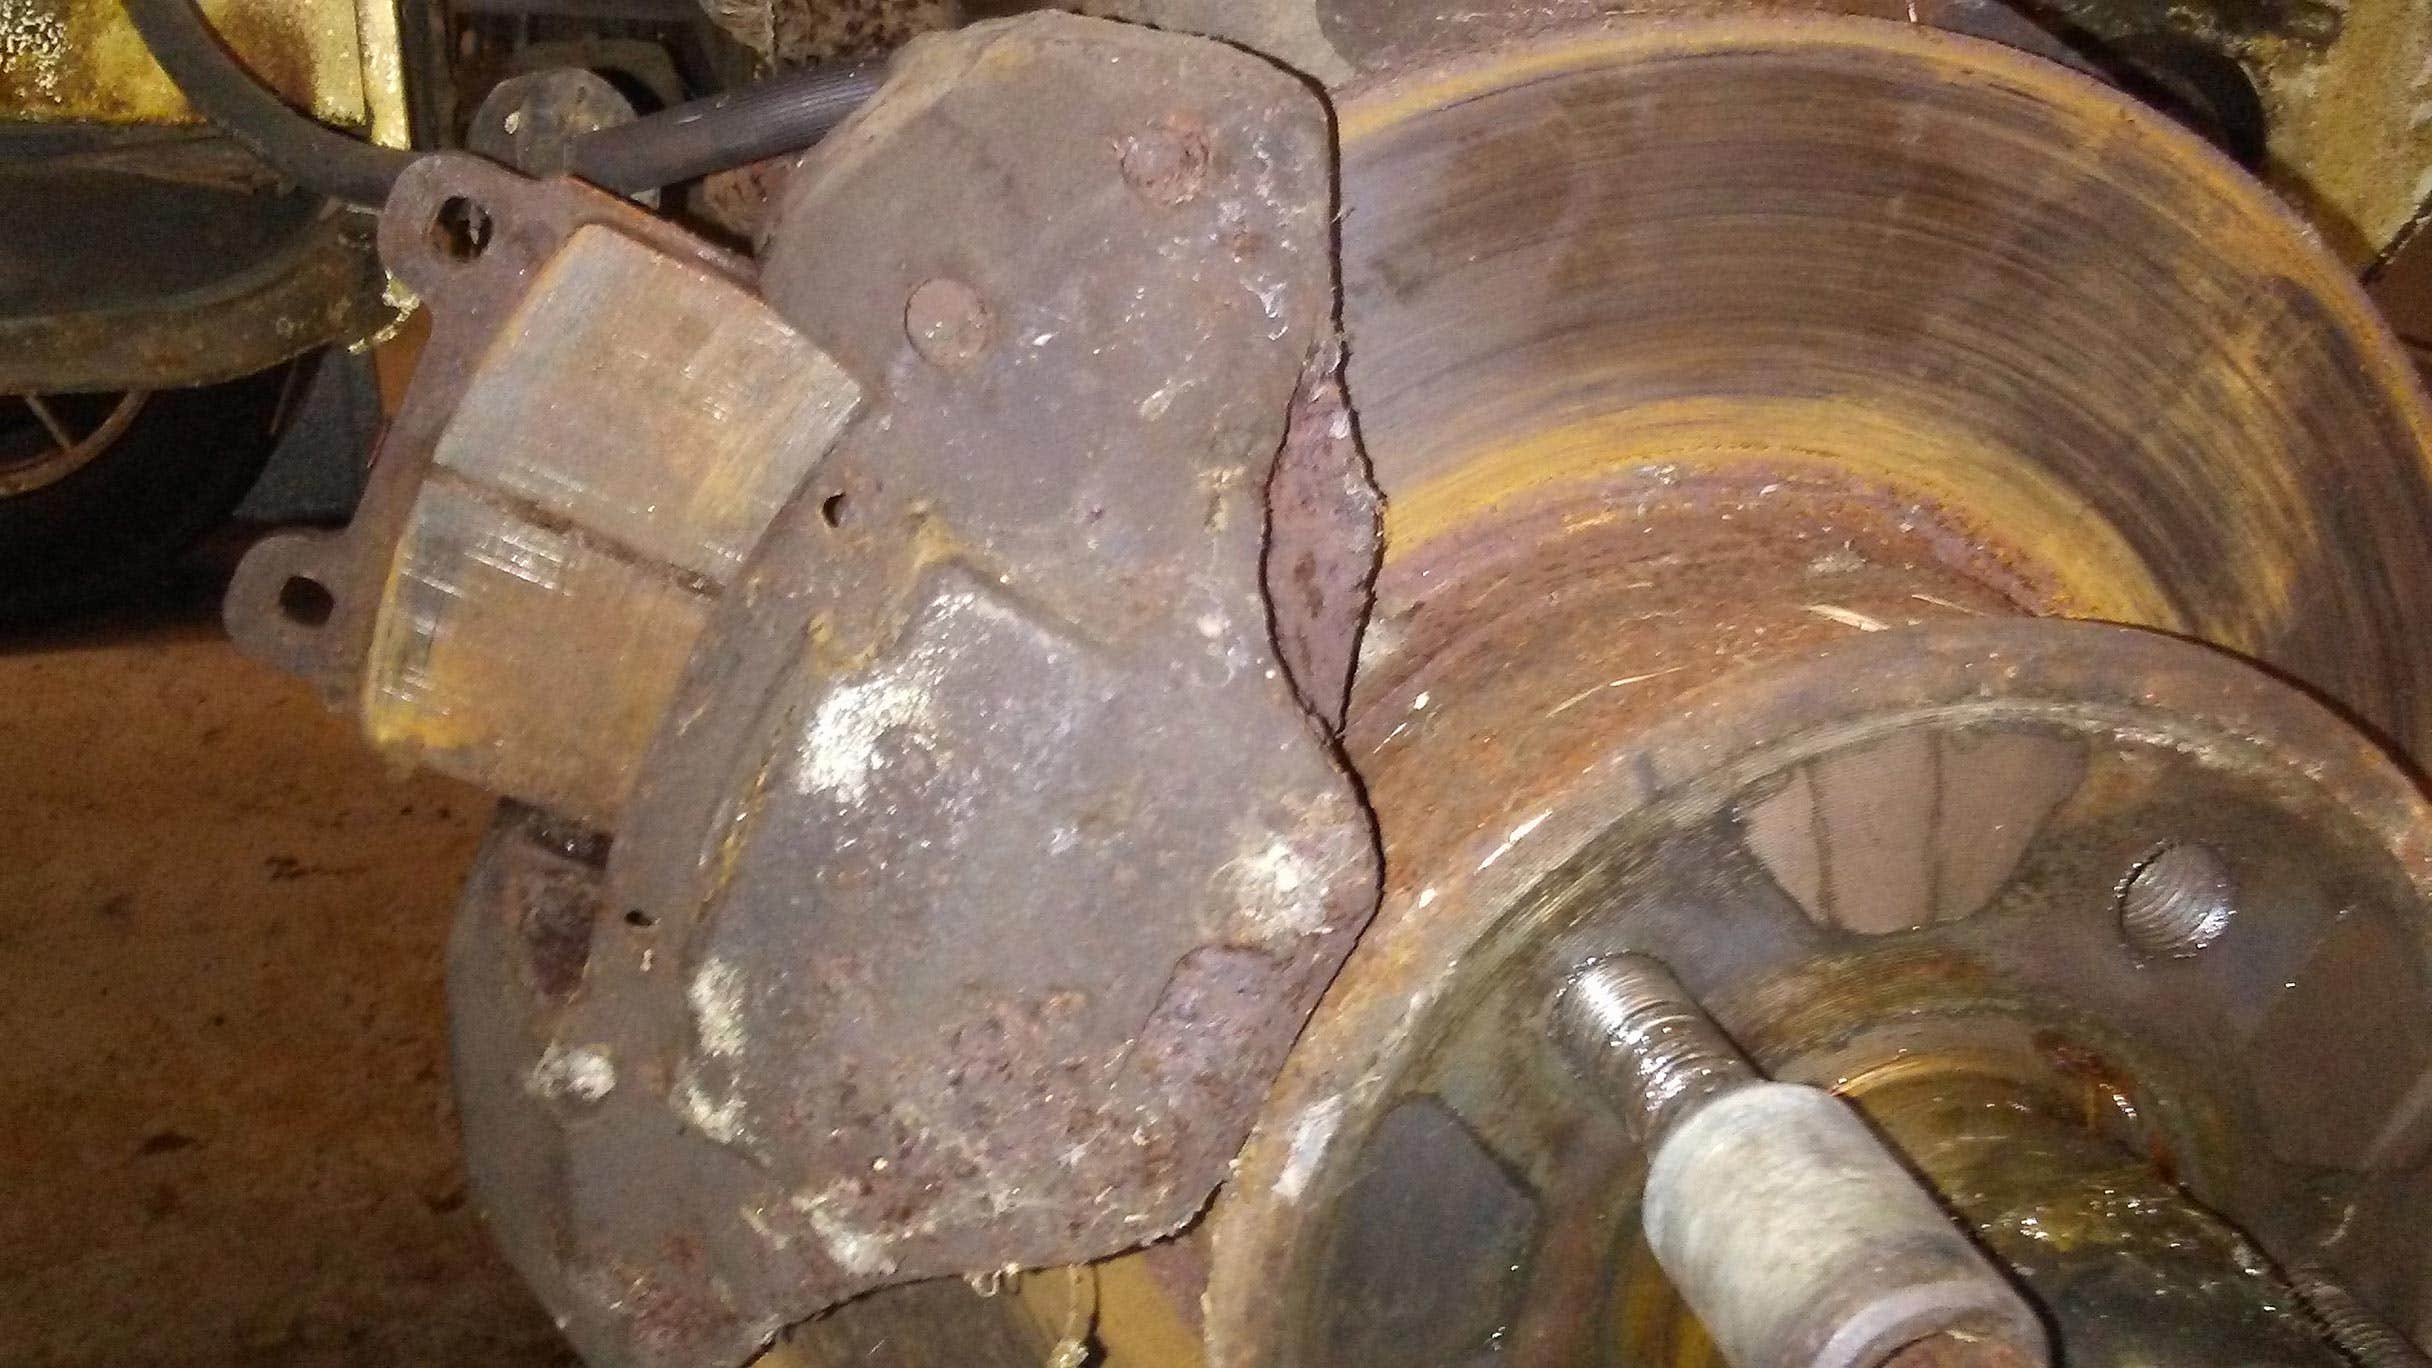
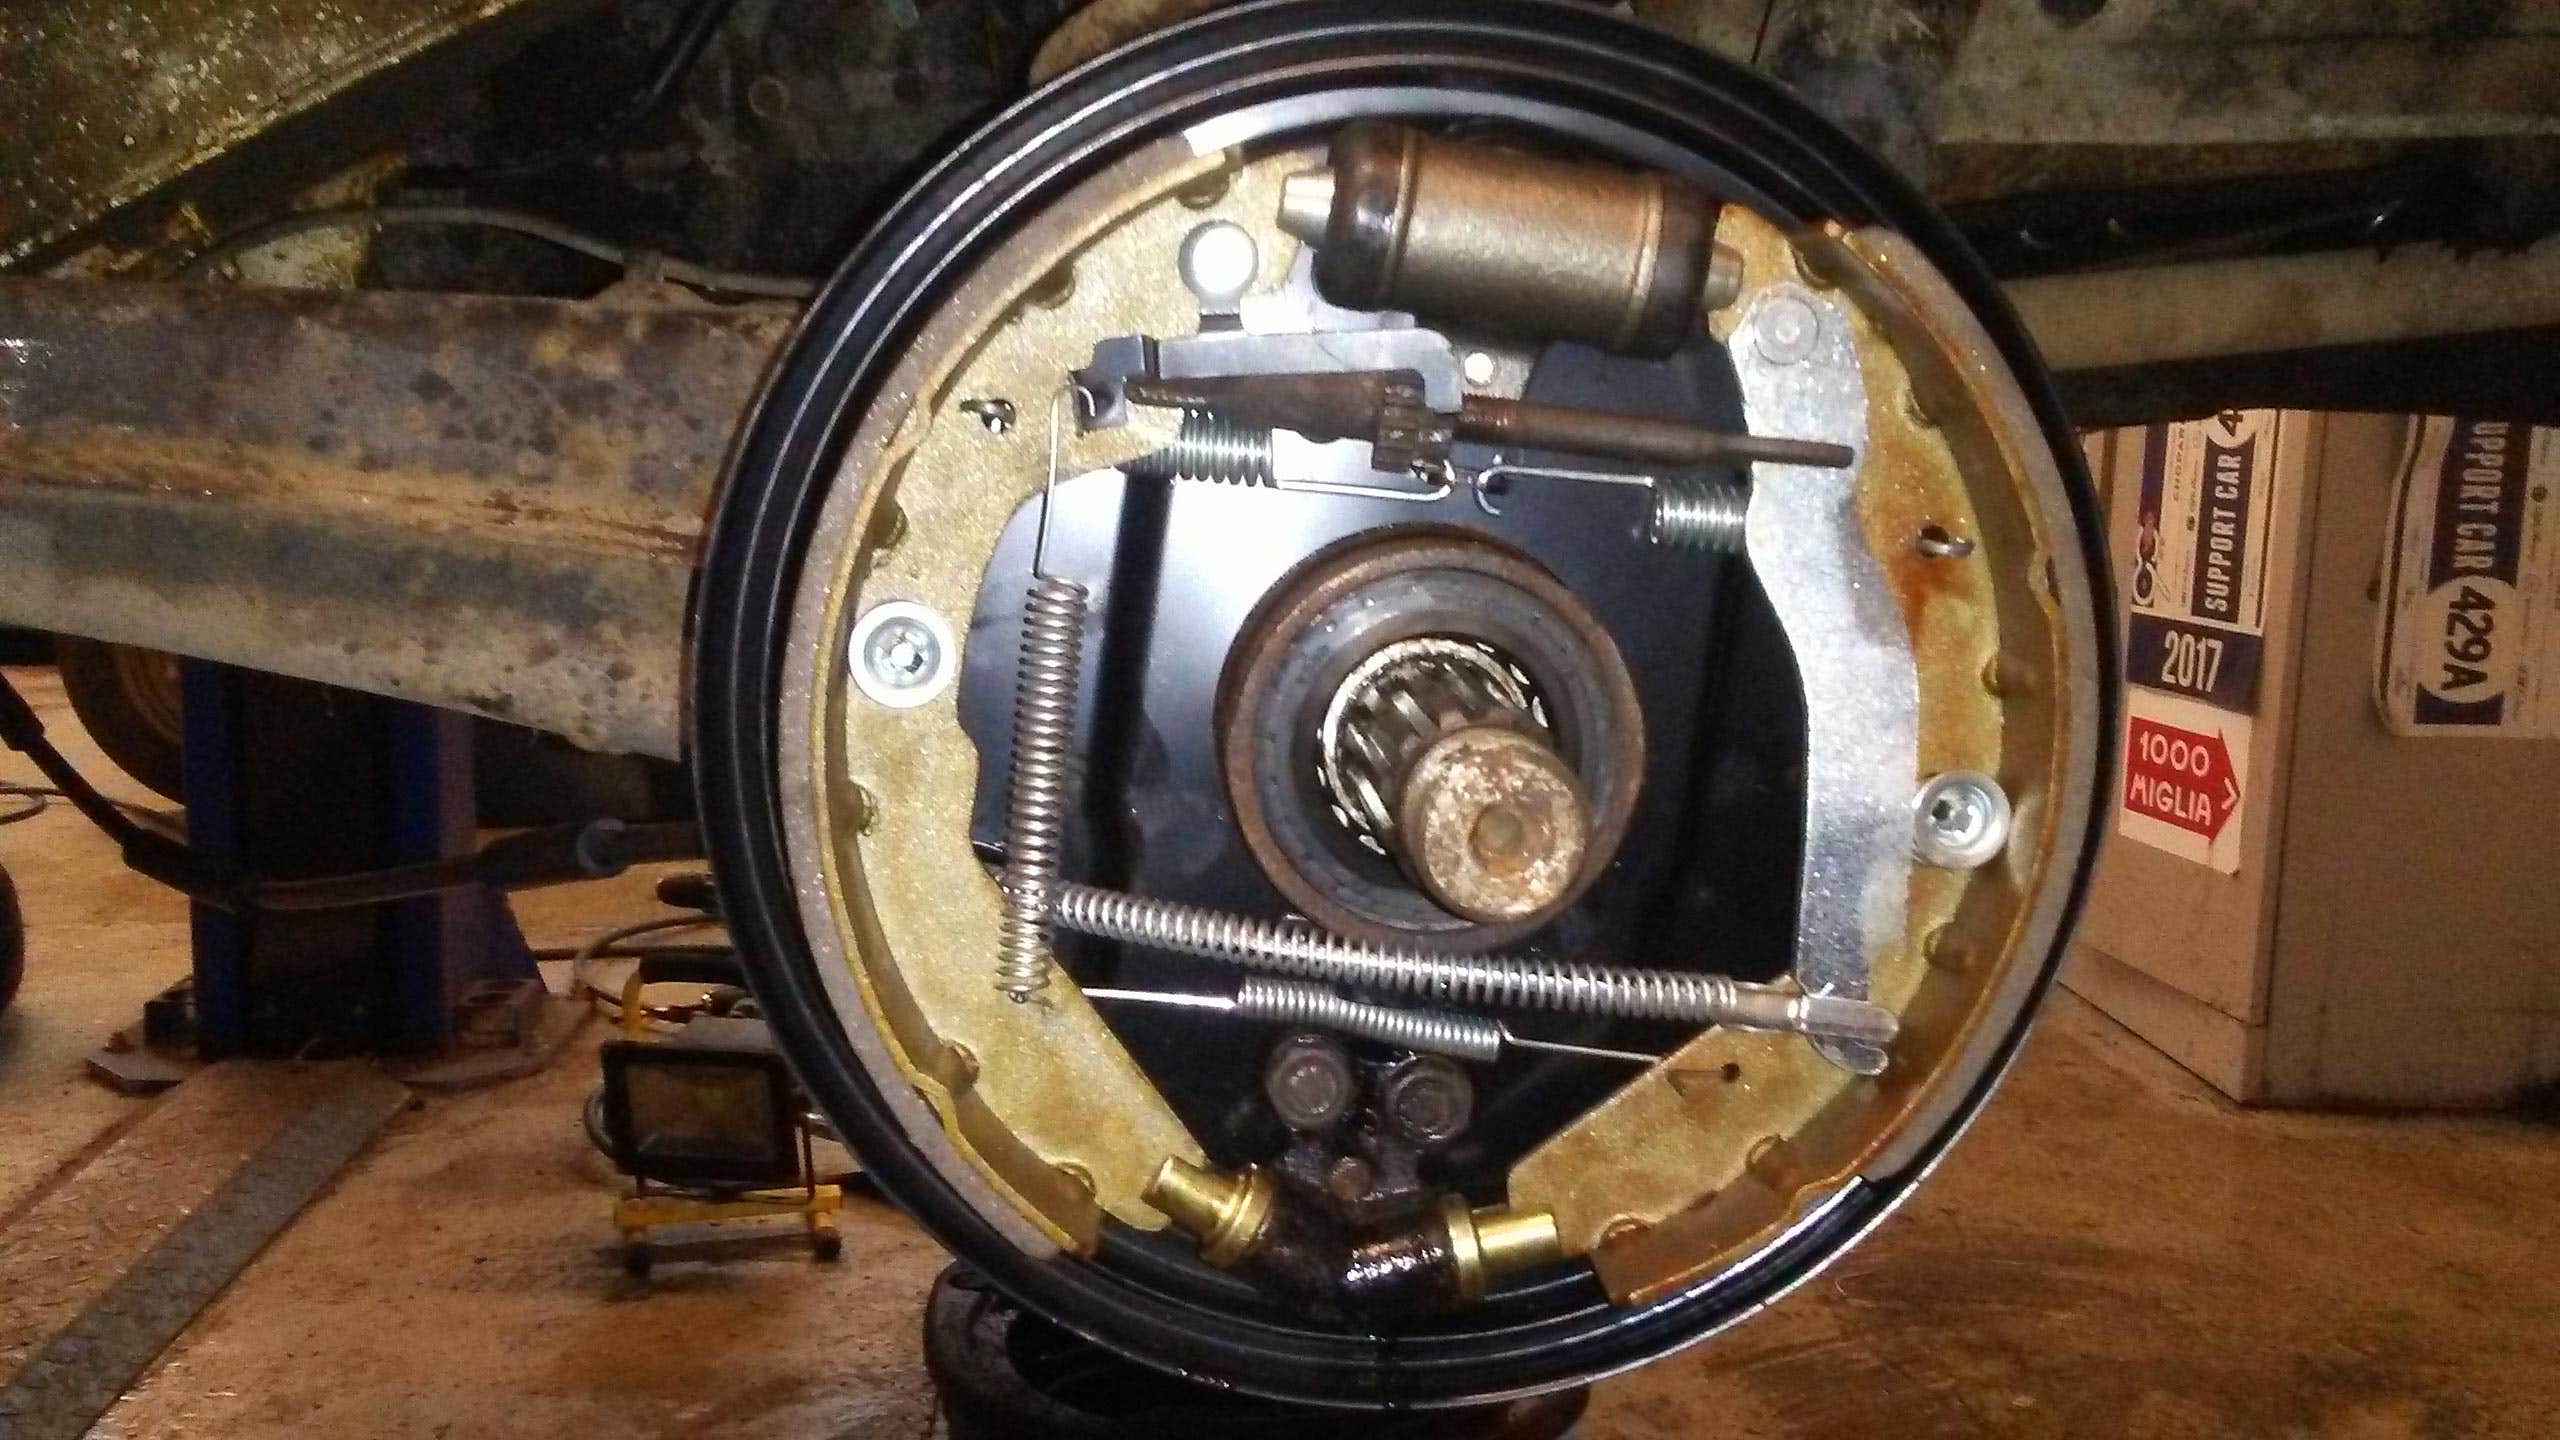
Still waiting for the new key to arrive I turned to the other rear brake, with the split pin removed and a 6-foot bar the hub nut just wouldn’t move. I tried hitting the flats on the nut and spraying with penetrating oil all to no avail. I had to resort to carefully cutting through one side of the nut using a thin slitting disc on a grinder then splitting it using a hammer and chisel. I will replace these with new J10559 when I finish the job, once-off I discovered the rear brakes needed a full rebuild.

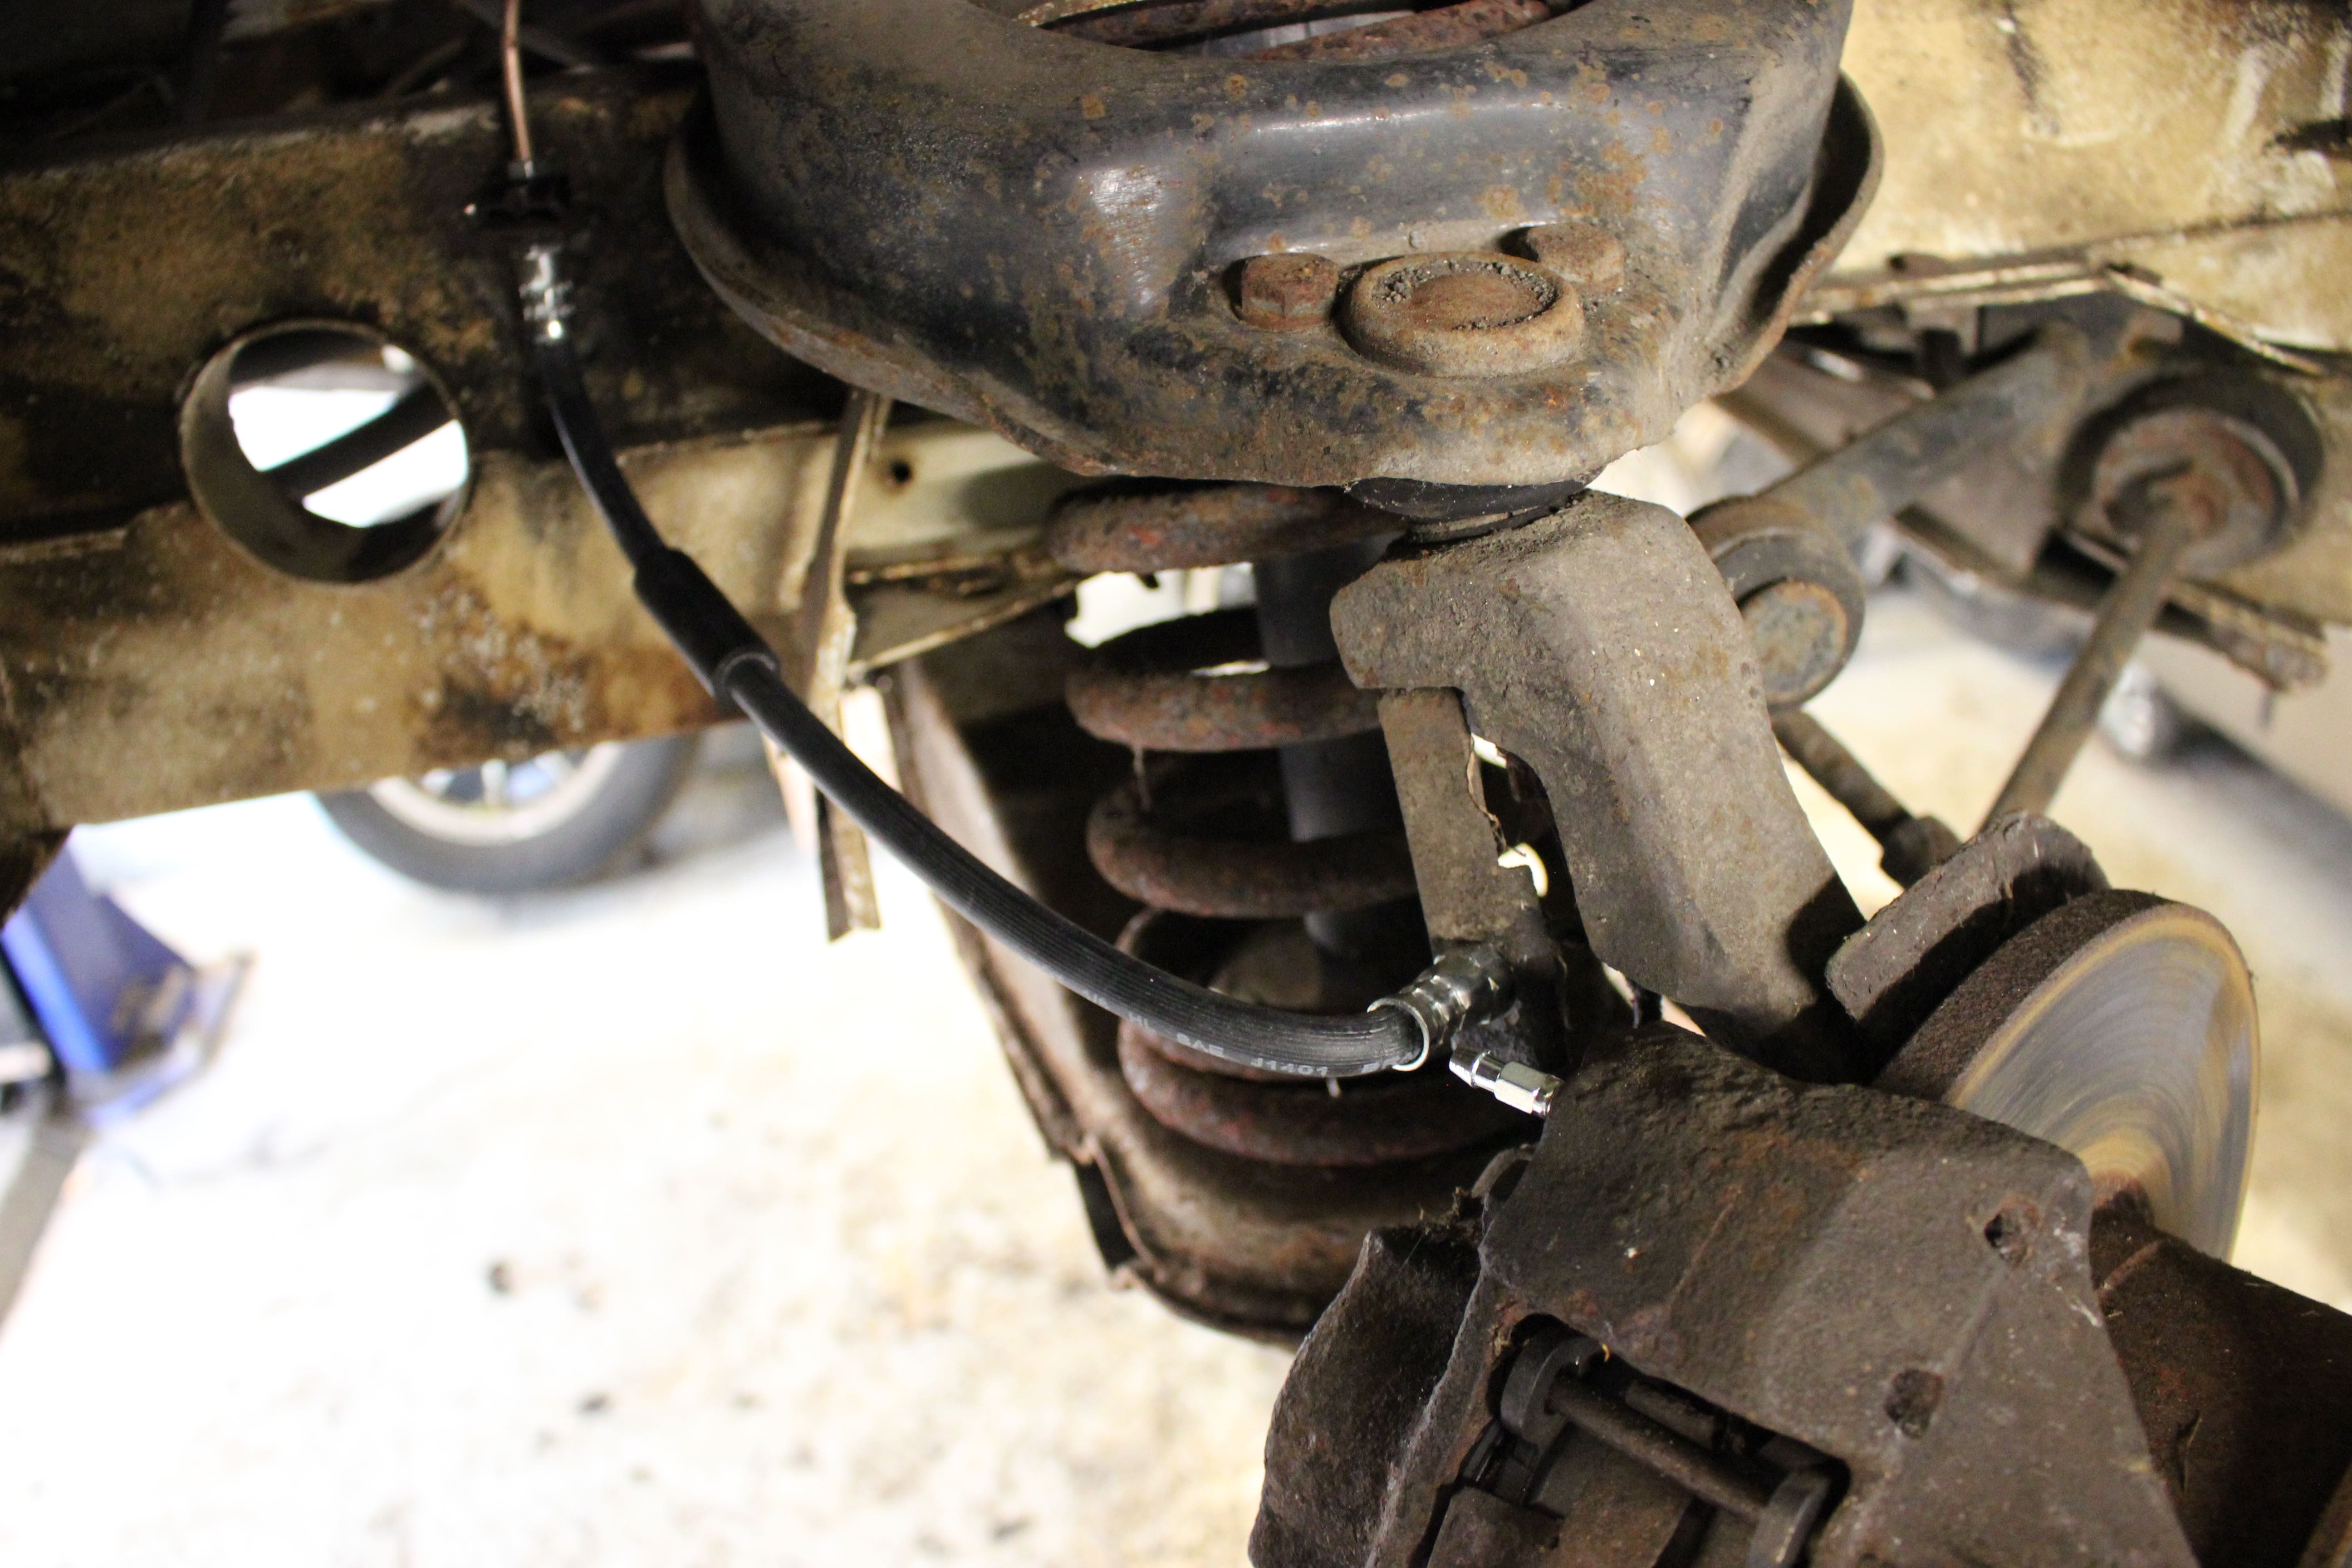
With the brakes stripped I found the backplate was rotten and the handbrake cable was seized into place, this was replaced with J10823 along with shoes J10572 wheel cylinder J10148 and shoe mounts J10821 This was all fitted in place using a spring/fit kit J11132 with brake cable J10268 installed, I use copper slip anti-seize on all the components/adjusters/nuts, bolts were required to help disassembly in the future.


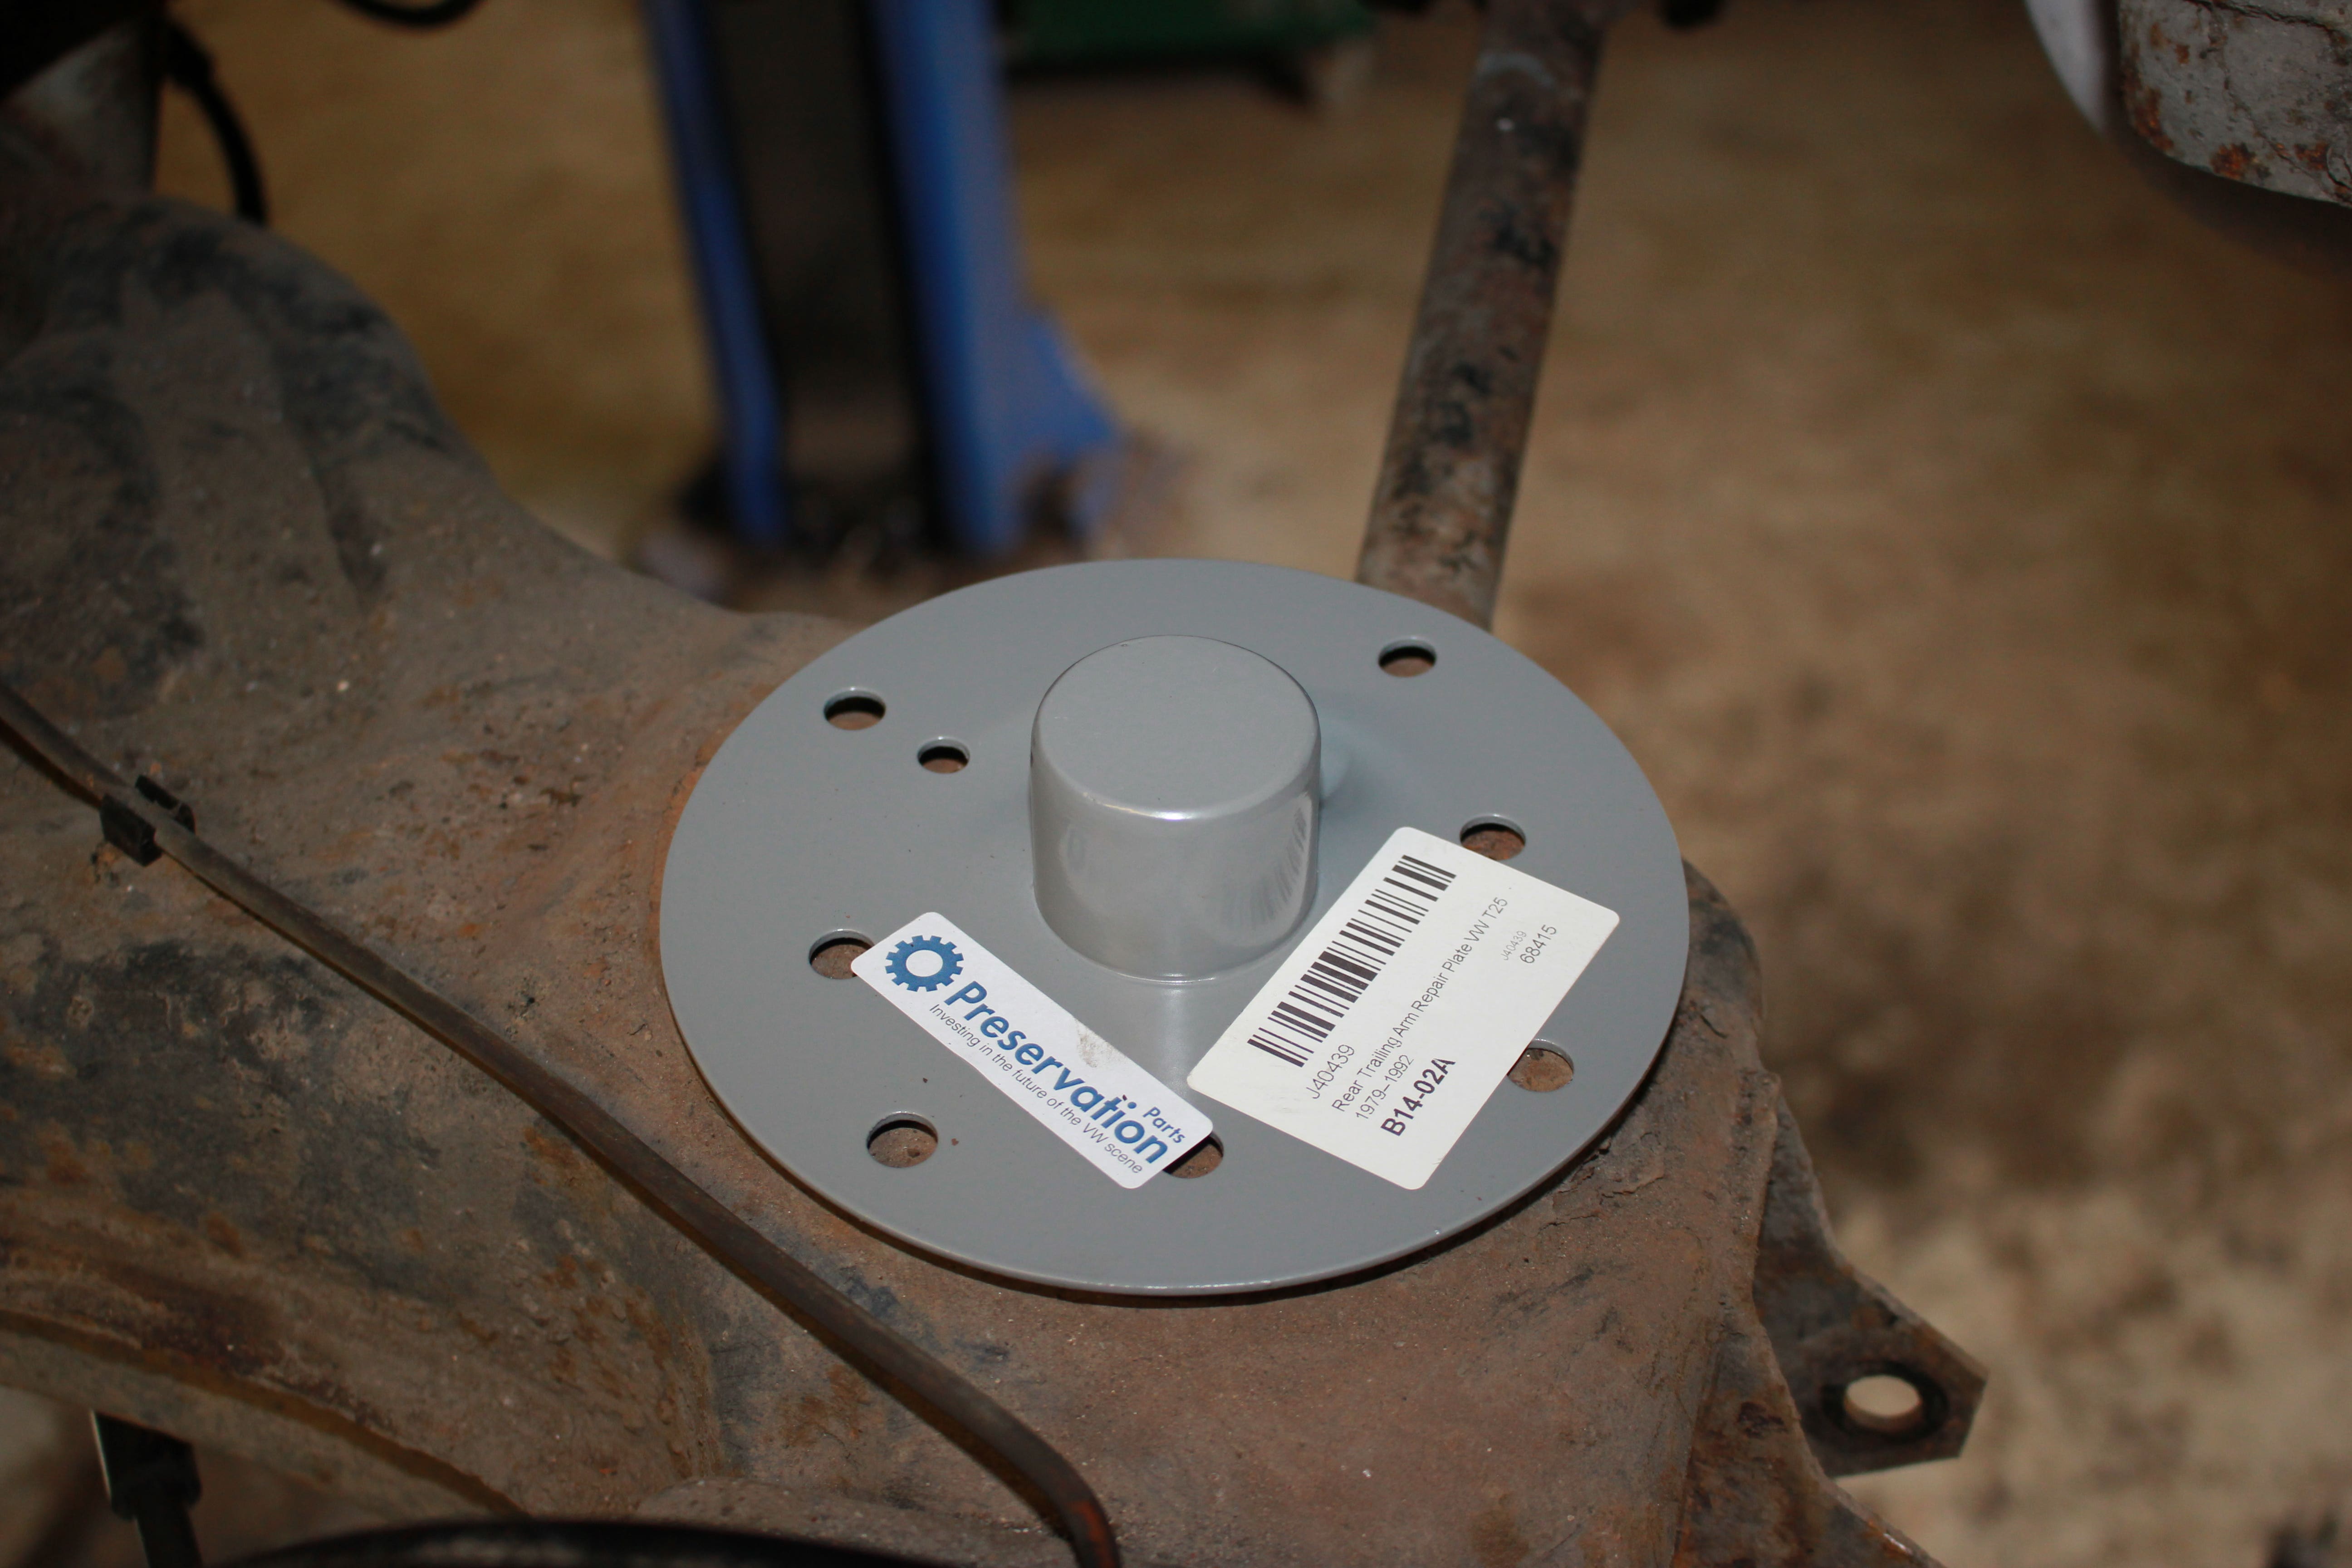
Whilst working on the brakes I also inspected the swing arm as these are prone to rust, true to form when I pulled on the coil spring its centre mount came away allowing the spring to fall out. We sell new arms J40941 and J40942 or If the arms are structurally sound, but the spring plates are rusty we offer a repair piece J40439. Normally I would have used these, but the planned suspension mods would mean removing these so instead I repaired the rusty one.

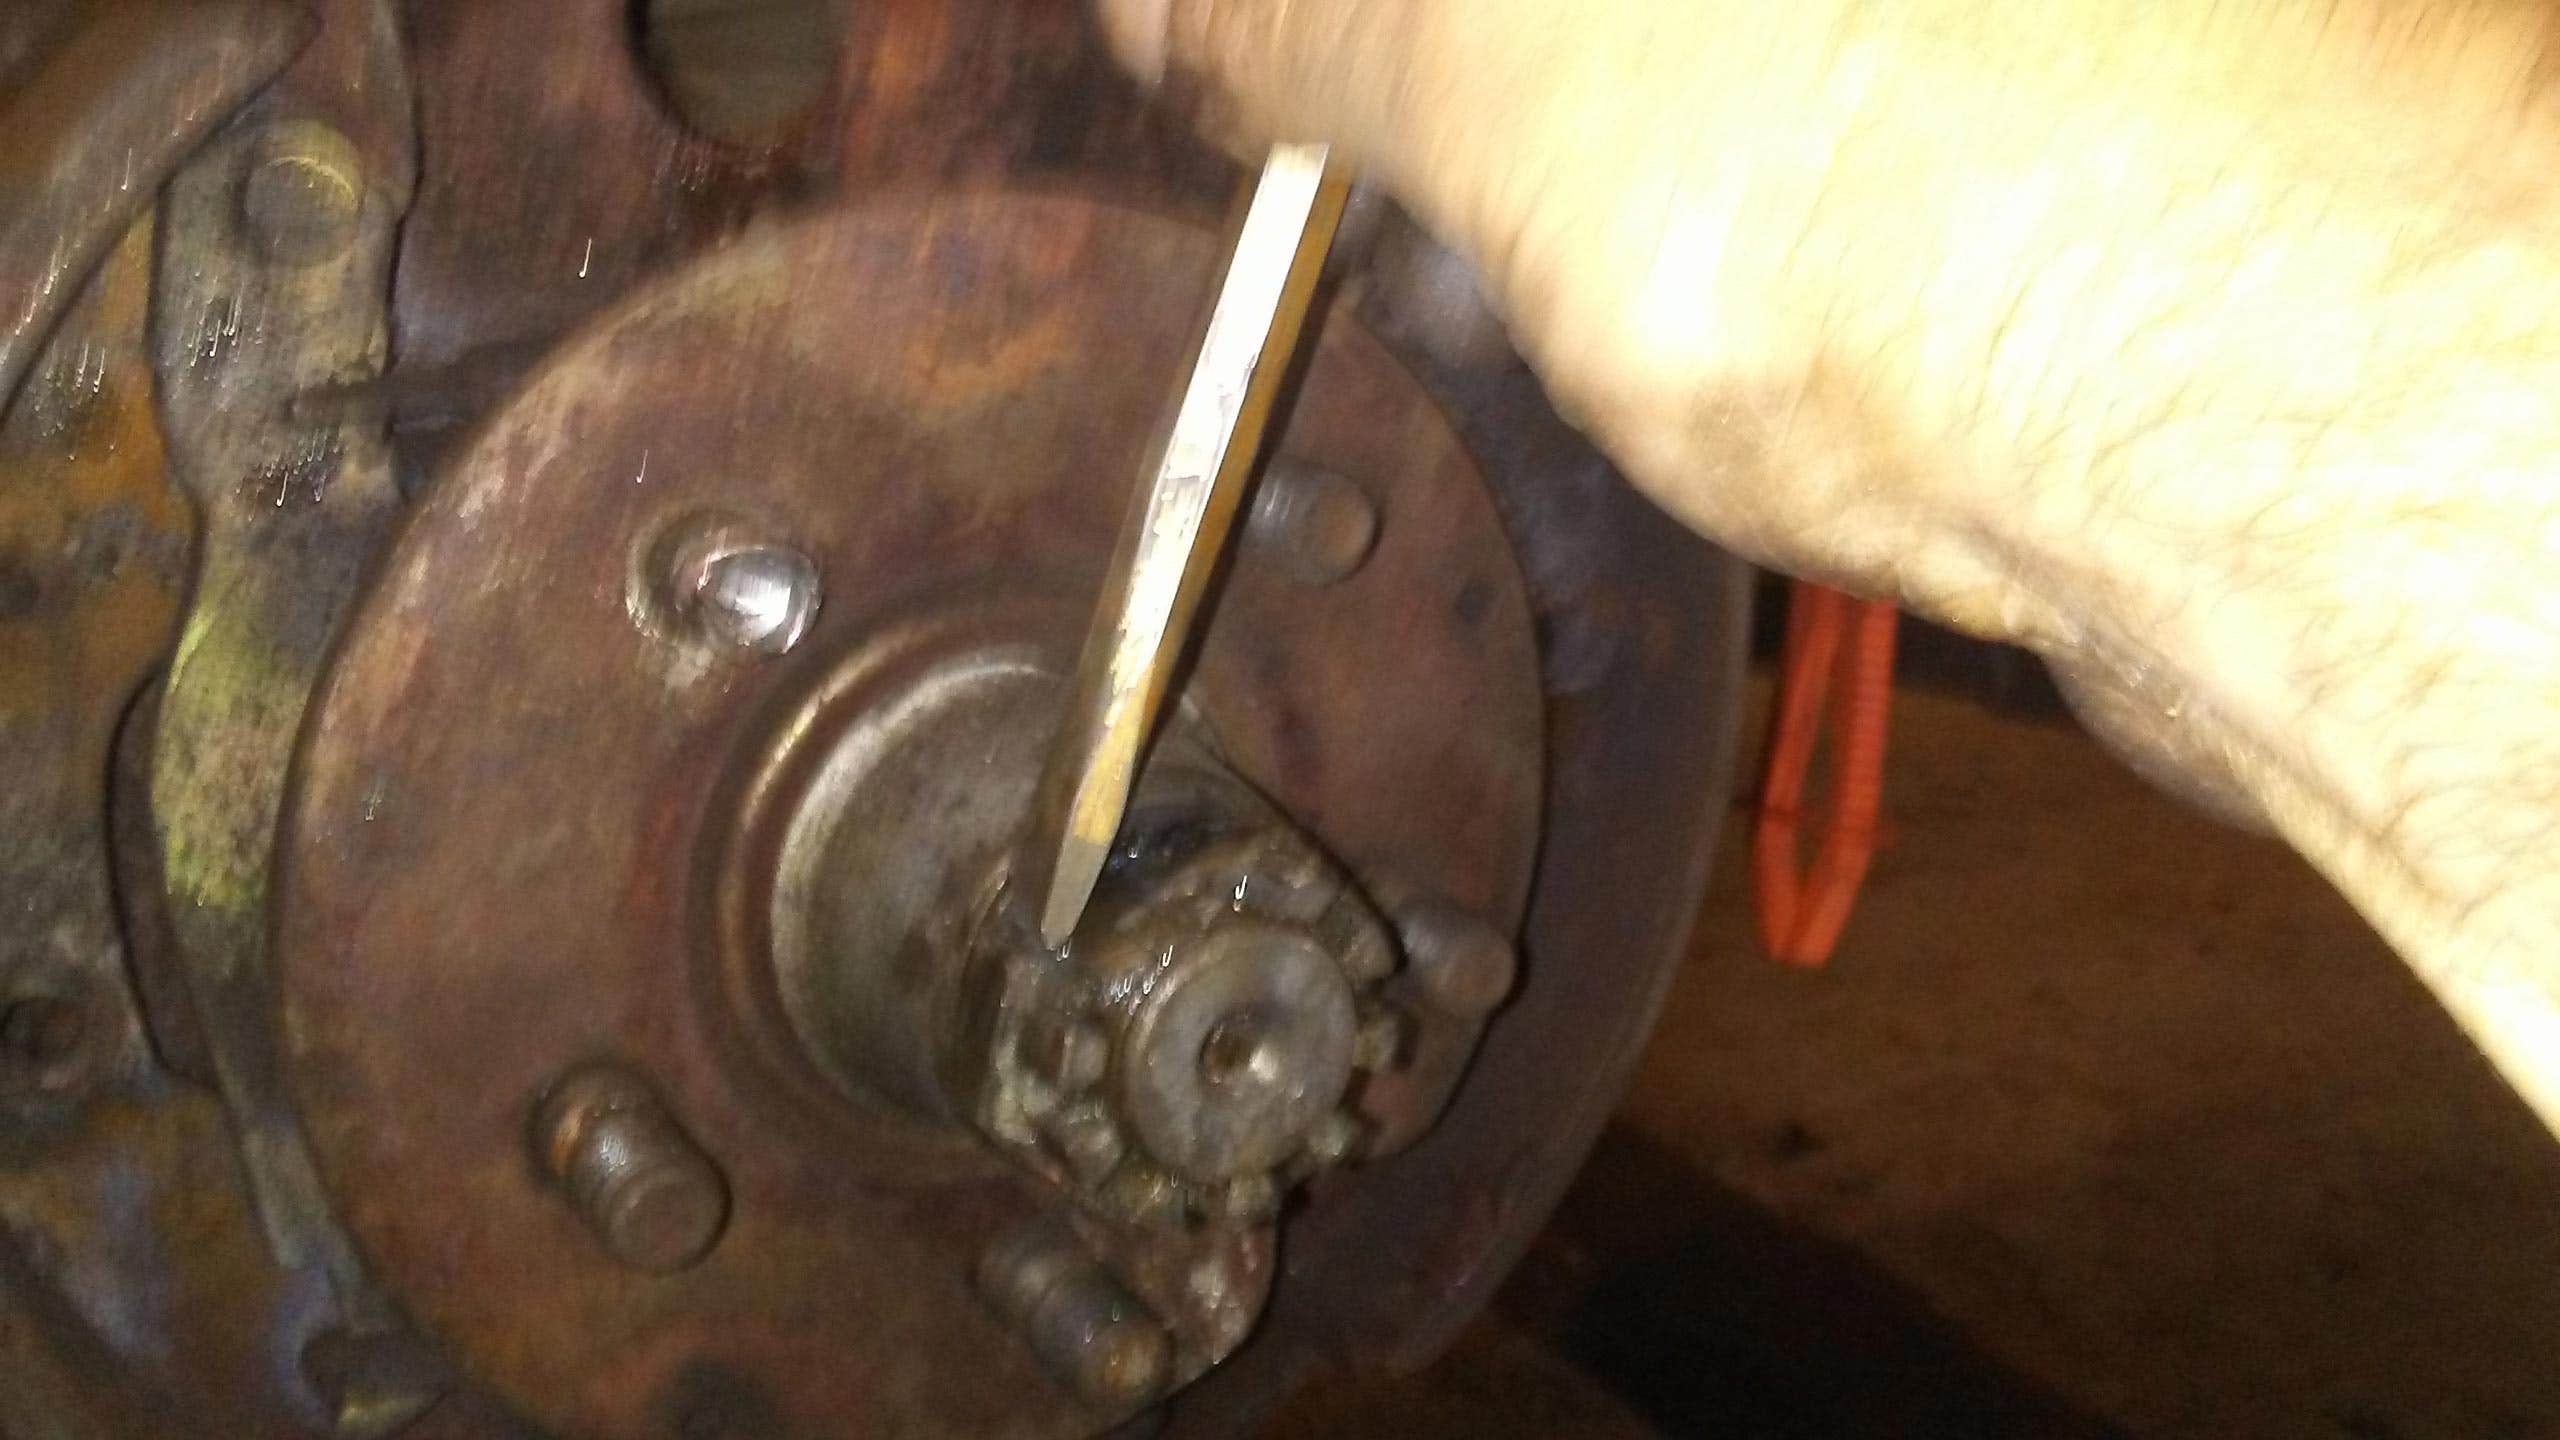
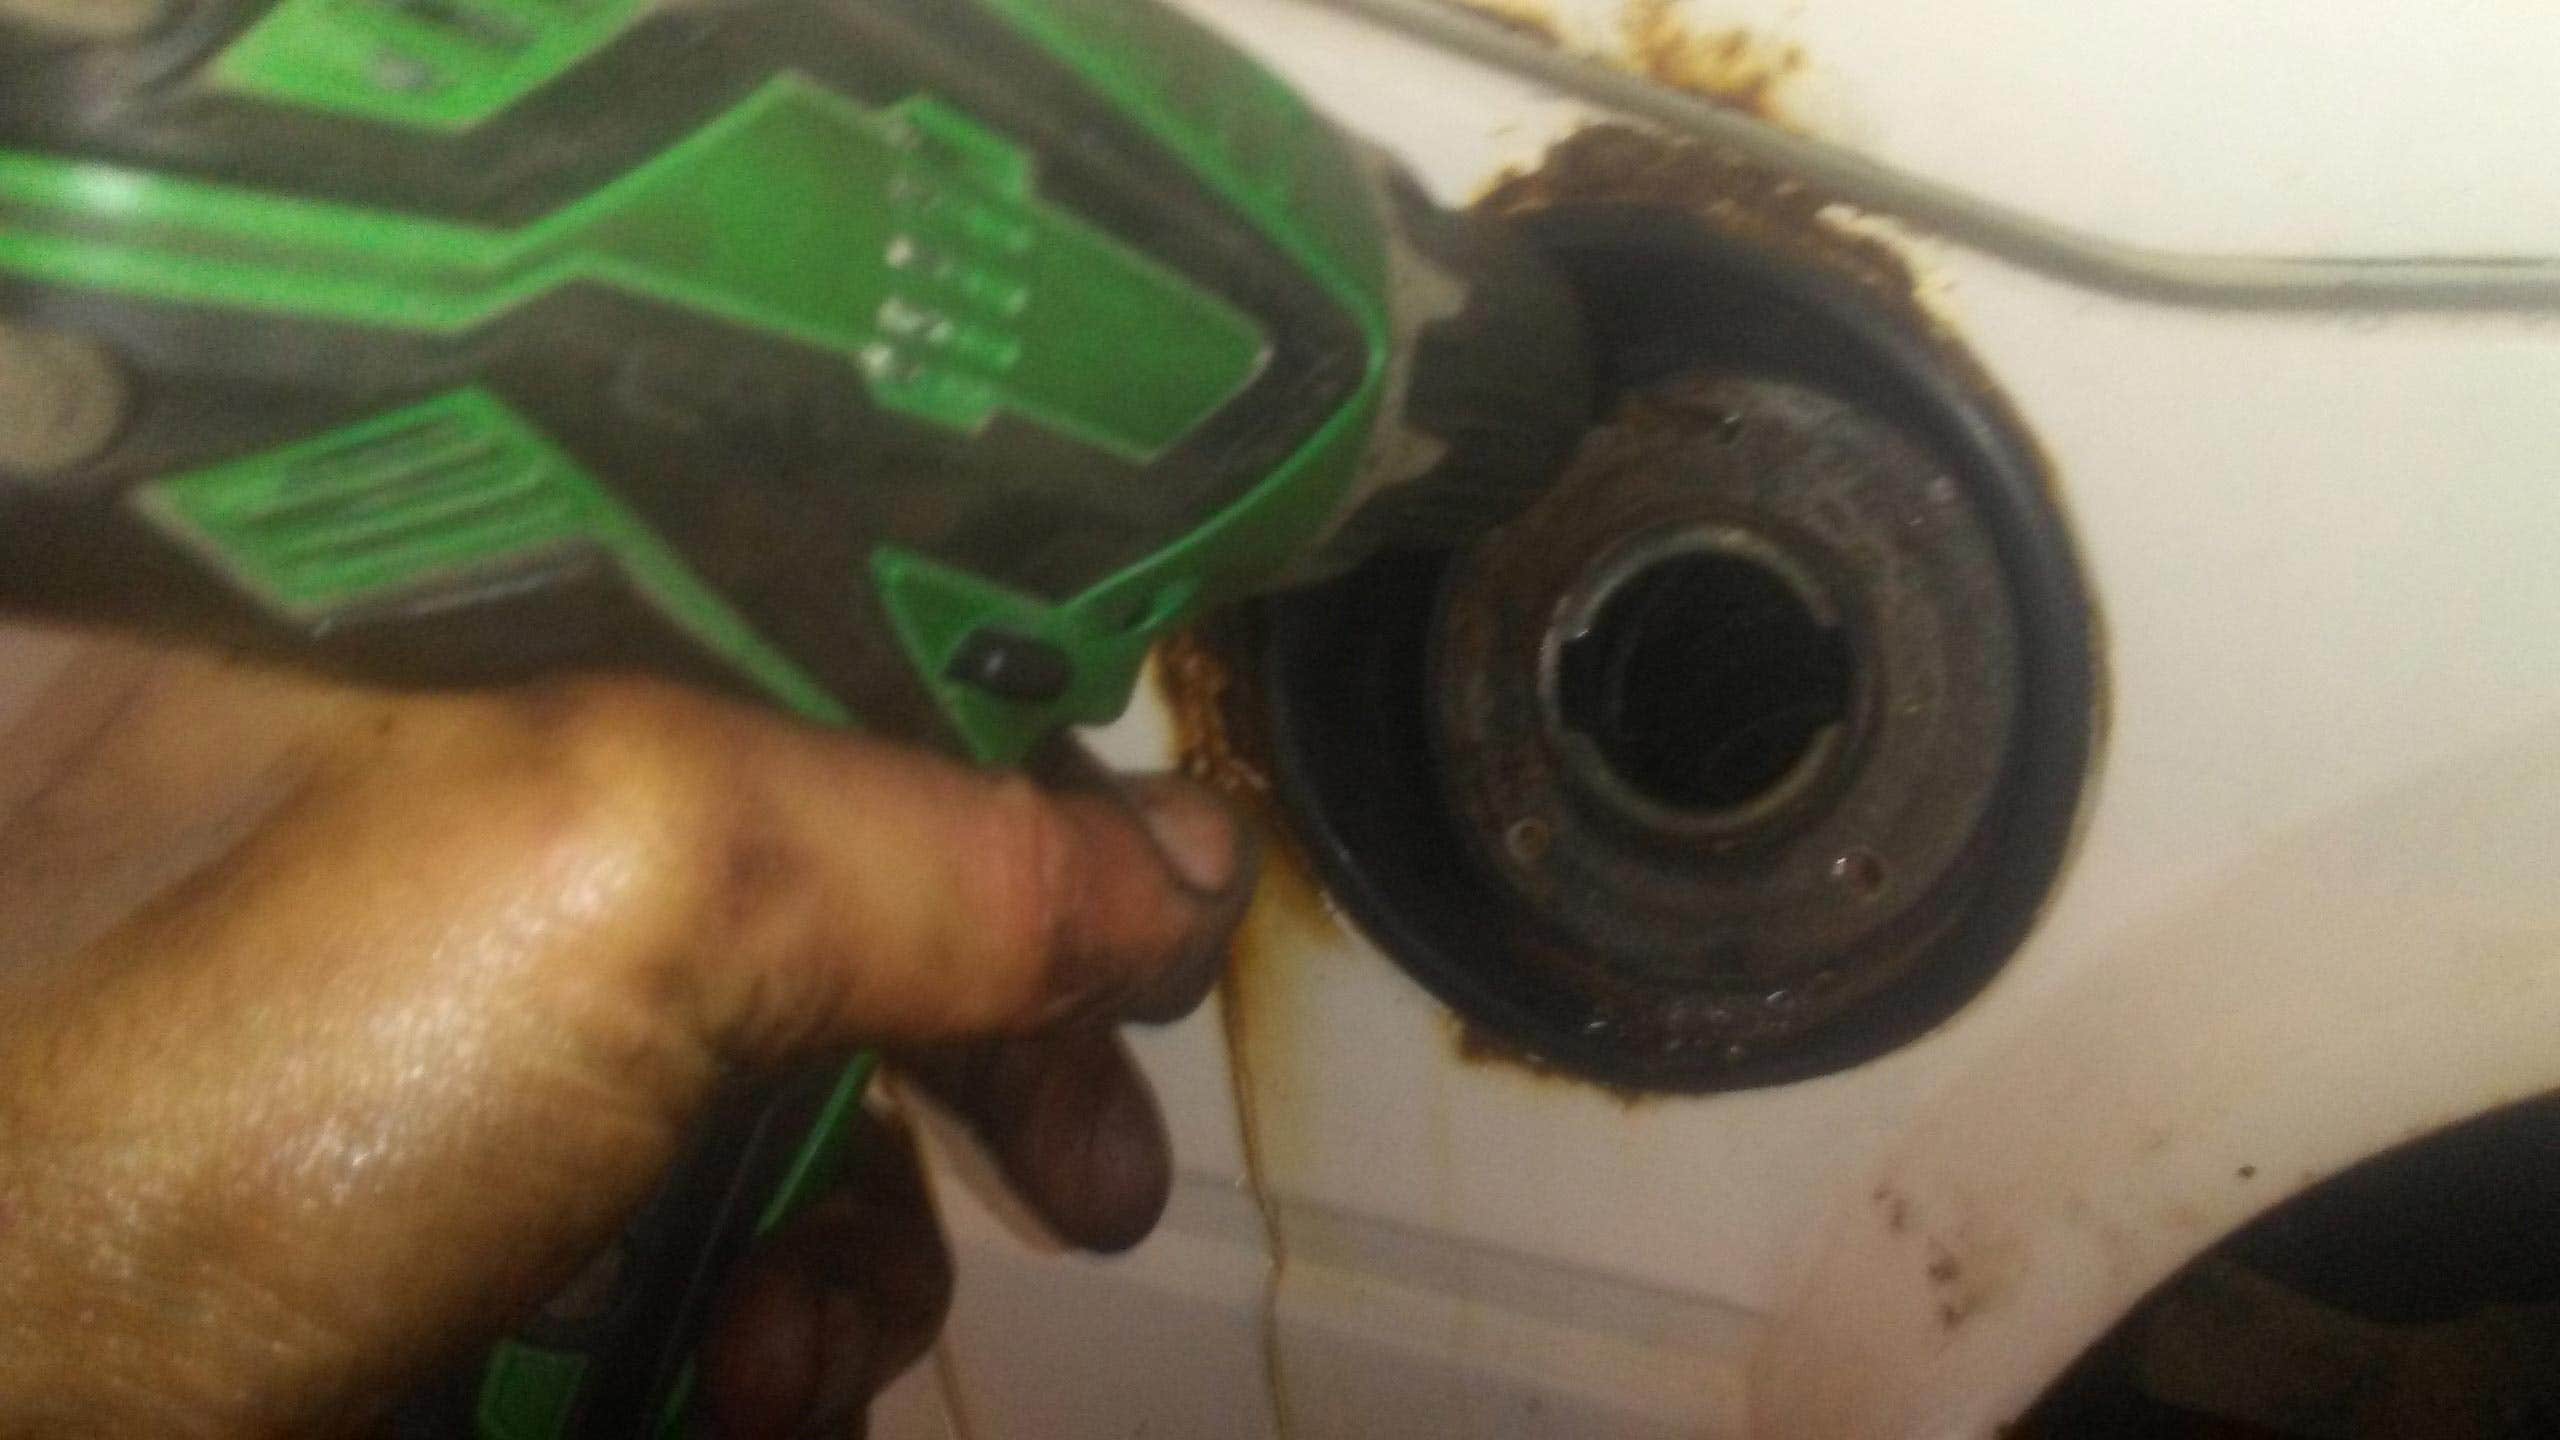
The second new key arrived, but this time I decided not to risk breaking it instead I opted to drill down the centre of the wheel nut through the stud. Starting with a small drill bit then working up in stages until I got to 12mm I slowly drilled enough of the stud, the combination of heat and the stud collapsing in slightly I finally managed to undo the offending wheel nut and get the wheel off.

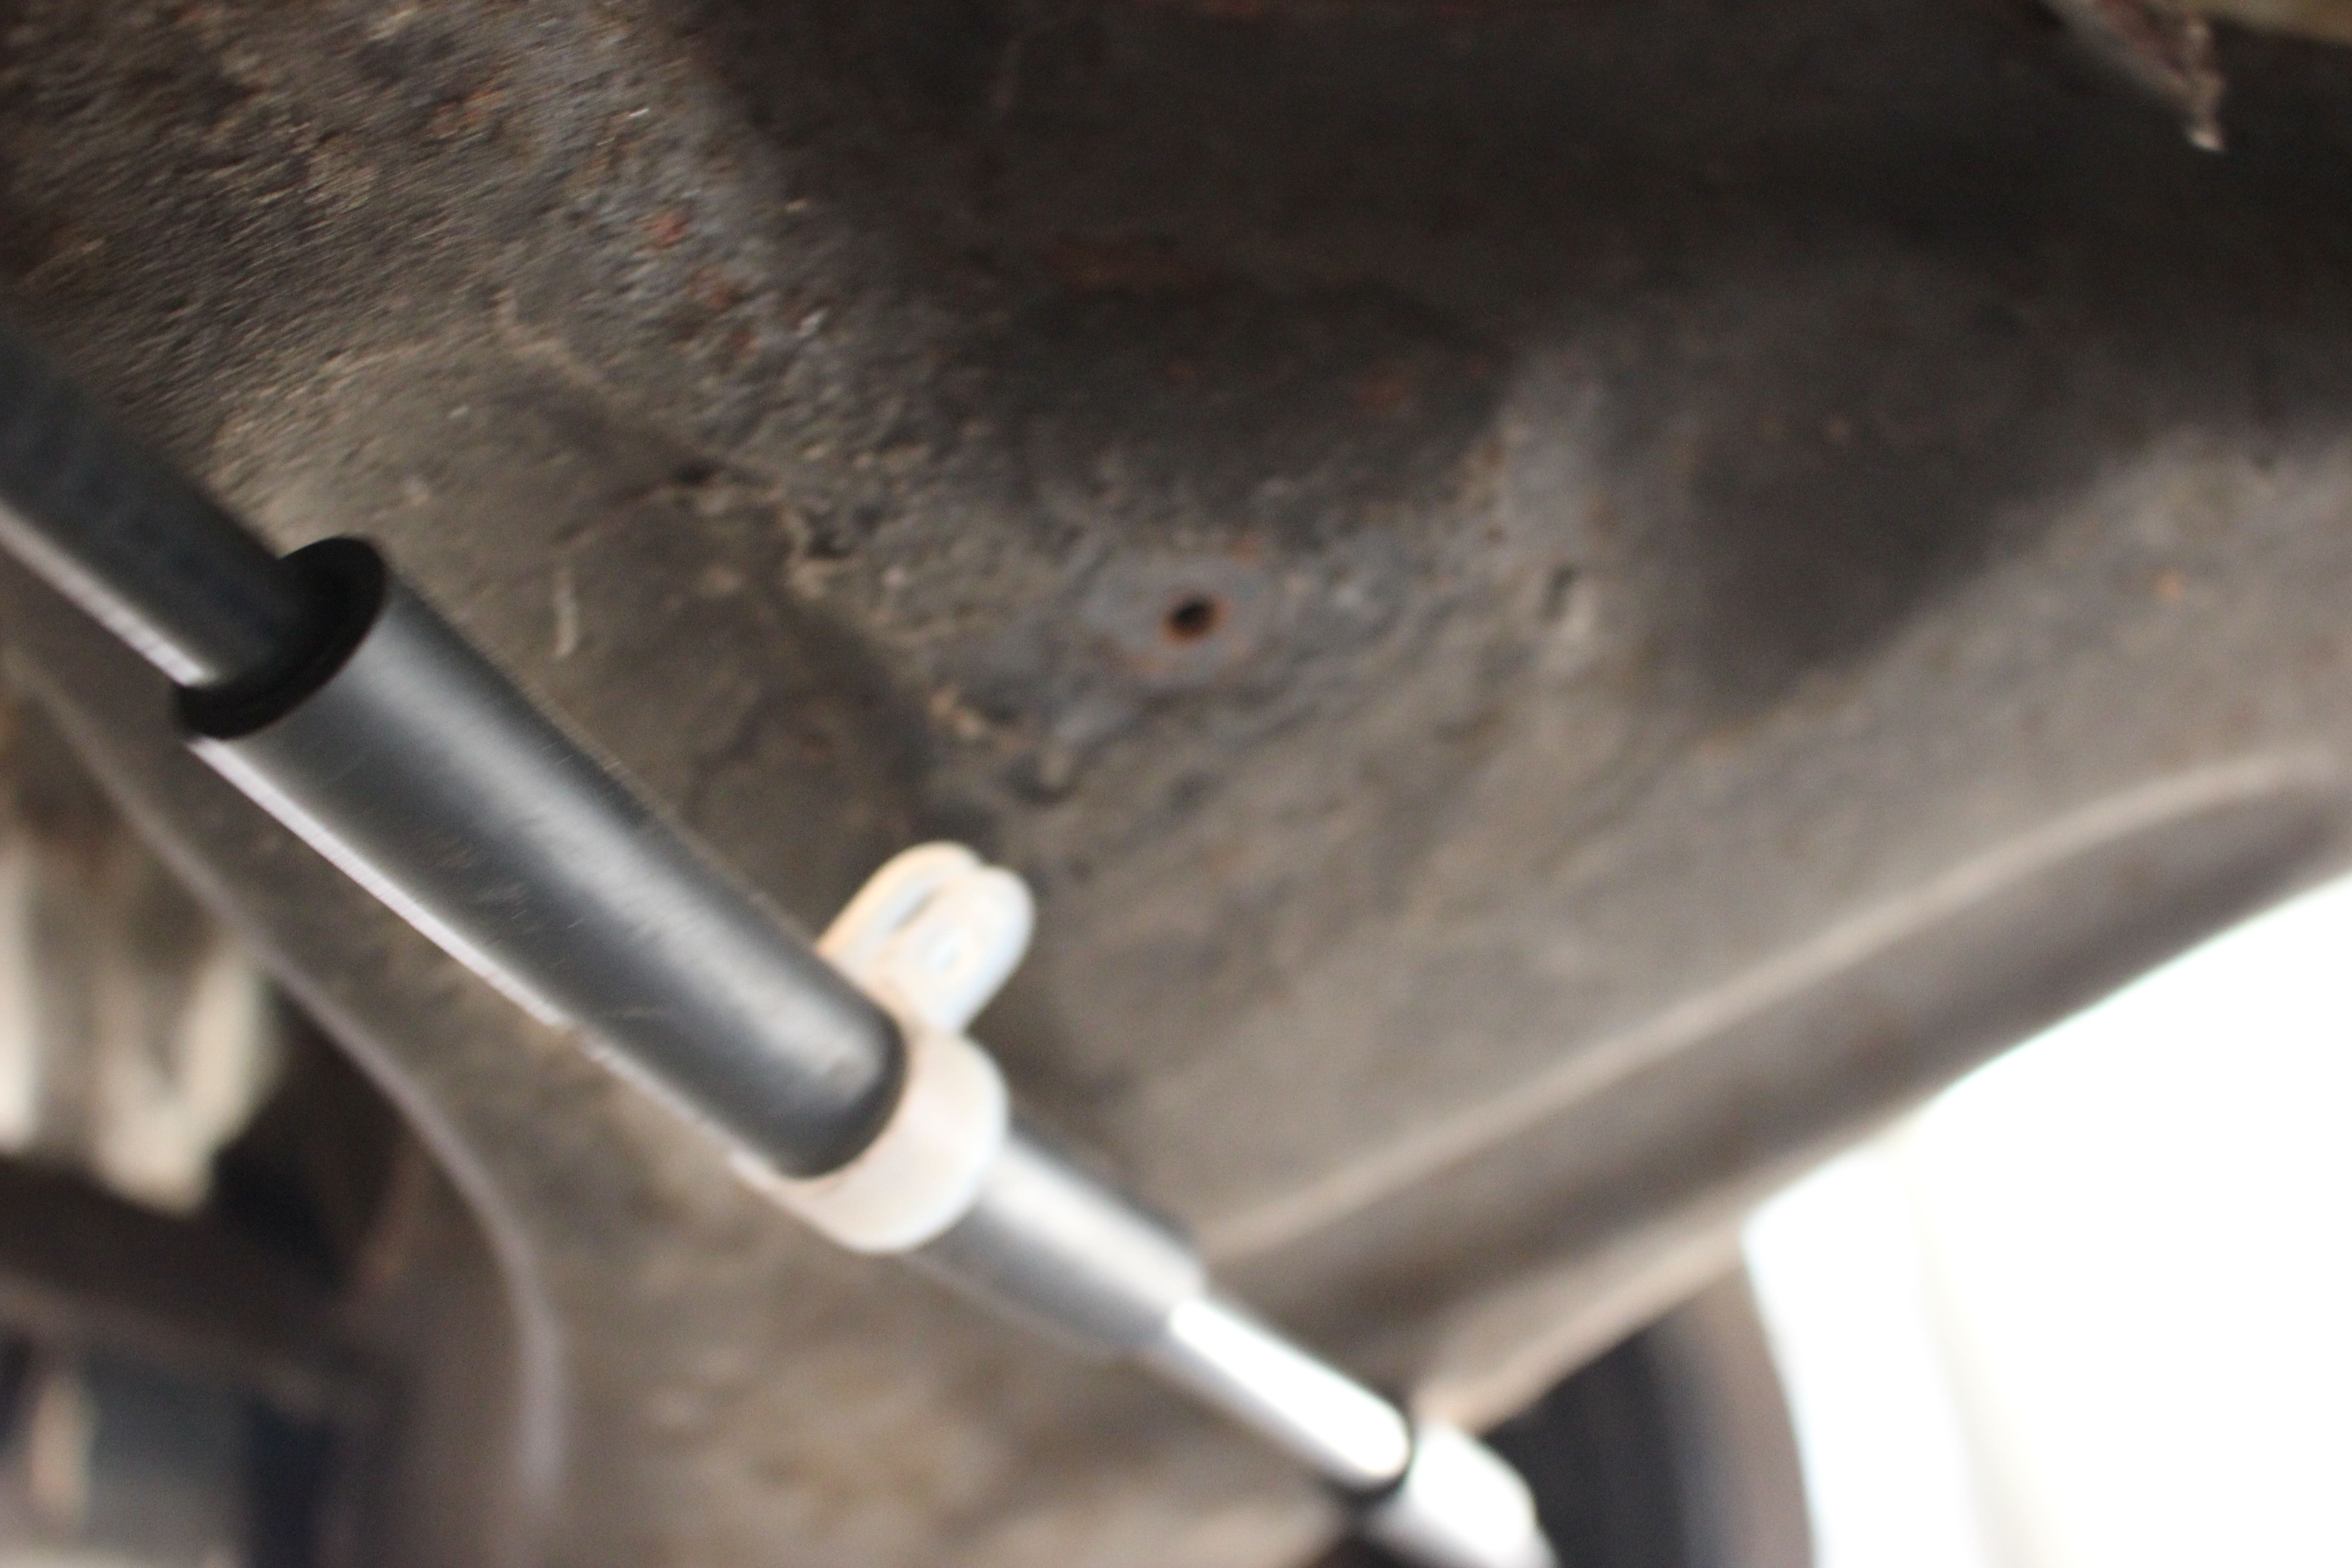
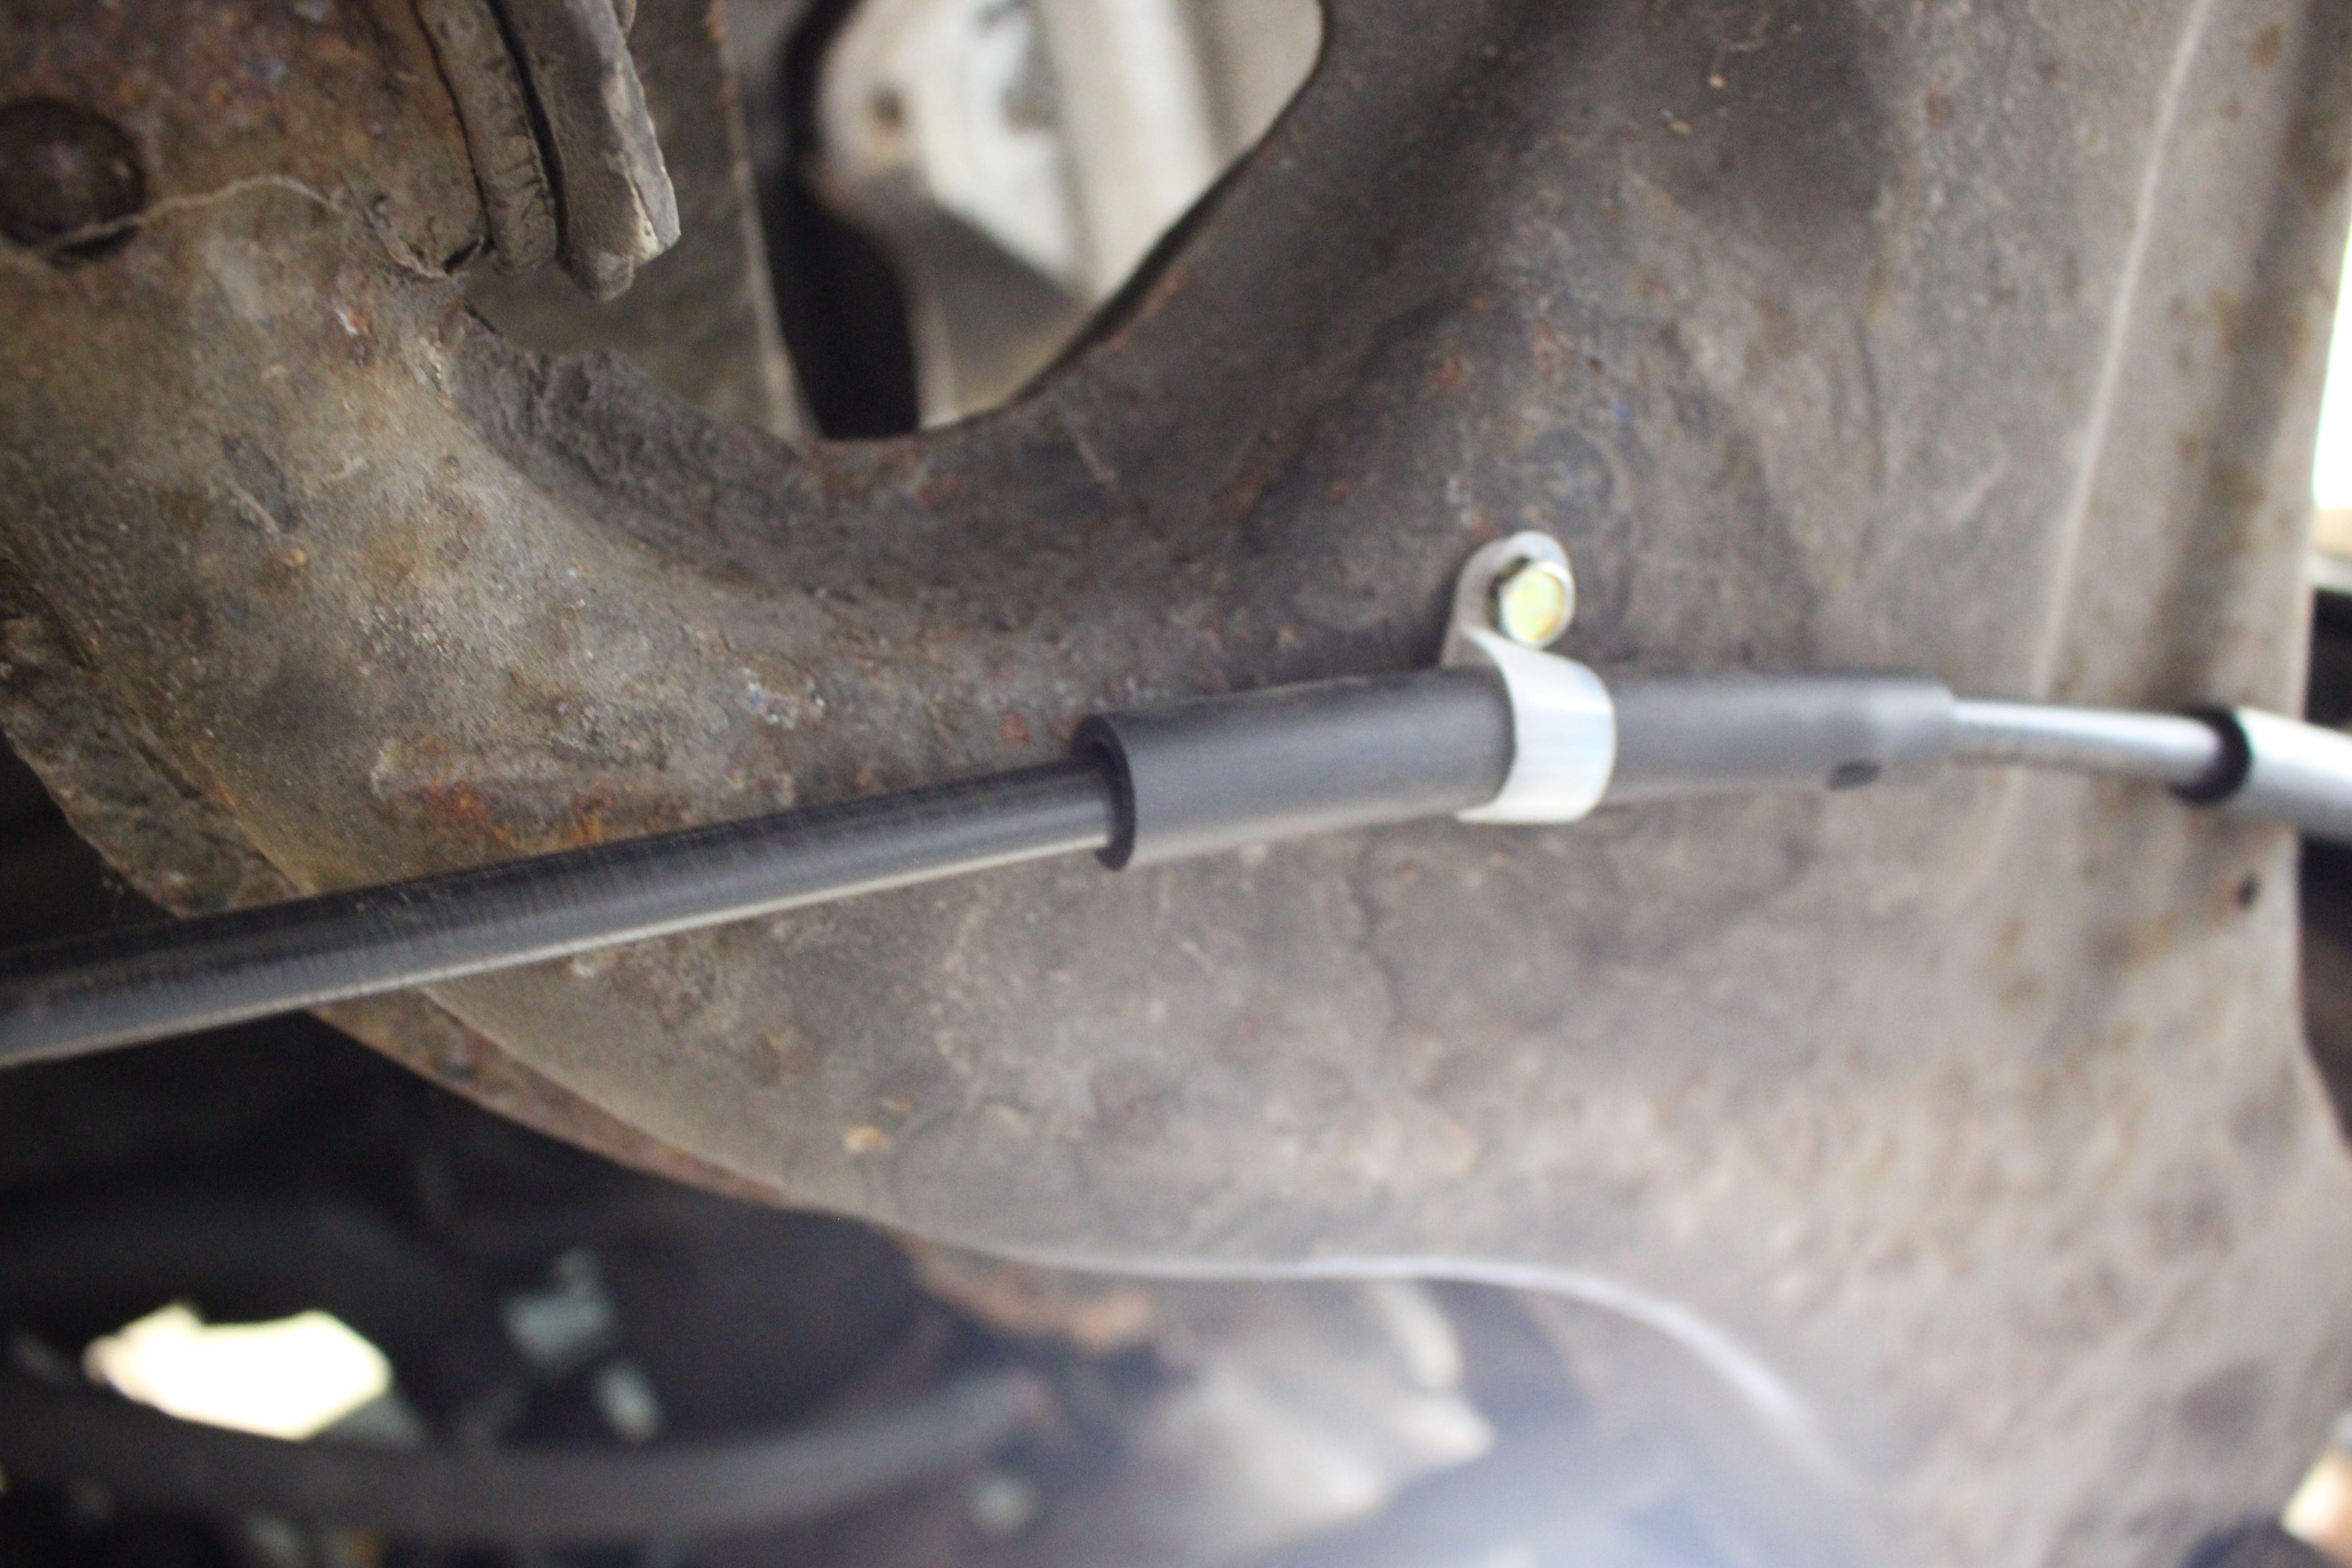
I discovered the brake to be in the same poor state as the other side so again, I had to replace the backplate J10822 and all the other internal components. The handbrake cables are held in place on the swing arms with P clips the originals were broken so I replaced them with the nylon clips from our conversions range J41816.
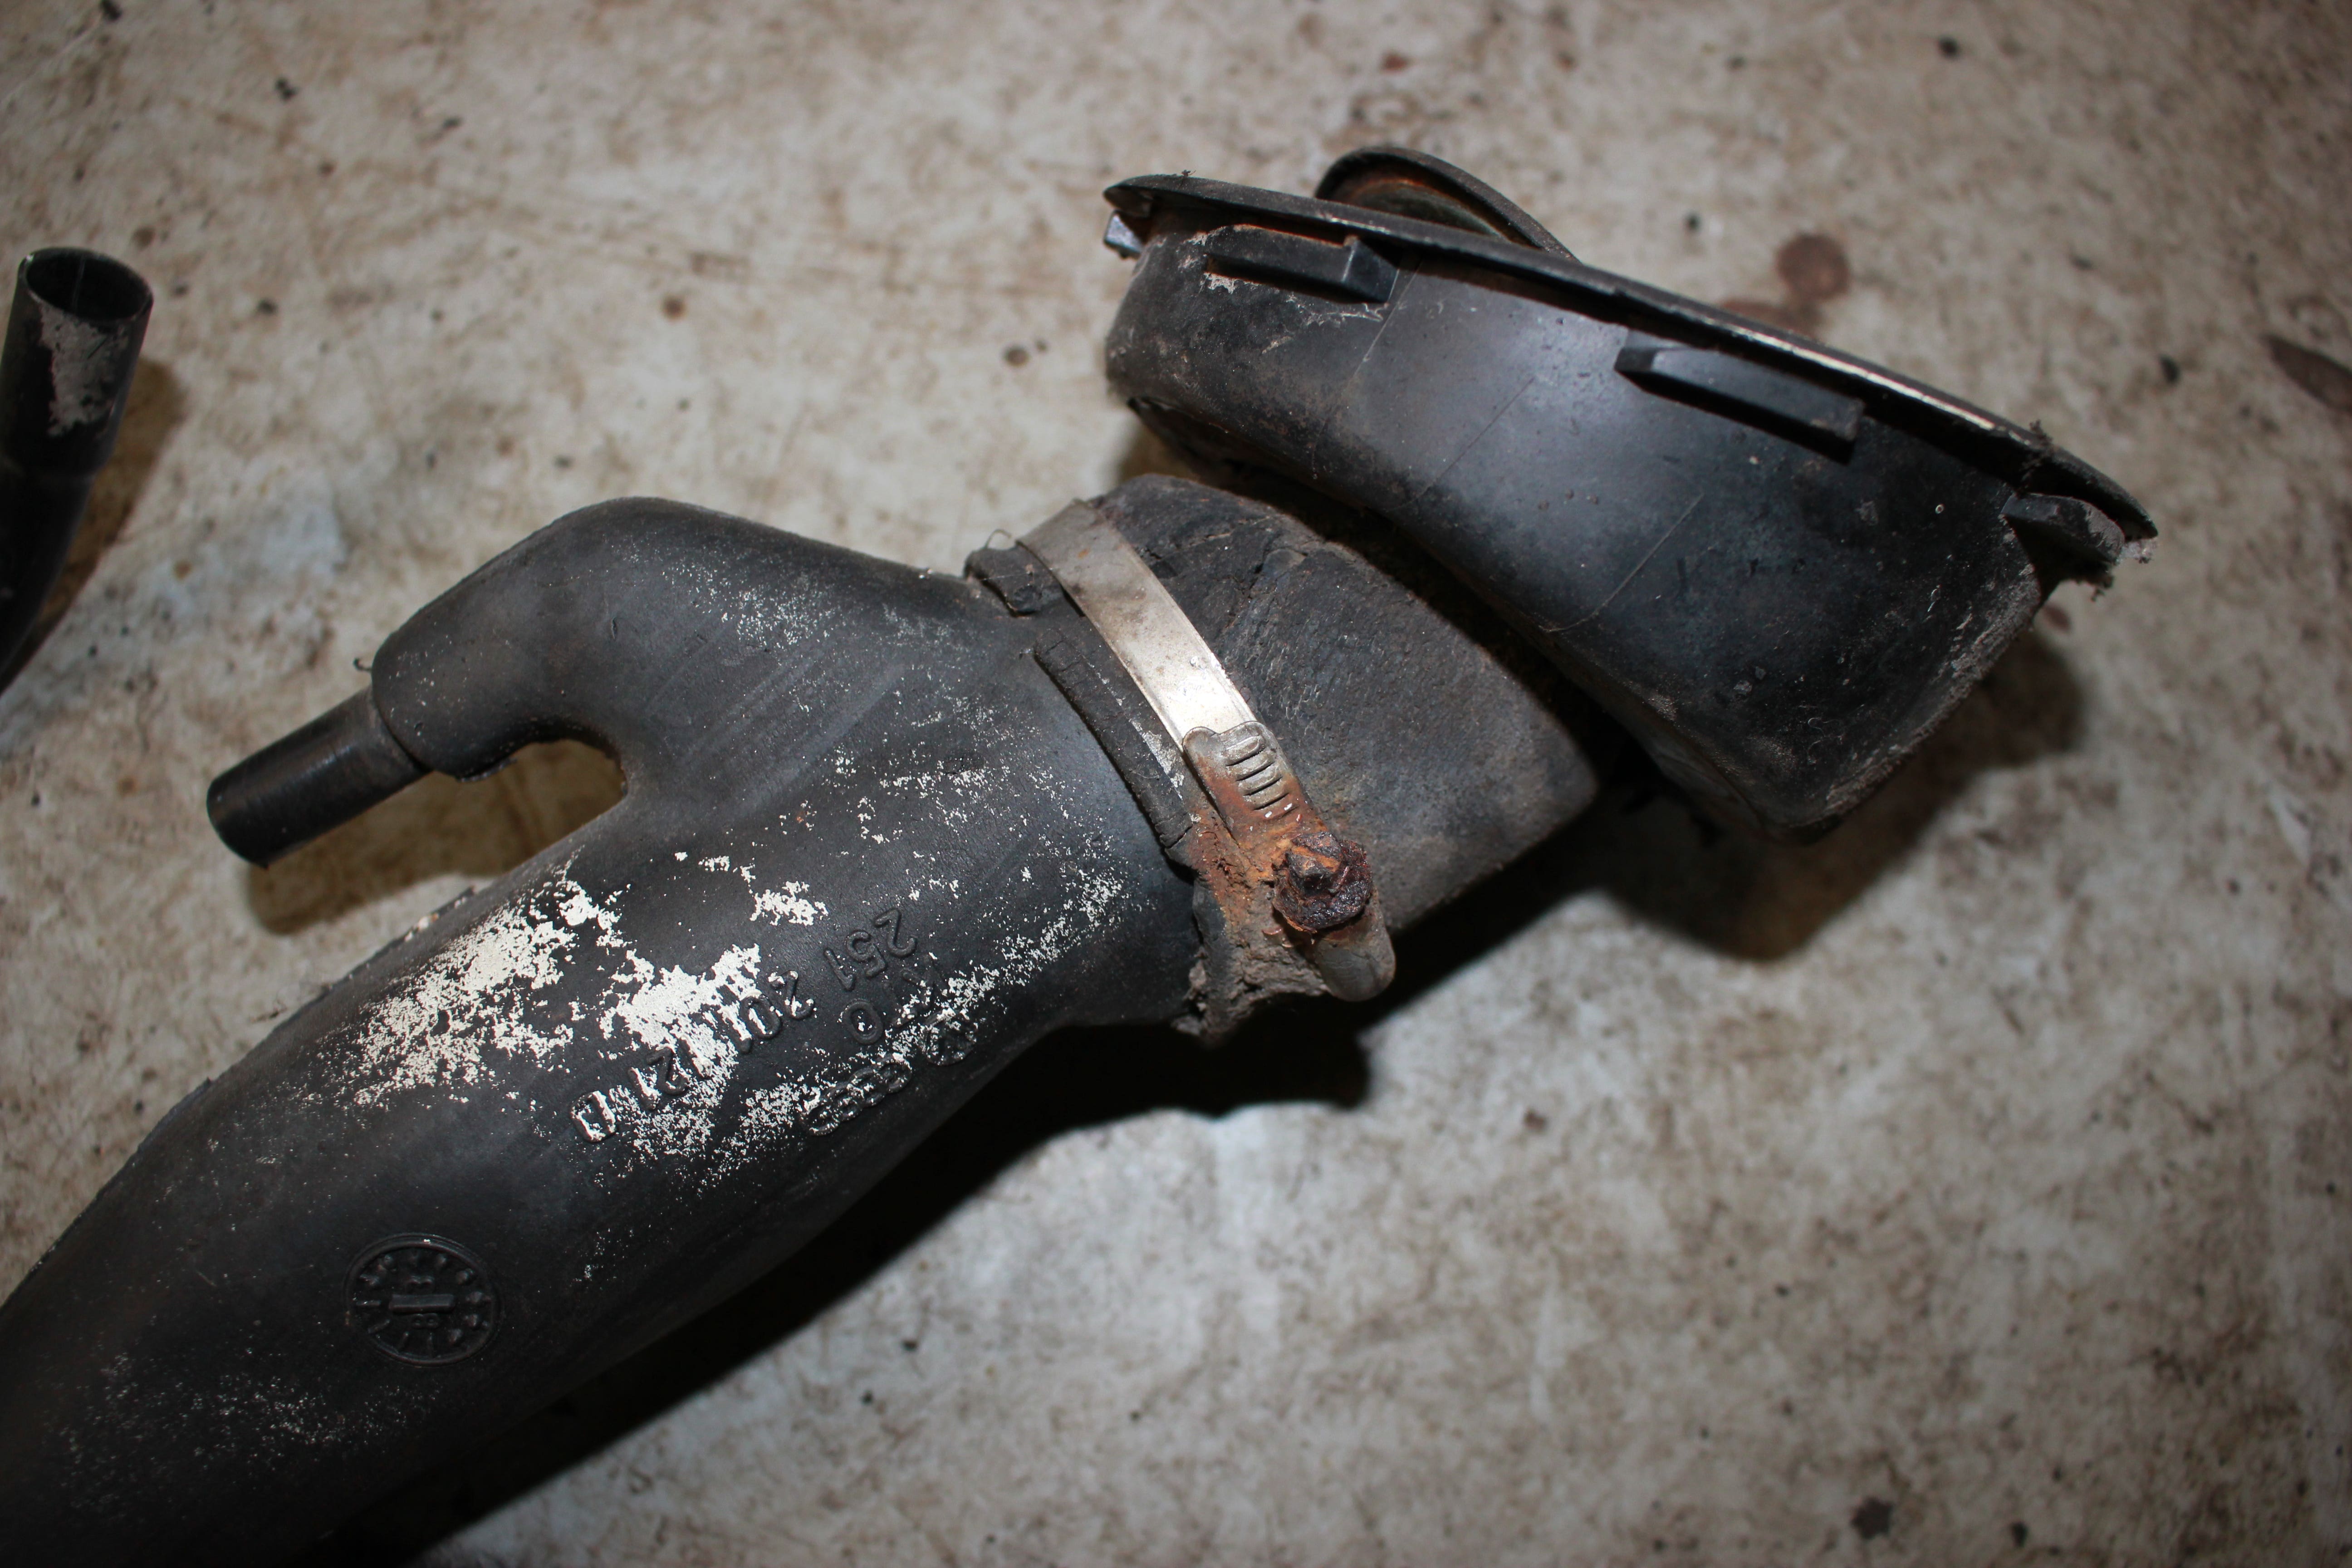
The cables join to the front to rear cable this is threaded to allow adjustment. The adjusting nut was seized so stupidly I cut the cable thinking I would be able to simply replace this.
Having never replaced one of these this turned out to be a steep learning curve, inside the cab, I disconnected the cable from the base of the handbrake and tried to pull the cable through, it would move so far then stop. I tried accessing it from underneath, but the cable is trapped between the petrol tank and floor. Looking at the new cable they have a plastic block as part of the construction this I assumed was stopping it from being removed. Nothing else for it, I'd have to remove the petrol tank.
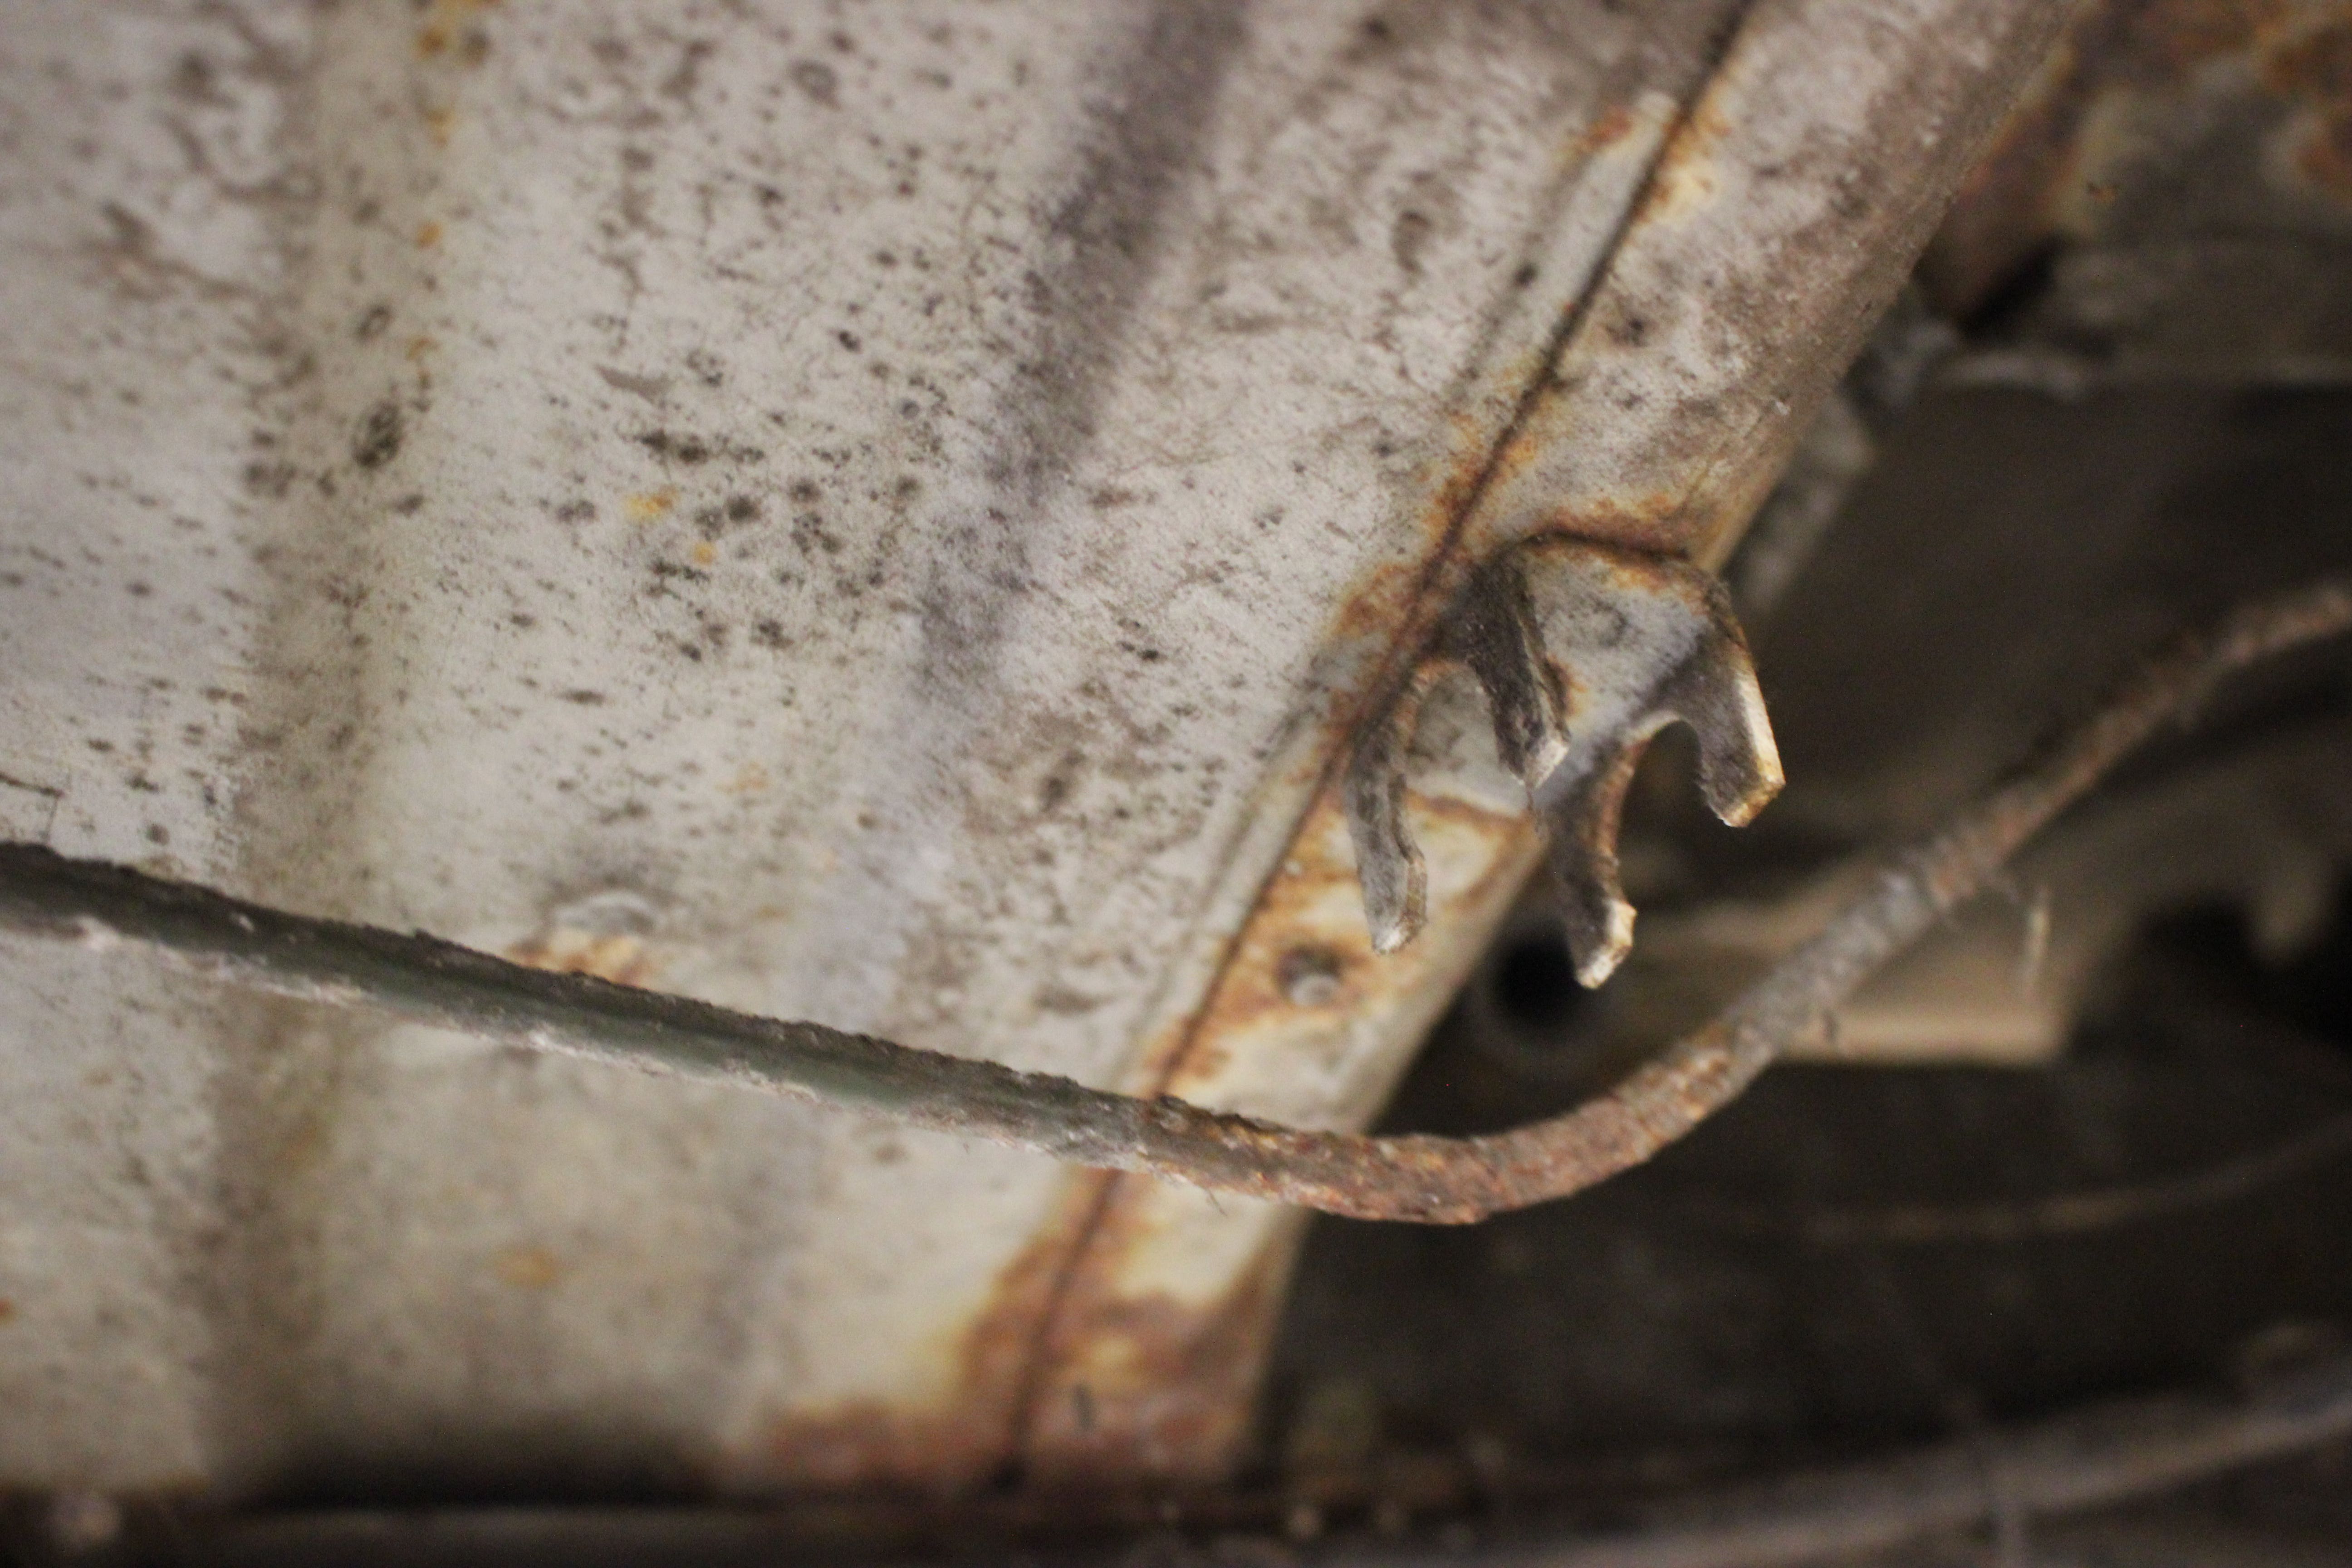
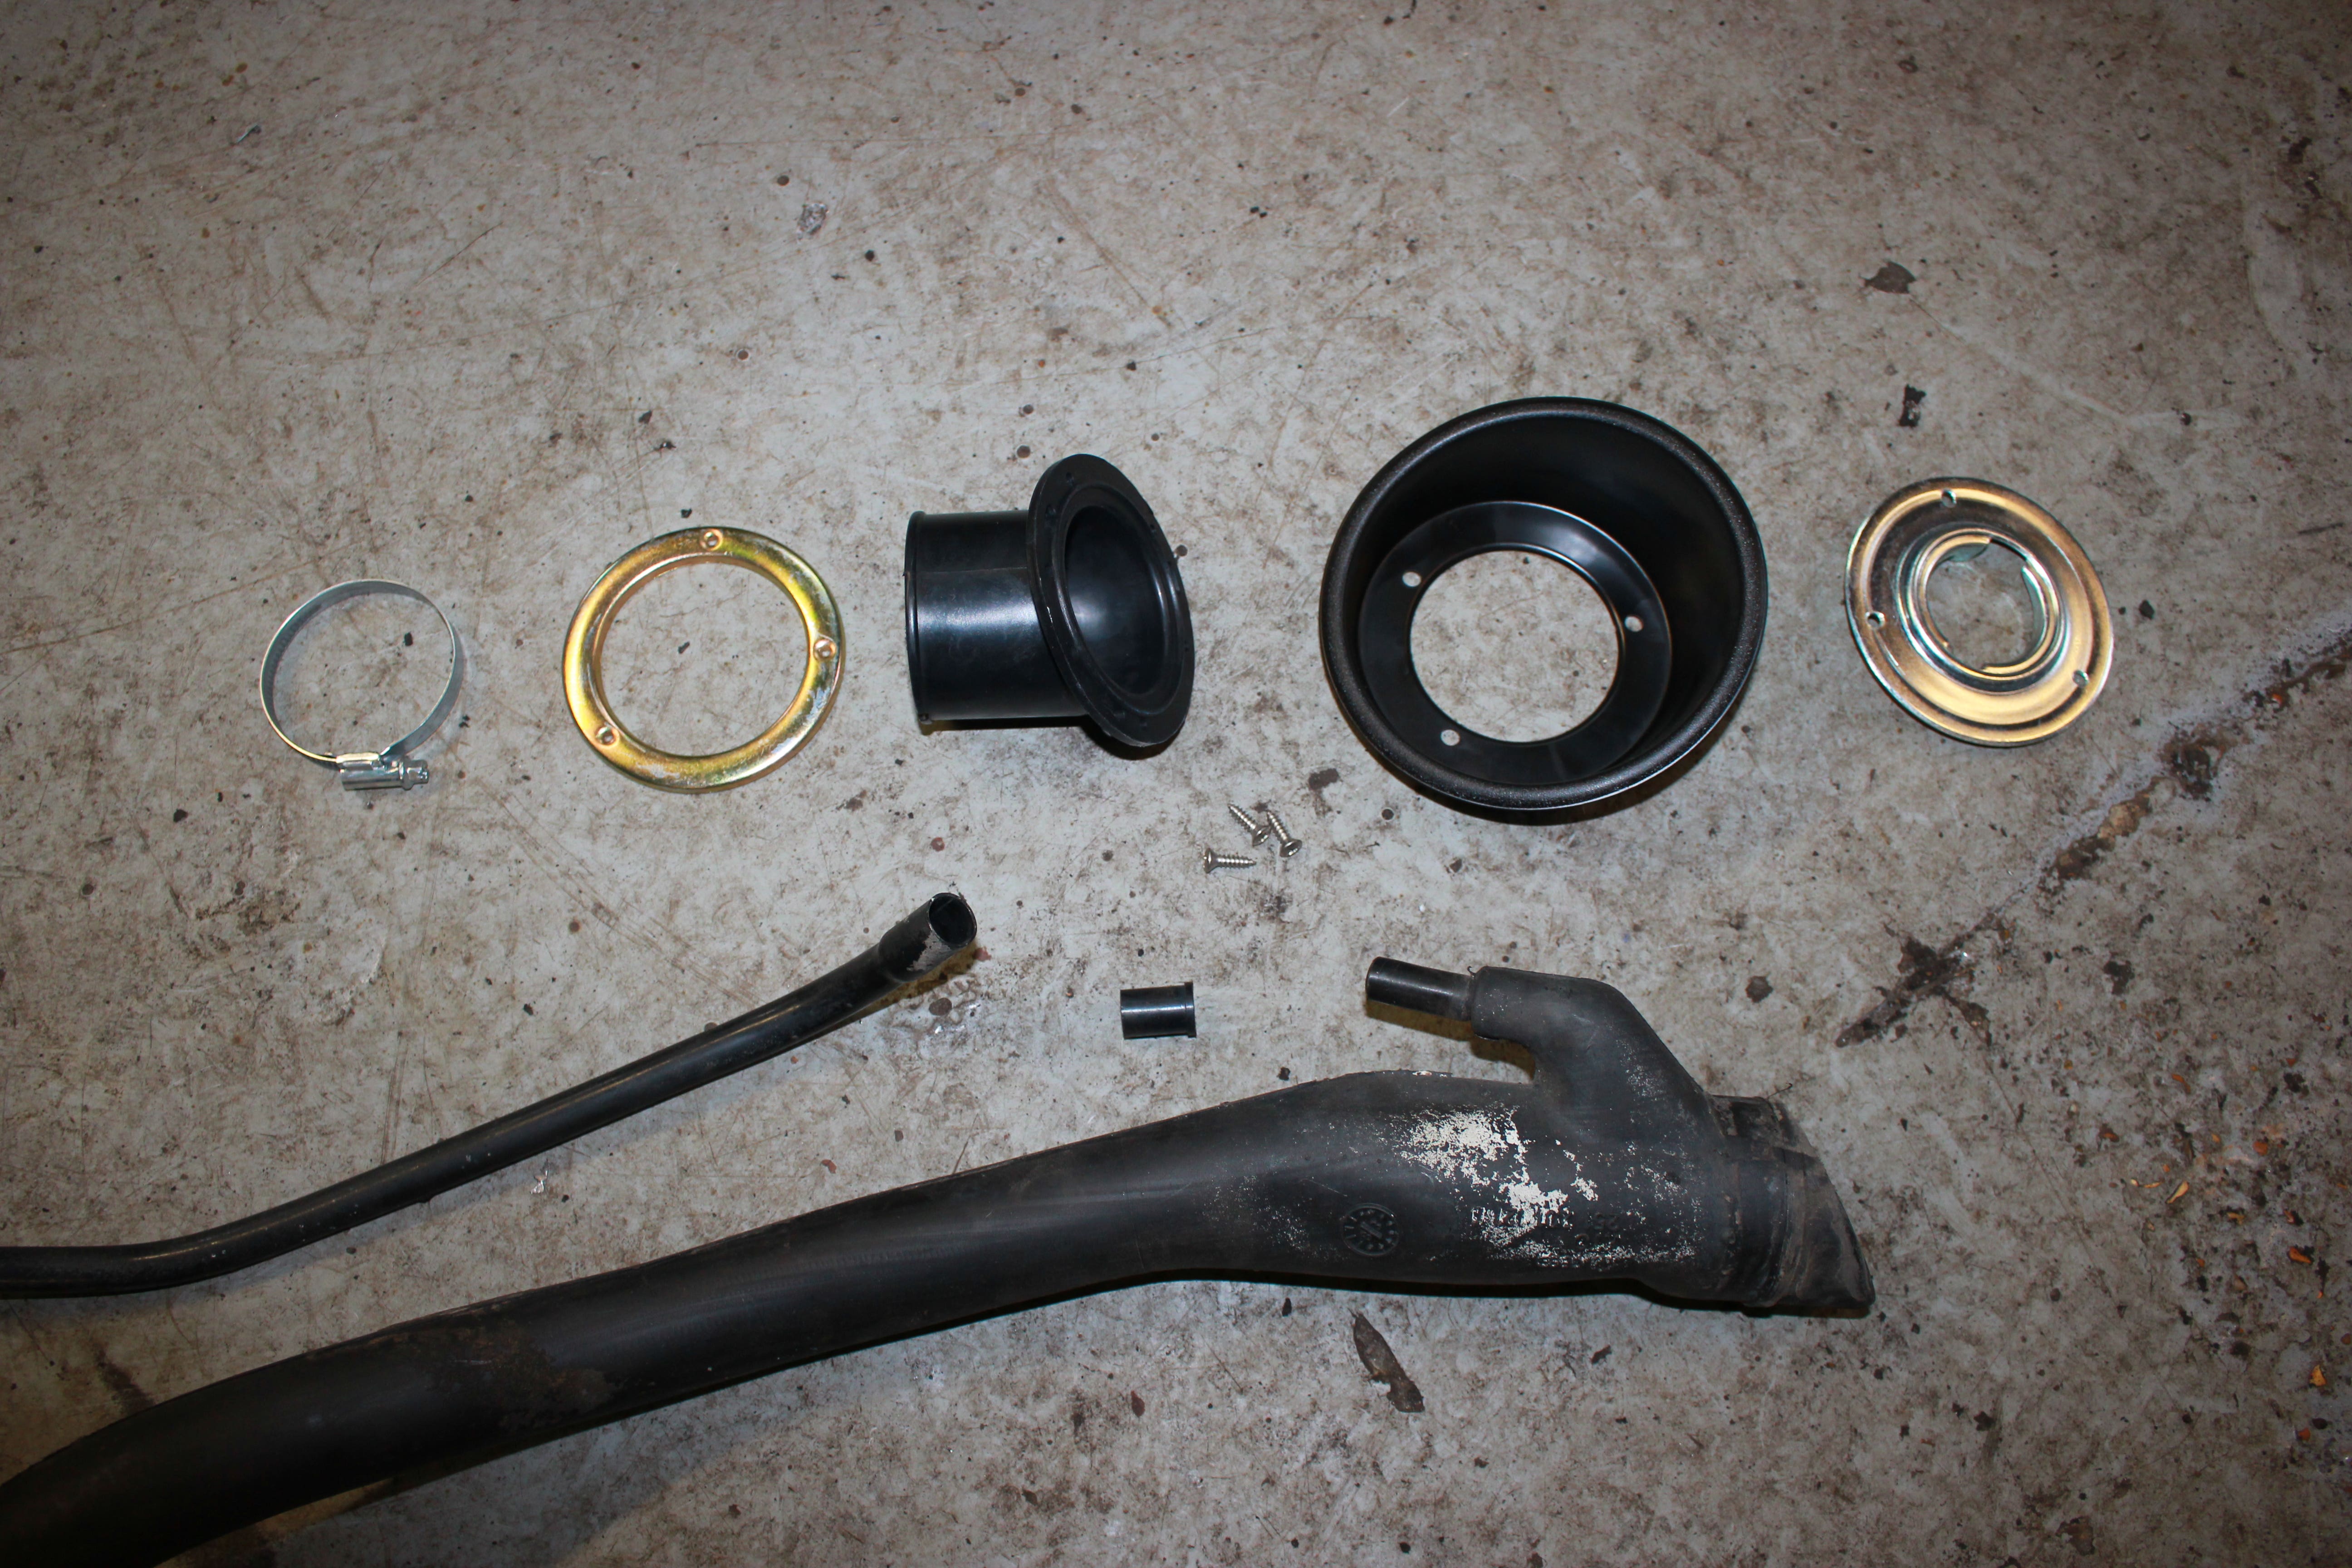
The steel ring behind the filler had rusted, this fell apart on removal along with the jubilee clip that holds the neck in place revealing the rubberneck at the top had perished so it would need replacing anyway.
Once loose I could draw the filler neck out, lower the tank slightly then disconnect the fuel gauge and breather pipes.

With the tank dropped down fitting the cable J10543 was very straight forward, the plastic block that caused all the problems was simply clipped into its bracket.
With the tank out this revealed the front to rear brake pipe was corroded when touching it started leaking.

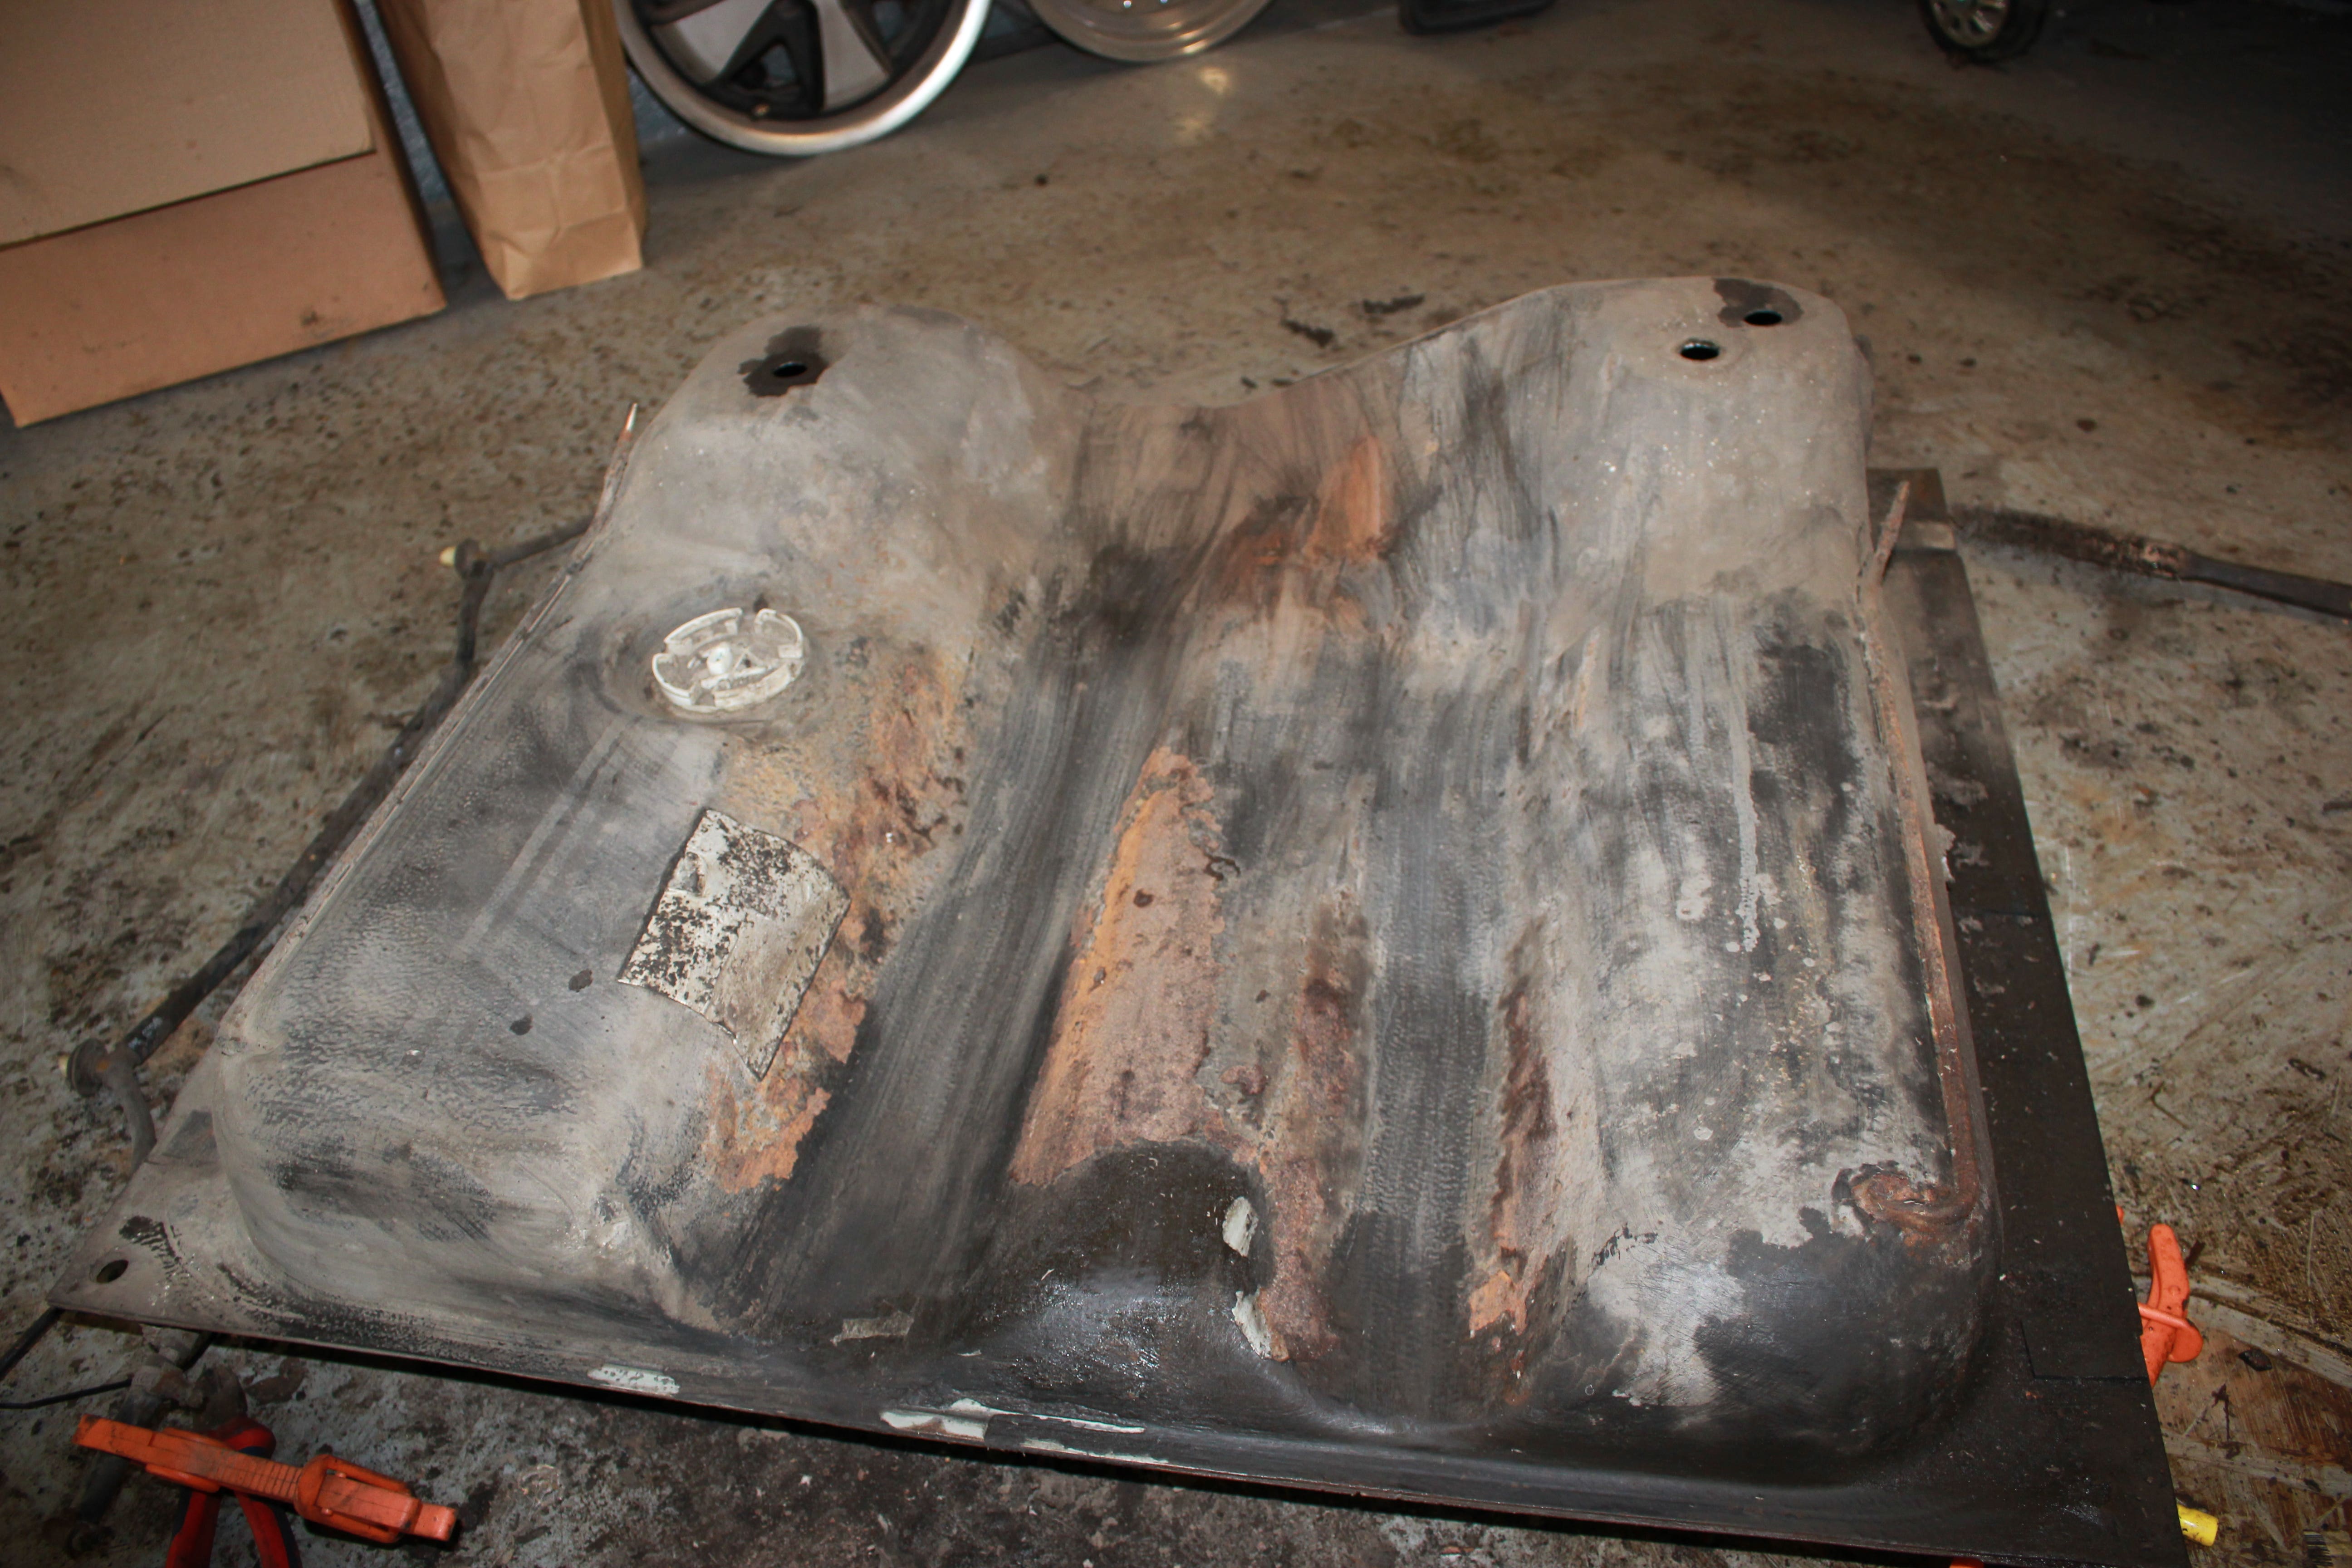
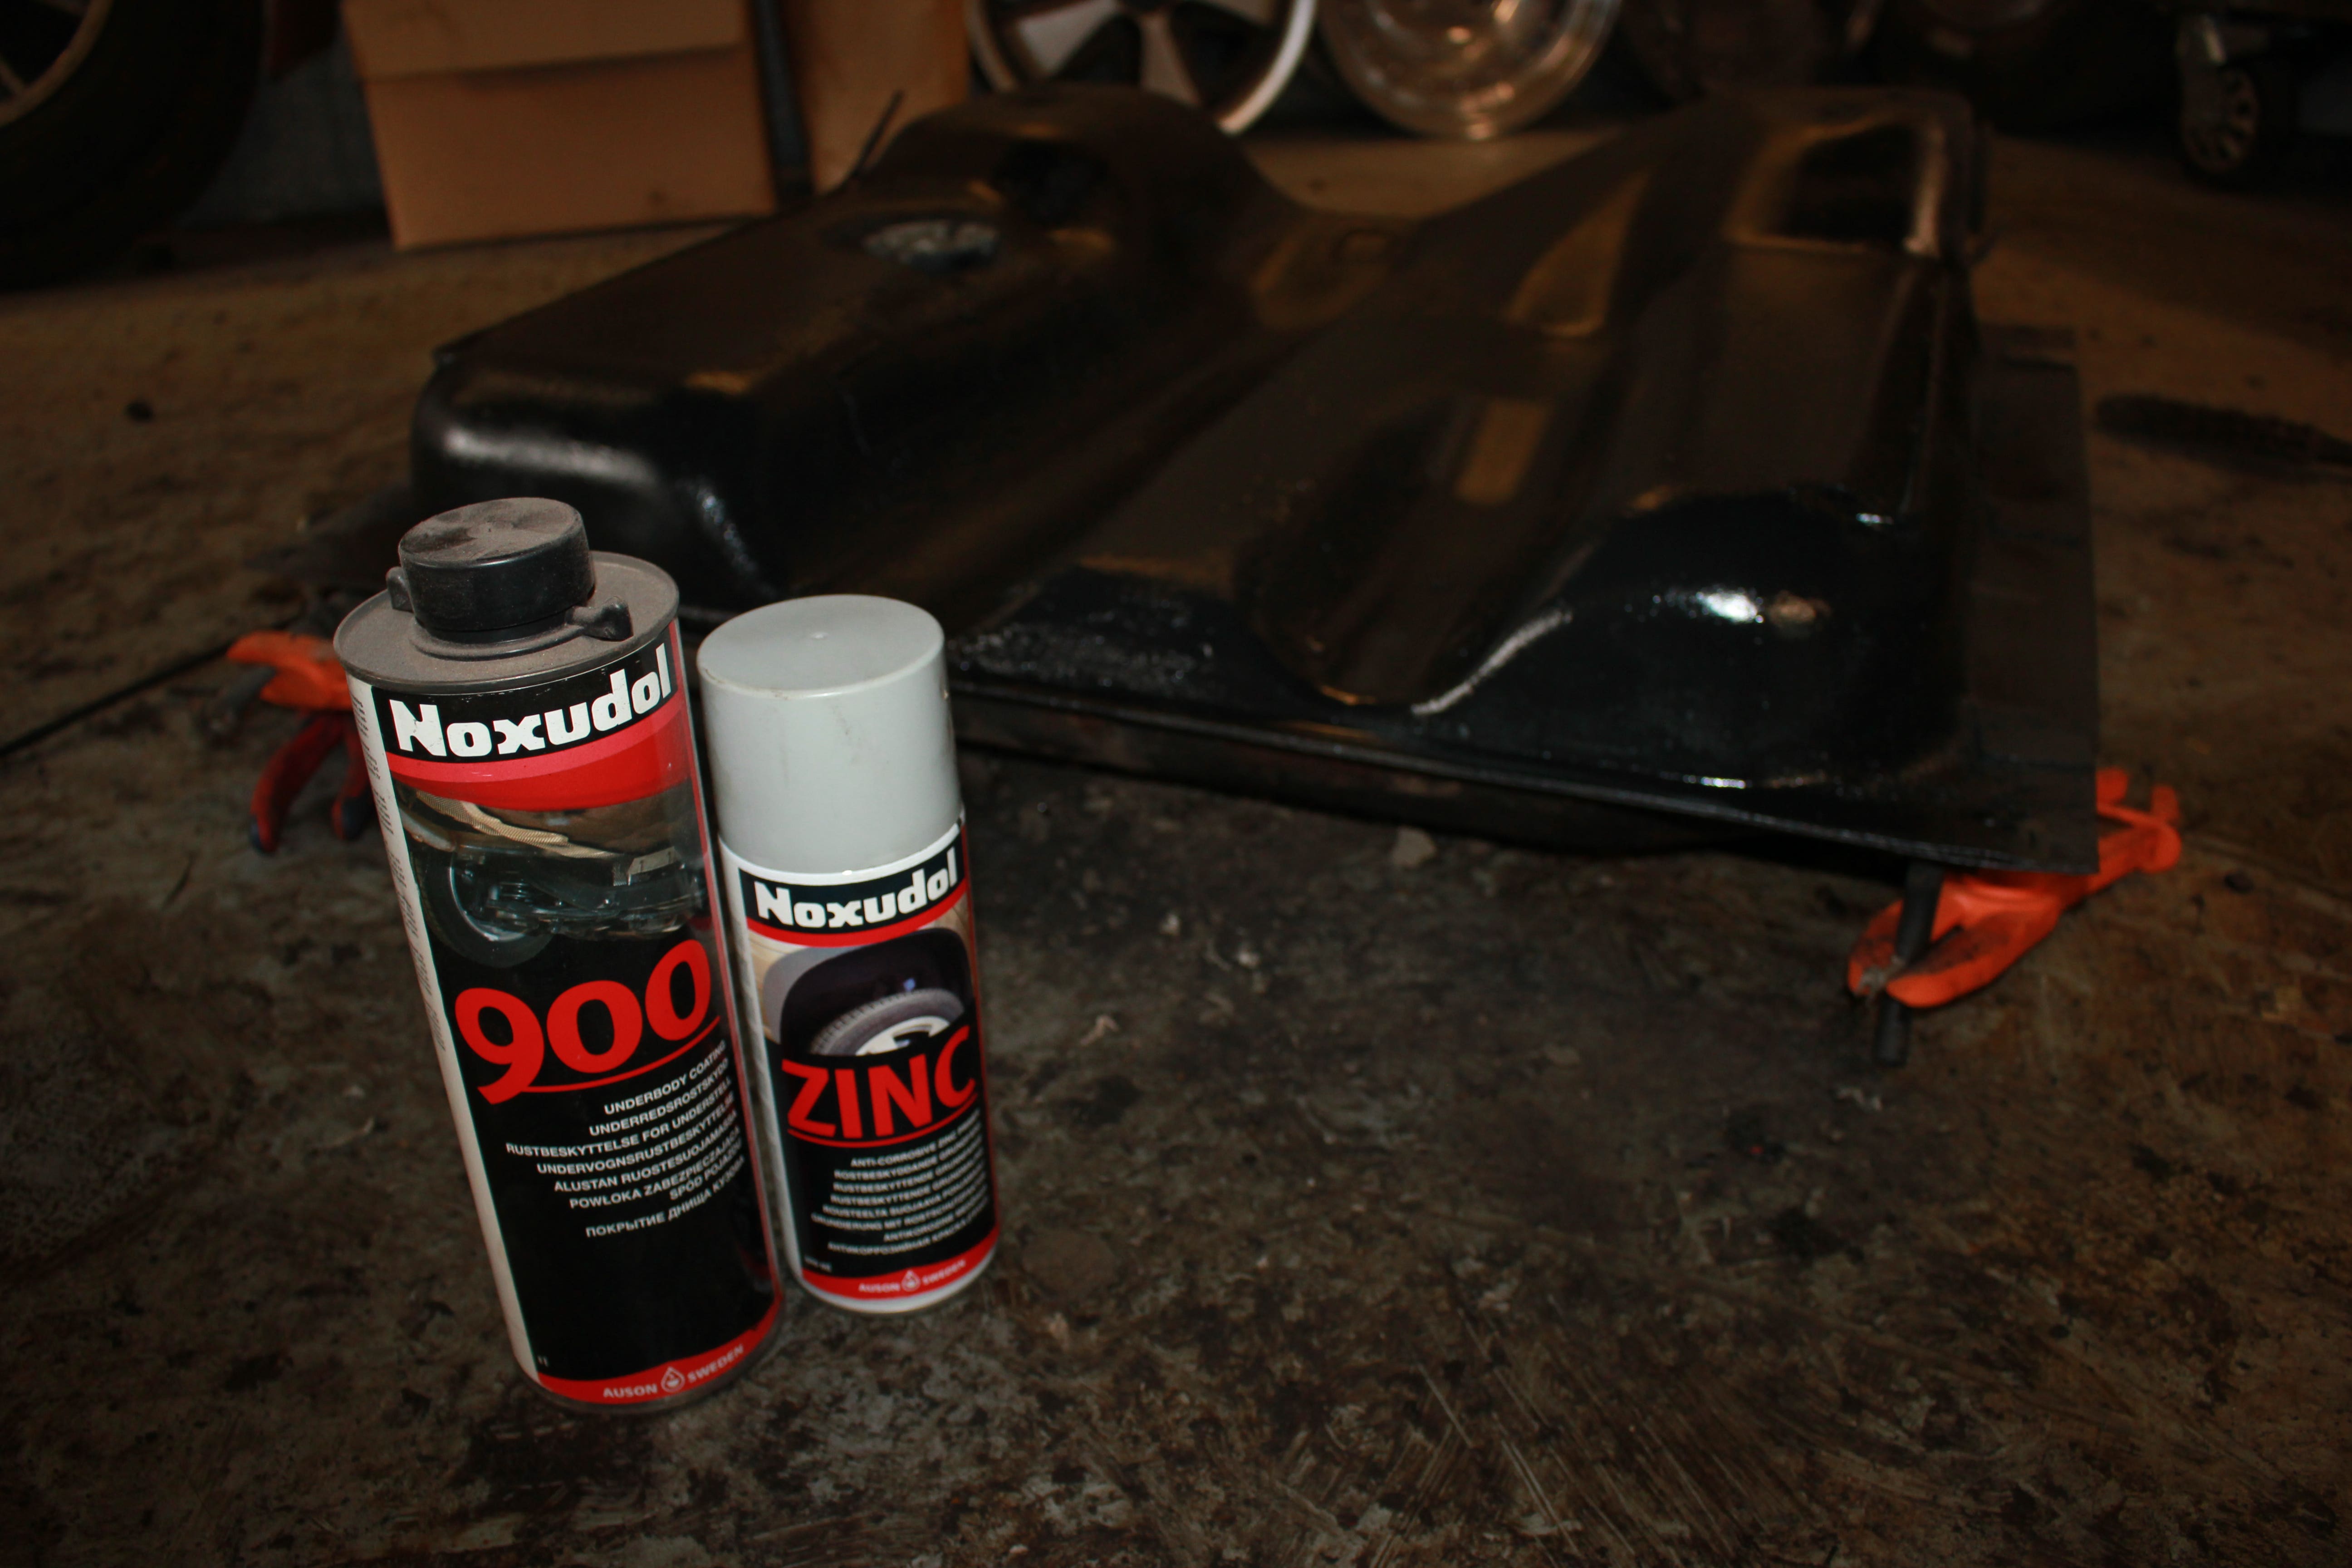
Taking the tank out had revealed these issues this also gave me the opportunity to inspect and clean the top of the tank then treat it with Noxudol zinc primer J43467 and underbody protection J43456. In went the new brake pipe J40681 with new retaining clips
Before putting the tank back, I replaced the breather seals J10945 and the filler neck seal J10758. Now, this may be a bit controversial, but I had decided to remove the breather tanks from under the wheel arches, so I linked the breathers to the balance pipe then this to the filler neck. Lifting the tank and fitting the pipes is all a bit fiddly once in place the tank straps were reinstalled this time with stainless bolts and anti-seize.
I reinstalled the filler neck using a small amount of silicone lubricant to ease fitment, then replaced the upper neck seal, metal ring, screws etc with our kit J43362 fitting the breather to the top of the tank with a new seal J10760 here it joins the filler neck.

At last, I could bleed the brakes. The brake reservoir for the T25 is under the dash brinicle, this simply unclips by lifting from the rear, but you need to be careful you don’t snap the plastic clips off. With this out of the way the filler cap is easy to access, I pressure bled the system I find this a quick and easy way to bleed brakes with no need for an assistant pumping the pedal.
I was, at last, getting closer to being ready for an MOT but there was still a long list to cover off. Checking through the lights finding both rear number plate bulbs were blown these were replaced with J10656. New wiper blades to replace the perished ones J10172 for the front and J10567 on the rear. The washers didn’t work the fix was simply filling the washer bottle with screen wash J29393. The indicators and horn didn’t work but both were a quickly sorted, a new flasher relay J10162 and a new horn J10154 had both working.
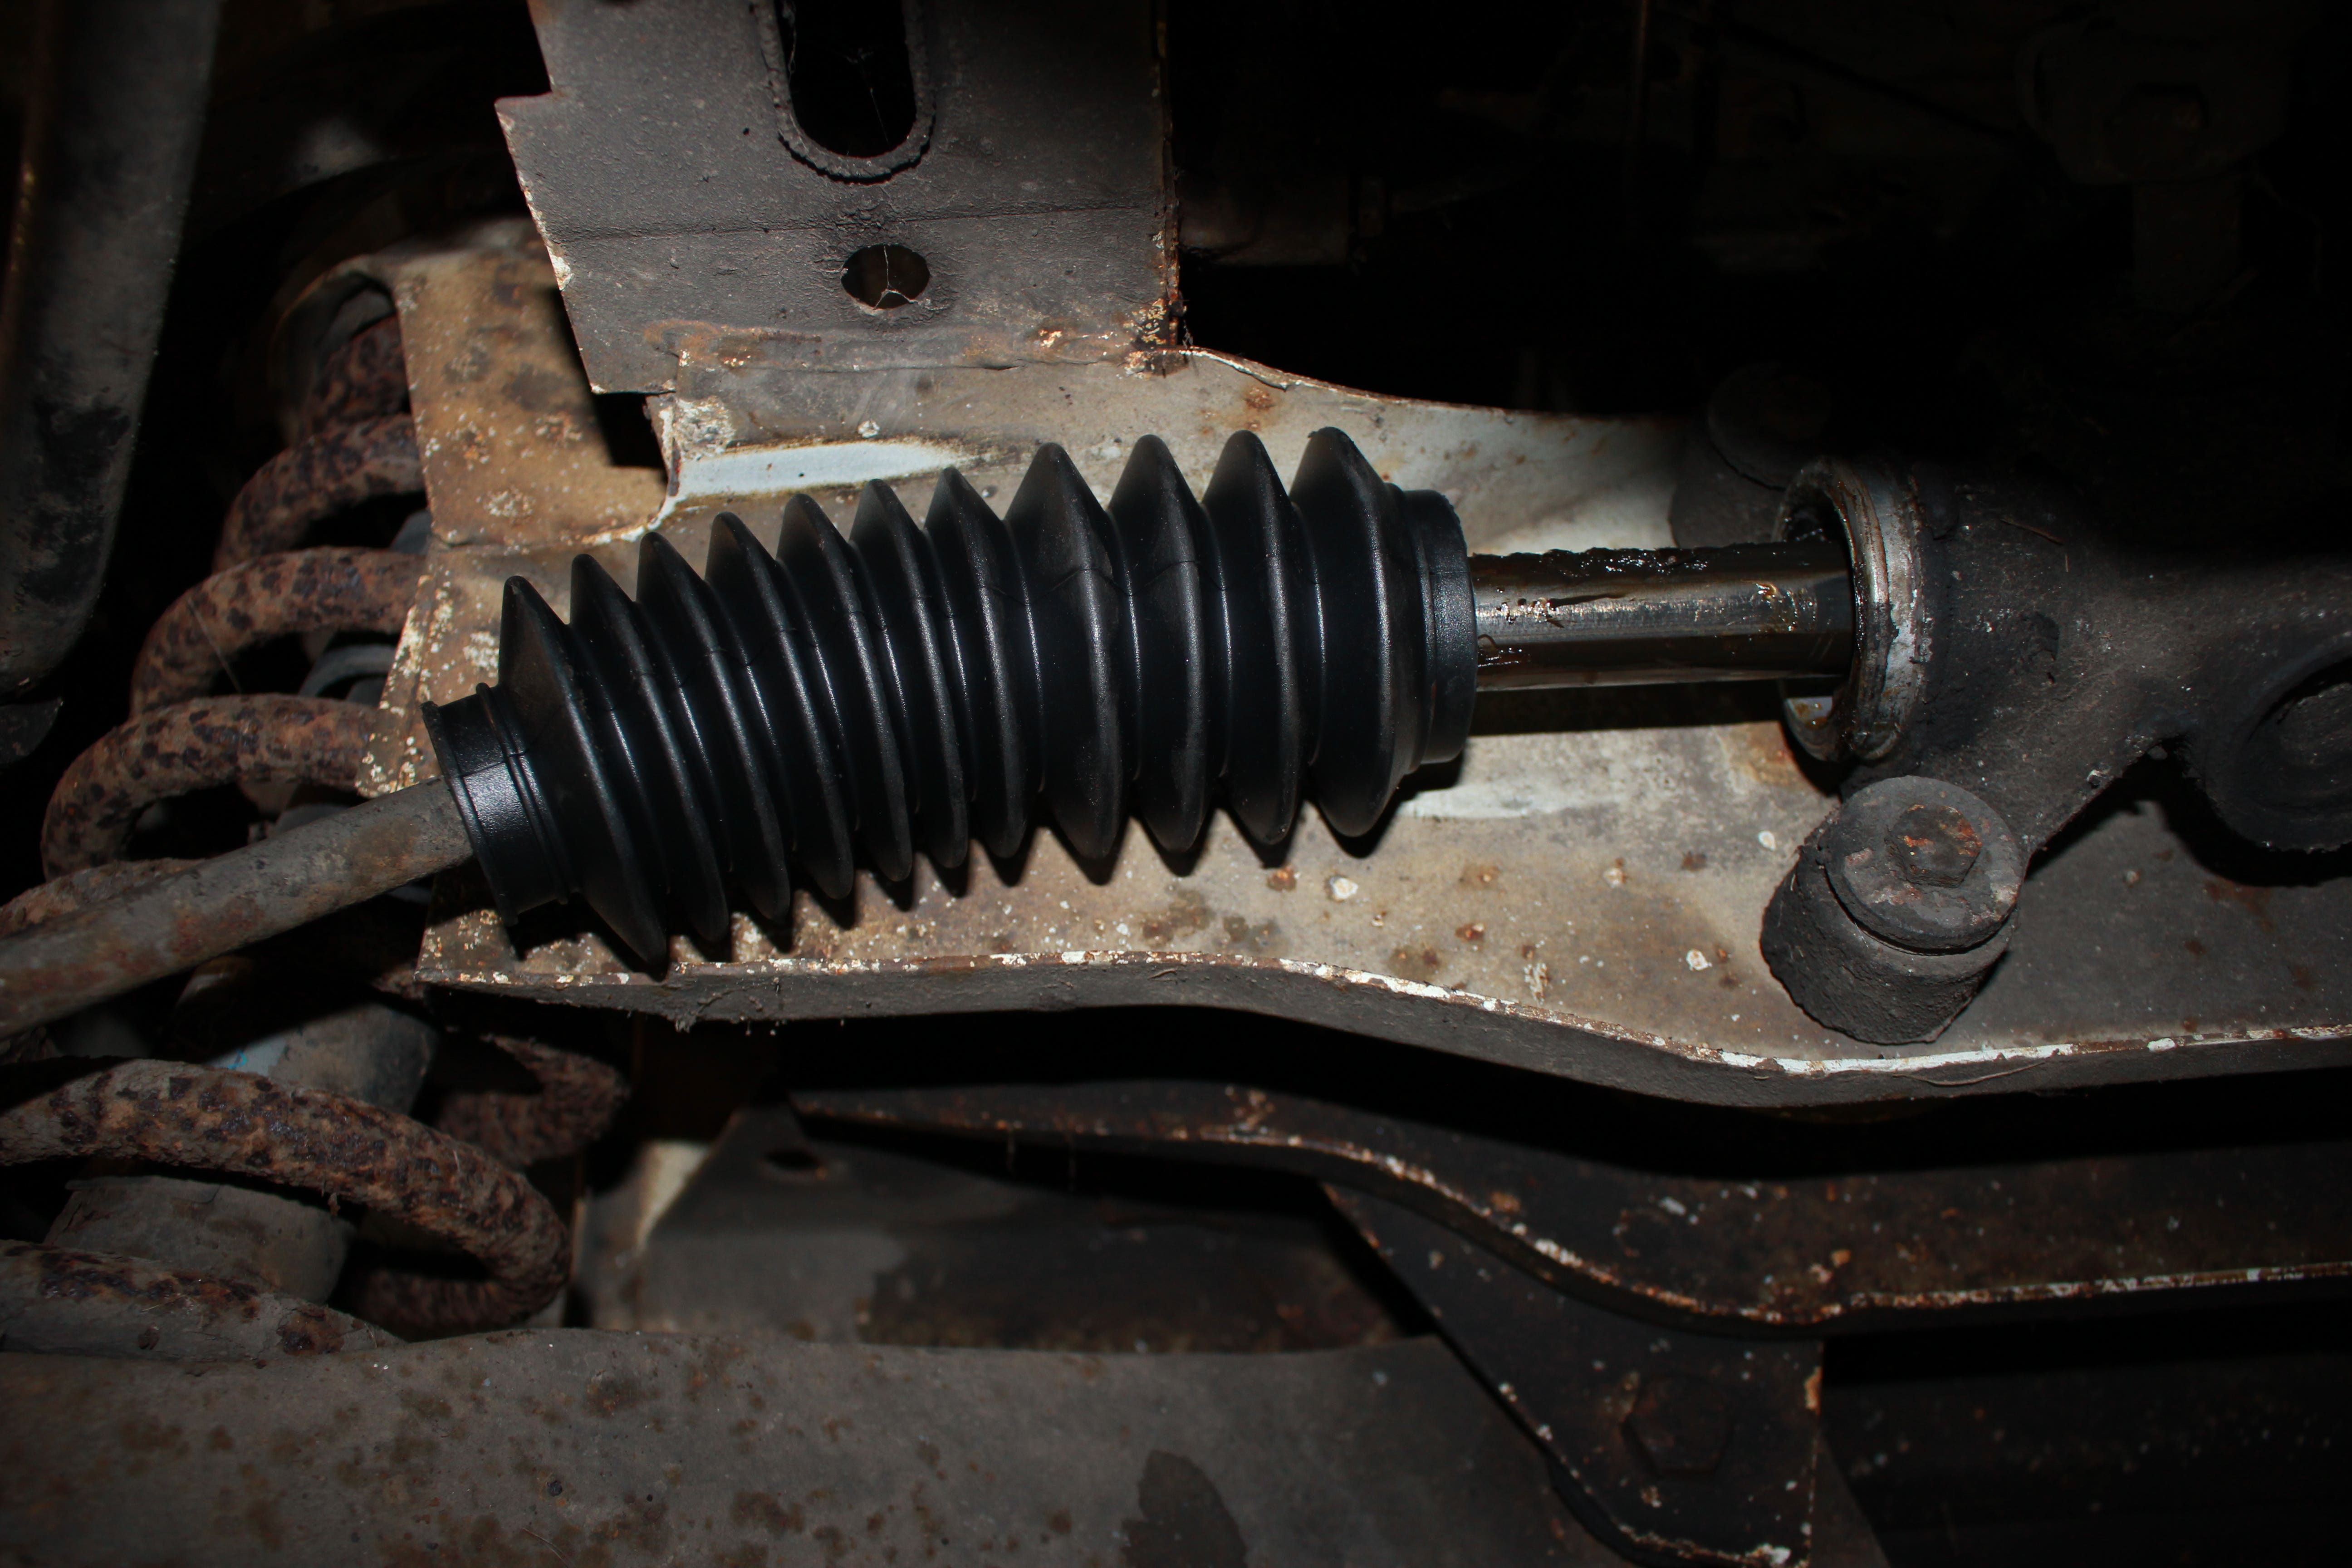
One steering rack gaiter had split, again no matter how hard I tried I couldn’t get the lock nut to undo, heating it with a welding torch soon saw it expand and spin-off. Once removed the track rod end showed signs of wear so this was replaced with J10289 and a new boot J10284.


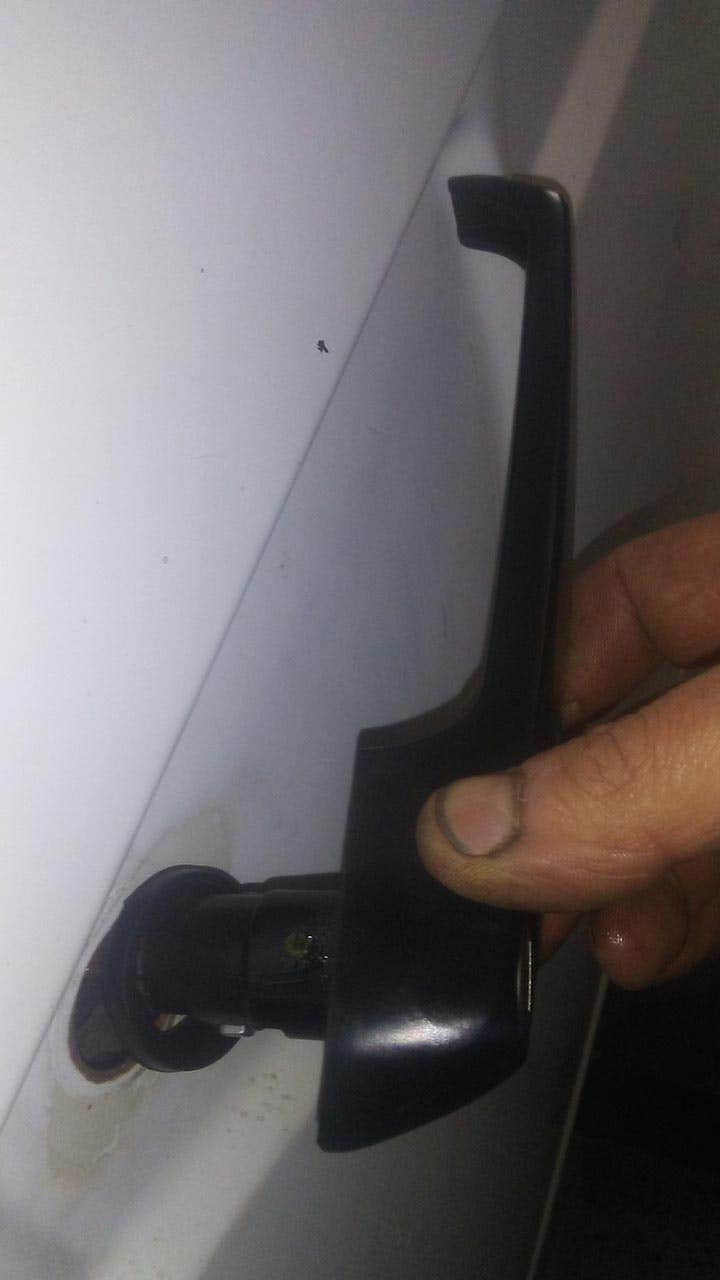
A couple of over silly bits I sorted, replacing the home-made sliding door handle with the correct one J14403 and the respective grommet J20011.

Fitting a new pair of mirrors, we often hear people say the mirrors fold in at 50mph this can be the case, but the cure is simple. I screw the mirrors in place with the gasket then sit in the van and adjust the mirrors to suit. Then remove the mirrors and flip them over on the underside there is a 10mm nut this then needs to be tightened gently as these can easily snap off. Once tight refit the mirrors they should now stay put when moving.


With the wheels refitted I was ready for a test drive, a quick spin around the yard revealed the clutch bite to be low, an inspection of the slave cylinder revealed it was leaking. Fitting the new cylinder J10290 is a bit awkward also the metal pipe had corroded into the plastic tube VW used on the early models so I did away with these two pieces replacing it with the later style flexi pipe J31146
I pressure bled the system, normally this is hampered by the lip of the engine bay but a previous “mechanic” had hacked the lip away to gain access. Not pretty but it made the job a lot quicker.
Everything seemed to be running fine so I booked an MOT even though the engine still smoked. An hour before I was due to go I panicked about the repair on the front step so quickly cut the offending piece out then welding a simple patch over the top, this is something I will fix at a later date.
Off to the MOT, the van drove really well on route it seemed to stop smoking I have no idea why but was happy. On arrival the first thing to be done was emissions. It failed on CO level being too high. The MOT man carried out the rest of the test commenting on how solid the bus was and that he could see I'd done a lot of work. Once done we put the van back on the emission test luckily with a few turns on the mixture screw the van passed.
Instead of taking the van to the JK workshop I drove home as I had a few major modifications planned and wanted to be able to work on the van whenever I had a spare moment.
Back to Part 1
Part 3 coming soon...