How to adapt a 1973 Type 2 arch to fit a 1971-72 T2 bus
When Volkswagen manufactured the Type 2 'Bay Window' bus they did some very strange things over the years. The 'Bay Window' buses, to your average man in the street, are all just camper vans, but the more you get into them, the more complicated they become.
During the bus' production time Volkswagen designers made subtle changes to all manner of parts, particularly to the body. One of the most popular body items we get asked for is new front arches.
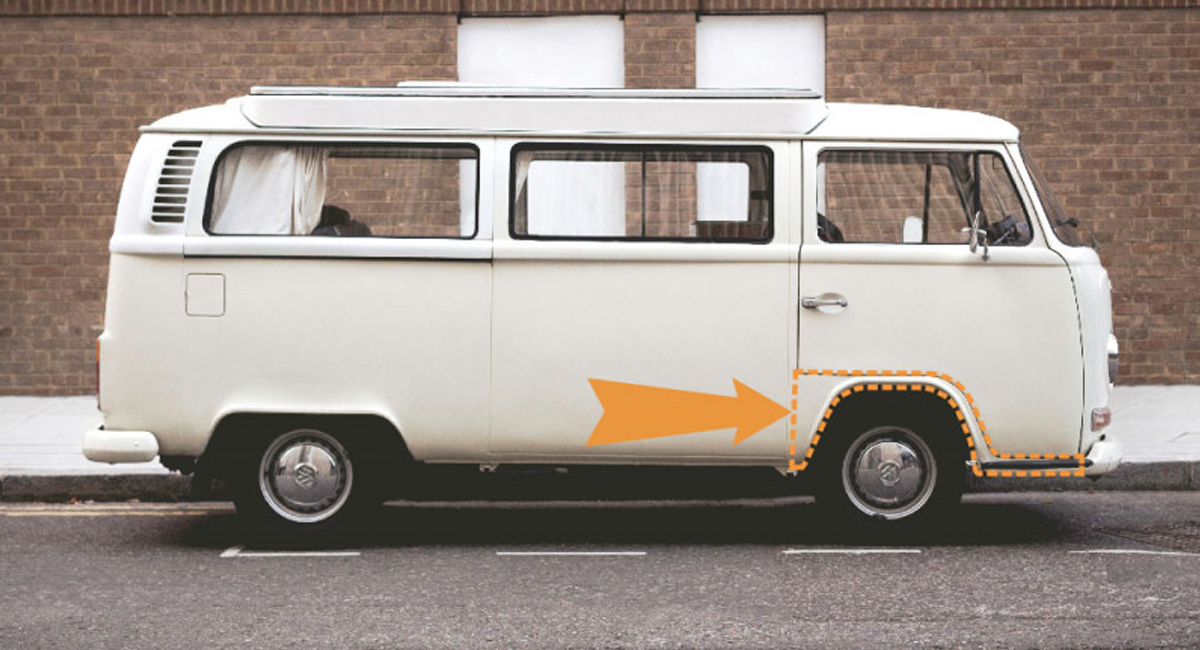
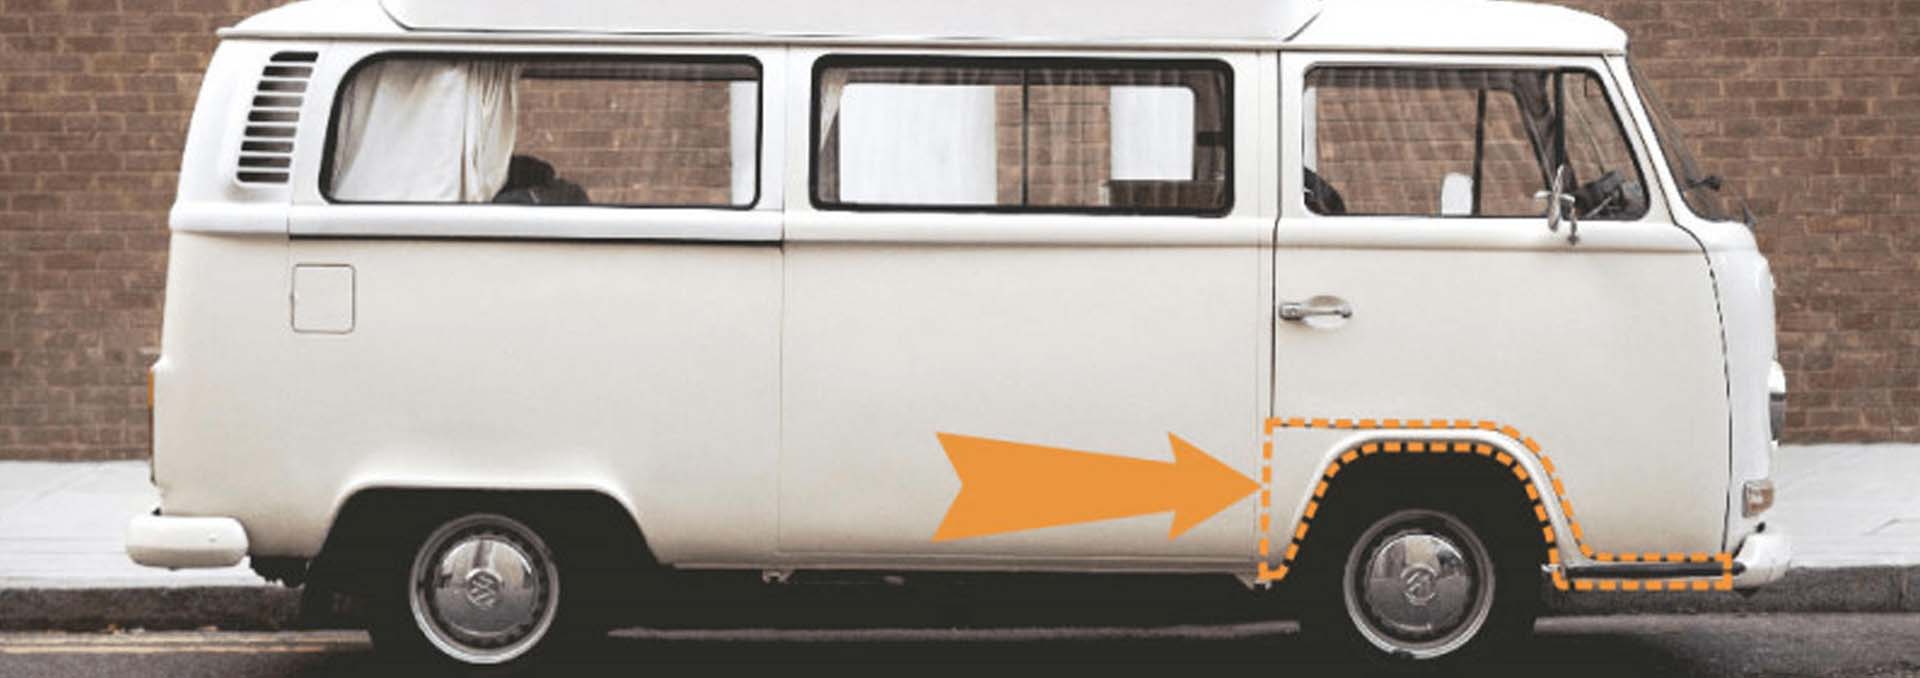
The early buses up to 1971 and the 1973-79 arches are fine, but the problem lies with the August 1971 to late 1972 bus model. There was until recently, no repair panel for this style of arch. So in order to solve this, you would have to modify /adapt a 73 panel to fit. We'll discuss this more in a moment.


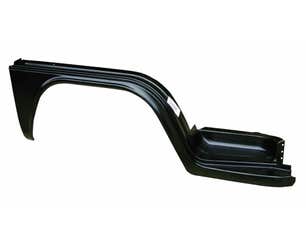
We now produce a quality crossover panel from Preservation Parts. These front arches are specifically for the 1972 model year cross over bay and each panel has the late style wheel arch lip with the early inner step. These are exclusive to JK and are made to the same high standard as the original VW product.
About Preservation Parts from JK
We set up Preservation Parts because felt something was missing from the classic air-cooled VW. Both owners and VW workshops were telling us that they were having trouble finding good quality components.
It was clear that for those whose priority was quality over cost, there was little option than to accept a low quality part rather than something that equalled the original fit.
We want to make it easier for owners worldwide to keep their beloved VWs in perfect order. Tired of low cost, sub-standard, ill-fitting parts? We have the answer: Preservation Parts!
However, If you are the proud owner of one of these 'change-over' models, and you fancy having a go yourself at adapting a 73' panel, we've put together a guide to help.
How to adapt a 1973 T2 Bay wheel arch for your 1972 'crossover' bus:
- Firstly, you will need to remove your old arch from the vehicle. When removing the arch you must drill out the spot welds along the top of your arch where it meets the wheel tub, then cut the arch away from the 'B' post. Moving to the front of the arch, cut the step away from the 'A' post. Cutting these panels is best done with a chisel or angle grinder with a metal. cutting disc.
- Once the old arch is cut off you will need to clean up any rough edges that have been left behind. Now turn to the new arch and hold this up to your bus, you will see that the step is all wrong. This, although it looks daunting, is easy to modify.
- Cut the inner step away from the outer, leaving at least half an inch overlap. The best method we have found to cut this with a jigsaw with a metal cutting blade.
- Once you have this piece removed, position the arch on to the van, making sure that everything aligns correctly, especially the base of the door. If you are fitting new doors these must be hung before installing the arch as no two doors are ever. the same. Once you have the arch aligned mark out where the arch fits and remove it from the bus. Now using a grinder with a 40 grit 'soft pad' clean off any paint, undersea! any surface rust where the new arch is going to sit, also clean the paint off the new arch where it will be welded.
- Replace the arch on the vehicle and check the alignment once again. We cannot stress enough how much you must check, check and check again to make sure everything is in line. When you are happy, tack the arch in place along the 'A' and 'B' posts and along the tub.
- As you now have the arch in place, you need to fabricate a new inner step. This is best done by making a card template of the piece needed, once you are happy with this, transfer your pattern to a piece of 18-gauge steel and cut it out.
- Now tack your new panel into place, once again, check for alignment to the door and start to weld the arch in place.
- Using the previously drilled out spot weld holes, plug weld the arch to the tub. Weld the 'A' and 'B' post and the new step in solidly on the outer of the arch.
- Once welded, grind the weld back and treat with seam sealer, undersea! and paint. Once the vehicle is painted, protect the arches and inner box sections with either Nuxadol or Waxoyl for added longevity.


