
Everyone here at JK HQ loves getting stuck in to a good restoration project! Our on-site workshop is always full of staff vehicles being worked on before and after work, as well as during lunch breaks.
We even restored a T2 Bay as a team and drove it around to a load of different shows.
We’ve all got stories of triumphs and total failures when it comes to resto projects, so we thought we’d put together some of our top tips and nuggets of wisdom in the hope that they might be useful for you.


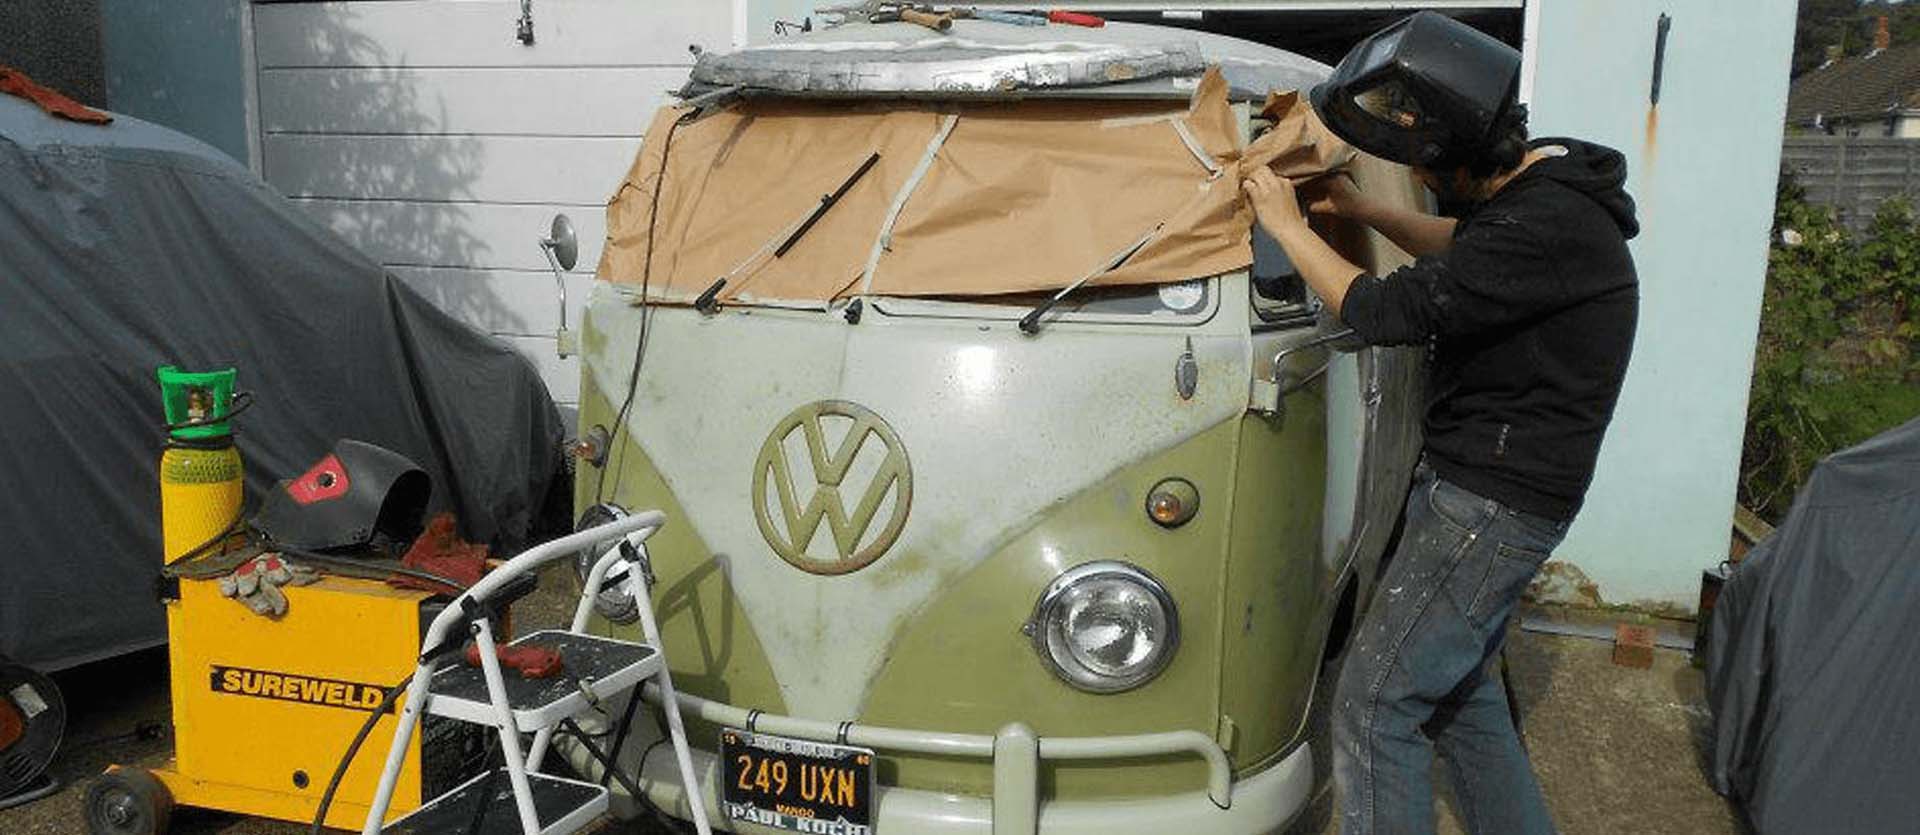
Here's a couple of shots of the JK Workshop in action
First and foremost, let’s talk about rust.
Rust is that dreaded word that instantly makes you add 00’s your mental budget when costing out a restoration budget.
Left untreated, rust can eat away at a vehicle, weakening the structure and making it wildly unsafe, as well as making it potentially worthless.
To get scientific for a moment, rust is formed when the metal components of your vehicle are left to interact with oxygen and water. This process can be made worse by salt, which really kicks off the chemical reaction. Any areas with exposed metalwork where the paint or primer has been damaged from scratches or dents are increasingly likely to rust.
As you can imagine, wet, salted winter roads can cause real problems for many vehicles, but especially classic cars.

Here's a shot of some of the rust that Shaun from the JK Team had to deal with!
Tackling untamed rust can be a huge drain on time and money. Before you start a project you should look over the vehicle thoroughly for any signs of rust.
Here are some of the areas we’ve noticed can get particularly bad rust. It’s not an exhaustive list, but it should help!
VW Beetle:
- Under the wheel arches
- The spare wheel well and firewall, under the bonnet
- Around the battery below the rear seats
- Heater channels
- The quarter panel behind the rear window
- Rear ‘luggage’ section, below the rear window
T2 Split Screen and Bay:
- Roof guttering – this is an infamously difficult job to tackle!
- The rear battery trays in the engine compartment
- Engine lid
- The lower 6 inches all the way around
- Front and rear wheel arches
- Cab doors
- Jacking points, outriggers and floor
T25:
- Fuel tank – this is a natural water-trap, and is often rusted
- Chassis rails and sills
- Jacking points
- Around the battery tray
- Wheel arches
- Bottom of all doors
- Roof gutters
Newer vehicles, such as T4s and T5s, shouldn’t be badly affected by rust, but it’s definitely one of the first things we check for when looking for a new project.
If you’ve got a project with rust, you’ll want to completely remove any corroded metalwork and replace it with fresh panels. Depending on the location of the rust, this can be fairly simple or a real chore.
For example, replacing the cab doors isn’t nearly as much of a chore as replacing all the guttering!
Our JK Project Bus looked really rusty, but that was because we found it at a swap-meet in California, so it was mostly just ‘surface rust’. We ensured that the undersides were totally fine and solid, then treated the whole thing with Waxoyl anti-trust products, to keep it looking ratty but make sure it stayed solid and safe.


The JK Project Bus was all shabby chic
Availability and quality of parts
As a leading parts manufacturer and retailer, we’re maybe a bit biased here, but we always recommend buying and fitting the best quality parts that you can realistically afford.
This is why we always try to stock the very best of everything on the market, and even launched our own Preservation Parts range.
The old adage of ‘buy cheap, buy twice’ definitely applies here. If you fit a cheaper ‘alternative quality’ product, you may just end up replacing it again a little way down the line. Now, obviously, there are times when you just need to grab the nearest, most affordable part you can get your hands on to get back on the road, but if you’re undertaking a big project it’s well worth taking the time to find the best quality version of whatever you’re looking for that you can afford.
Sometimes, if you’re working on a really rare vehicle, you might not be able to find the parts you’re looking for at all, which can be a real nightmare. It’s always best to look into the availability of parts before you invest in a project.
Without wanting to toot our own horns, we stock a huge amount of parts on site at JK HQ (around 500,000!), and have many more we can get in on special order for you. Plus, we’ll deliver them anywhere in the world!
A word on buying half-finished projects
Buying a project that someone else has been working on can be a potential minefield. Stepping in to a restoration mid way isn’t for everyone, but here are some things to check out or mull over if you are thinking of taking the plunge:
- Who carried out the work that’s been done so far? What level of experience have they got?
- Do they have a full list of parts that have been fitted? What kind of quality are they? Are there receipts?
- Is the sale the result of some major issue with the vehicle?
- Are there any parts included in the sale?
- What will you need to pick up the work where they left off?
- How much filler has been used?


This is a project we picked up in the USA. The 'before and after' is pretty stark, but it was a really fun project!
Filler and paint
Speaking of filler, this is another thing to look out for when buying a project vehicle, even one that’s been recently painted. Filler can be a quick and simple way to touch up tiny imperfections in the body work, but it can also be used as a replacement for proper work and attention to detail.
A lot of filler is never good news, so it’s always worth looking out for.

Alex had to deal with a whole lot of expanding foam on one of his recent projects!
It’s also sometimes the case that fresh paint covers a multitude of other sins on a vehicle, so just because it’s just been painted, doesn’t mean you don’t need to inspect it just as closely.
Wiring
There are few things in a restoration more disheartening then trying to trace an electrical fault through ‘rats nest’ wiring. The wiring on a classic ‘dub is pretty simple, or at least starts off that way! Years of use and often numerous owners has left many VWs with a real mess of ‘quick fixes’ to the wiring, which can be a real pain to correct.
When we were working on our project bus we removed a dozen or so meters of wiring that went from nowhere in particular to nowhere at all. It was just shoved in there, and didn’t seem to be serving any purpose at all!
It’s well worth taking a look at the state of the wiring before you commit to a project, as a reluctance to tackle the wiring in a ‘sensible’ way can sometimes be an indicator that corners have been cut elsewhere, too!
Bodges
Speaking of cutting corners, we should mention the world of bodges and quick fixes!
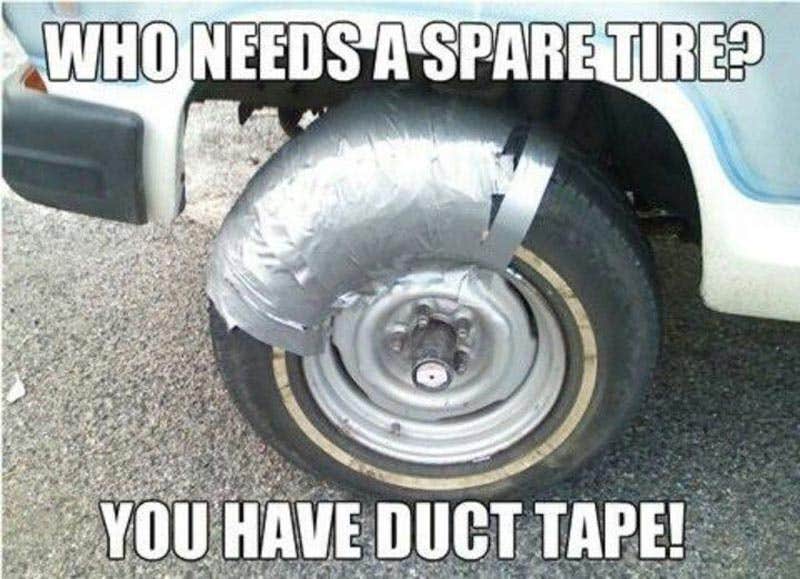
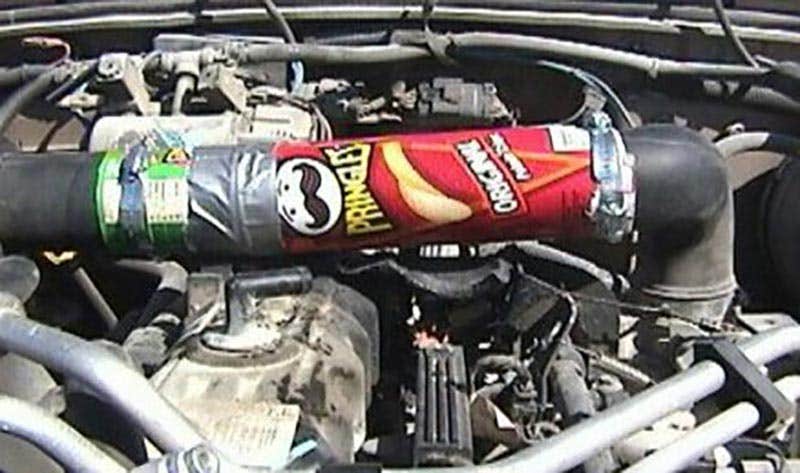
Okay so these aren't actually ours, but we've seen worse!
In our decades of combined experience, the JK Team have seen some absolutely incredible bodges over the years. The relatively simple nature of classic VWs makes them suitable for all sorts of impromptu and creative repairs. We’ve all heard of using an old pair of tights to replace a snapped fan belt, but we’ve found that cable ties, duct tape, newspaper and filler seem to be repeat offenders!
Overall, we love nothing more than getting stuck into a good restoration project (except maybe finishing one!).
Hopefully this info has been enlightening, rather than intimidating.
We love seeing photos of your projects, too, so send them in to us via our Facebook page and let us know how you’re getting on!