Are you feeling the cold in your campervan a little too much? This blog (and the video it’s based on) will give you a helping hand you may need to insulate your camper!
Insulation can come in different forms, each offering different properties from purely thermal to both thermal and acoustic insulation.
In our recent camper conversion project, we decided to use both; getting the best properties from both, so we can have the best insulation possible!
Intalling the Dynamat insulation
The first thing we did was remove all the interior panels and tuck them out of the way, so we could install the first layer of insulation. You may notice that we'd already fitted Dynamat to the T6, which we wanted to do so that we could reduce the road noise ahead of the basic model van being turned into a camper.
We first added the Dynaliner; and why you might ask? The first point is that it’s self-adhesive, so you’re able to stick it to any flat surface without having to use anything else to do this. We wanted to try out products which would make the conversion project as easy as possible, so this seemed like an excellent choice.
The second reason we picked Dynaliner is that it has acoustic insulation properties alongside thermal insulation. Why not double up on insulation which’ll help keep the warmth in and the cold out – the T6 camper we build is going to be used for camping trips with a young family, so we want to keep everyone as comfy as possible.
You can start wherever you want but we’re starting at the door as it’s a nice and easy place to get stuck into. With the Dynaliner, it’s thin enough to be cut to any size you need easily with a blade or pair of scissors.
The back has a white film over the top which when removed, reveals the sticky adhesive surface. Just stick this side to the surface you’re insulating and repeat this around the van.
If you think you can save time by not cutting the Dynaliner to the right size and just squeezing it all in, we advise against this. You could have a problem with the insulation down the line and instead of having to replace the whole thing, you can just peel that smaller damaged part off and replace it!
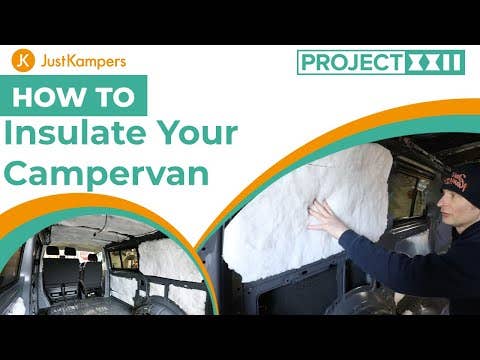
Fitting the recycled insulation
Now the Dynaliner is all fitted and looking great, it’s now time to fit the second type of insulation. This stuff looks more like what you might see in a house, and it’s made from a wool-like material which is made from recycled bottles, so you know you’ll be doing your bit to reduce waste by using it.
This insulation can also be cut to size easily, but unfortunately, isn’t self-adhesive. In certain areas, you can secure the insulation to the body using cable ties. Just punch a hole through the insulation and feed a cable tie through. If you don’t have somewhere you can fix a cable tie to, the other solution is to use Trim Fix which is a heat-resistant spray adhesive.
This stuff is really easy to use, but in a confined space like the back of a van, is bad for your health if inhaled. Whilst using the Trim Fix or any spray applicator for that matter, please wear a mask for your health and safety.
Any small areas can be filled by the wool insulation but please make sure there aren’t going to be any wires running through that space. This can be a fire hazard and should be avoided.
We don't sell this recycled bottle insulation, but it's widely available at numerous different hardware and home improvement stores around the UK.
Hit the road and enjoy!
Now you’ve fitted your insulation, replace the interior lining panels and head out for a drive! Just take a listen, it’ll be like a different vehicle and it’ll retain that heat for so much longer.
Here's what we used:


About our latest camper conversion project
The video guide we produced to help you instal insulation into your camper was filmed while we were working on Project 22, which saw us transform an entry-level VW T6.1 into a dream campervan.
We spent less than £10,000 to totally kit out the Transporter, including the bed, kitchen units, new wheels, swivel seats etc.
Click here to see how you can build your own dream campervan conversion for under £10,000!
Want to see more of the How-To videos we shot while working on this project? There's a few of them below, and you can see the whole playlist here.