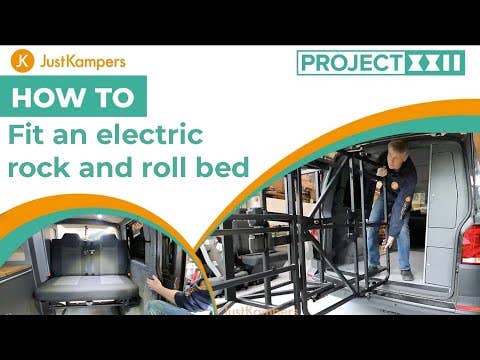
We don’t want to just sell you fantastic products and then leave you in the dark, so here’s our step-by-step guide on how to fit the Eazy Designs Rock and Roll bed to your camper!
New to our ever-expanding range of parts and accessories, the Eazy Bed is a simple, sturdy and comfortable rock and roll bed, ideal for the VW T5 and T5.1, as well as the VW T6 and T6.1. Fully M1 crash tested and pull tested, the Eazy Bed is a safe and secure seat during the day, which folds out into a comfy bed at night, with the help of an electronic system which makes the transformation super easy.
How to fit the Eazy Rock'n'Roll Bed:
Before you start
Before you actually start to fit the Eazy Designs bed to your camper, please make sure you have all of the bits you need including, tools and components to make your life easier. You don’t want to get halfway through, only to find out you’re missing parts or don’t have the correct tools to execute the job properly.
Please also make sure you have other people to help as the bed frame does weigh a fair amount and will definitely be at least a two-person job to lift it into the van.
We do offer some optional extras for the Eazy Rock and Roll bed but are not a necessity. The beds are already M1 crash tested and pull tested, so you're in safe hands, but if you’re looking for that added strength, we have the Eazy Bed Strengthening Bar which bolts directly to the chassis for even more rigidity and safety.
Do you need Isofix for the little ones to ride along safely? The Eazy Rock and Roll bed has the option for Isofix, too!
Step 1 – Checking and placing the Eazy Rock & Roll bed
Before you start drilling or lifting the frame into your van, please make sure that the bed is fully operational. You'll also need to have the frame in its collapsed lowered state to be able to actually fit it in the vehicle. To collapse the frame, there is a release mechanism at the front which you will simply need to pull up, unlocking the frame and allowing it to be electronically lowered.
Once this has been done, you can then (with the help of a strong friend) lift and place the frame into your vehicle. A quick tip would be to actually put the cushions onto the bed so you can see the true size and make sure there is sufficient room around the bed to allow it to move freely without getting caught and potentially damaging itself or something else close by.
You might also need to loosen off and move the seatbelt harness points to a lower position making it easier to get the bed in.

Step 2 – Get ready for some drilling
Put the bed back into its upright seated position to again, make sure no sides are touching any other part of the vehicle and there's enough space for it to freely move up and down. There are some black bolt covers which aren’t necessary for the Rock and Roll bed, so if they’re causing a problem for space, you can take these off, it won’t be a problem and is still 100% safe.
Drilling will commence after this step so hold your horses. If you have the facilities, you’ll find this far easier if you can lift your vehicle, but if not, please make sure you have axel stands that can bare the weight of your vehicle.
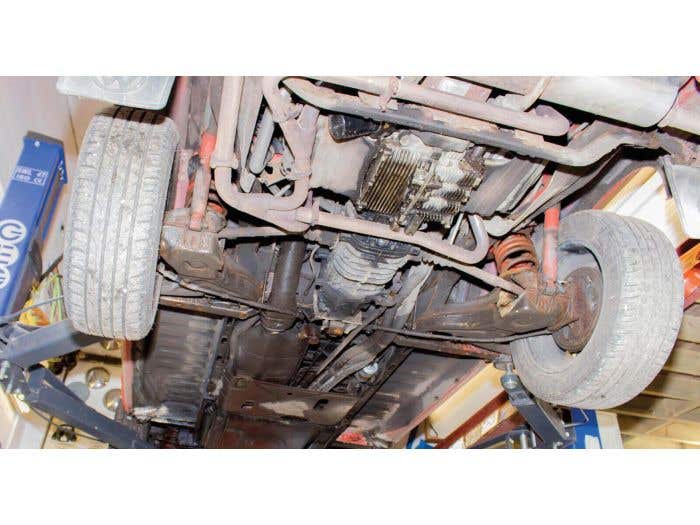
You first need to remove some bits from underneath the vehicle which includes the spare wheel, the plastic undertray which houses the spare wheel and also any more plastic undertrays that are in the same area, all of which are held on by 8 mm and 10 mm headed bolts alongside some quick-release washers.
You'll also need to remove the exhaust heat shield all of which will leave you the space to be able to secure the bed to the vehicle floor.


Step 3 – Time to start drilling some holes!
The drilling can commence! As the bed is now in place, you can start the process of bolting the bed to the actual vehicle. For this, you'll need a 12 mm drill bit which is the size of the bolts that will go through the bed frame and vehicle floor.
Firstly, use some masking tape to mark out with masking tape where the bed frame, is so if it moves for whatever reason, you know where it belongs.
Secondly, use a short 12mm drill bit to drill through the vinyl and the below plywood, making sure you don’t quite get to the metal yet. There should be six holes to drill, two on each leg base.
If your drill and drill bit won’t fit underneath the bed frame, slide a piece of masking tape under each hole and mark the tape with a pen so you know where to drill once you move the bed out of the way.
You have now drilled out the holes through the vinyl and plywood and have used tape to mark where the bed will be going. You now need to slightly drill into the metal leaving you with a guide to drill with some smaller drill bits.
The easiest way to drill through the metal is to work your way up from small to larger drill bits until you reach the desired size. We’d say start with a 5 mm bit and work your way up to the 12.5 mm finally required. Do this through all of the holes and at the end, you should have six 12.5 mm holes, ready for the bolts to be posted through and ready for the next step.

Step 4 – Bolt up in the back
Now you've six drilled holes, you need to put the bolts through each of the holes, not forgetting the washers for each. Now you need to get underneath the vehicle again and this is to put the fixing plates on the two front and the two rear bolts.
You can hand tighten these for now, so nothing falls or gets lost. The middle two should be left if you choose to fit the strengthening bar and this process will be explained next. If you don’t choose to have one of these, you can skip Step 5 as it won’t be relevant to you.

Step 5 – The optional strengthening bar
If you decided to go for the Eazy Bed Strengthening Bar, you'll need to follow a few extra steps which involve a little more drilling to be able to fit it.
The first step is to mark out where you'll be drilling the holes to fit the bar to the chassis. The middle two bolts that don’t have the fixing plates will need to be screwed into the strengthening bar so you will want to mark out a spot on your chassis where it can bolt in, along with bolting in the two screws from the bed.
You can use a pencil to mark out the hole positions on the chassis and once that’s done, go ahead and drill the holes! Like the last drilling occasion, we recommend going up small to large from a n 8 mm drill bit, up to the 9 mm drill bit that you need for bolting the bar to the chassis. Do this for one side at a time, bolting first, then marking the other side and doing the same again.
With the Strengthening Bar now bolted in place, you now want to bolt the bed frame to the bar. “How do I know where the holes are for me to drill?” you might ask. A little cheat we use is really simple and easy. Pop some masking tape on the length of the strengthening bar and just put a little bit of paint on the bottom of the bolt that goes through the vehicle floor. Push the bolt through the hole and let it touch the masking tape that is already on the bar. This will leave the paint on the masking tape in the correct position where you need to drill. And drill! As before, start small and work your way up to the requires 12.5 mm drill bit.
Now it’s time to fit the bar to the chassis and then the bolts from the bed onto the bar, for maximum strength and security.

Step 6 – The optional Isofix kit
You can also choose if you want to follow this step because like the Strengthening bar, the Isofix points are optional, and you don’t have to have them if you don’t need them.
This doesn’t really require much so this step can be very brief. The Isofix points literally just screw into the frame of the Eazy Rock and Roll bed and there are pre drilled holes so you wont have to worry about any more drilling either. Simply line up the holes and bolt them in! make sure they’re tight so there’s no rattle and they are firmly in for the safety of the occupants.

This is one of a series of videos we created while we were working on Project 22, our campervan conversion and latest JK project. We transformed an entry-level VW T6.1 from plain old panel van into a super cool camper, and did it all for less than £10,000!
Click here to find out more about Project 22, and how you can achieve the exact same thing with parts, accessories and guides from Just Kampers.
Take a look at the Eazy Bed range, as well as the optional Strengthening Bar and Isofix mounts, here: