
You are speeding down a hill, your bus is running like a dream when suddenly somebody pulls out in front of you. This is not the best time to check the efficiency of your brakes!
I often hear the famous saying, If it’s not broke don't fix it'. An understandable attitude if it’s not a safety issue, but one that should not be applied to steering, suspension and brakes. See our essential checklist below and check the condition of your vehicle, just like ourselves our Campers are not getting any younger.
Brake Fluid.
Most of us are aware that we need to change the engine oil on a regular basis, to keep the engine functioning properly. But when did you last change the brake fluid on your Camper? Brake fluid is hygroscopic, to the layman this means it attracts water.
Water has the ability to enter the system from various locations including the reservoir. We are talking about tiny amounts of water. If you have a 3.50/o water build-up, it can dramatically affect the braking performance and reduce the boiling point of the fluid. Once the brake fluid is able to boil the solvent becomes vapour, which is compressible. You now have nearly useless brakes; this is not a funny thing to happen.
Just Kampers recommend that you overhaul the brakes and replace the fluid J10646, then ensure that the fluid is changed every 2 years.
Brakes Checklist 1968 To 1992
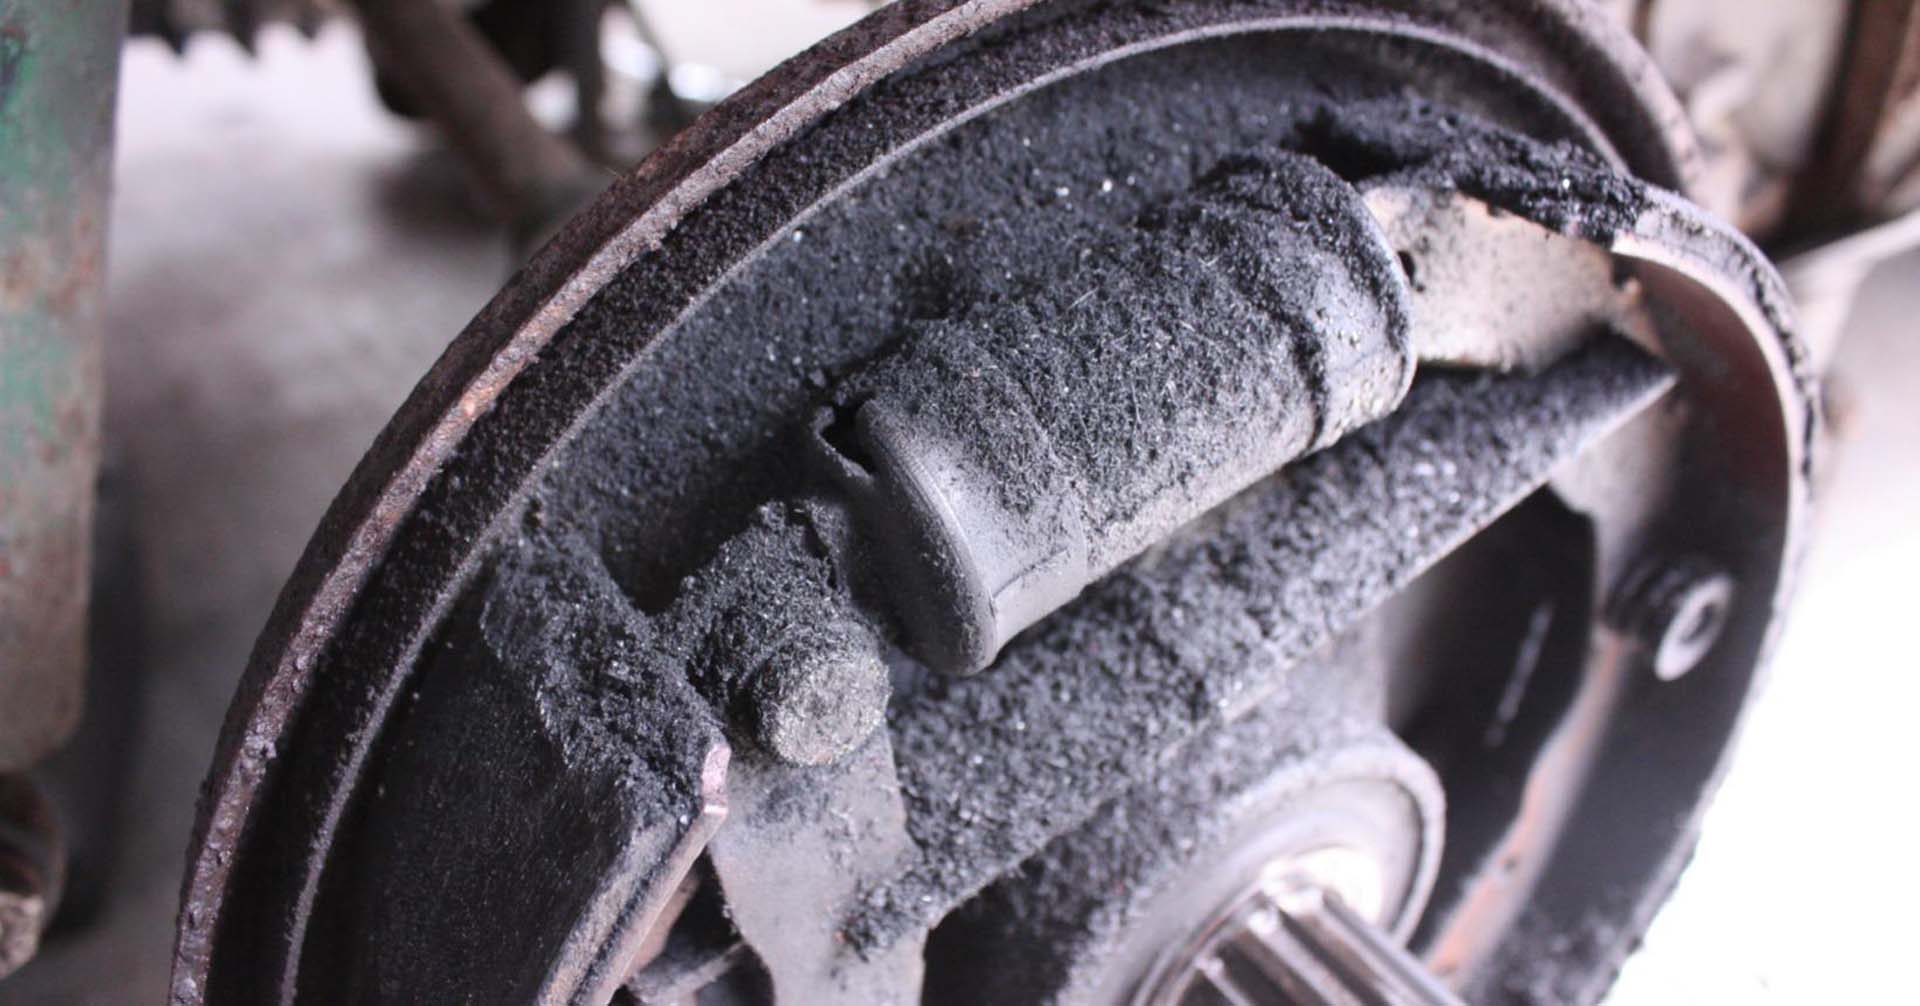
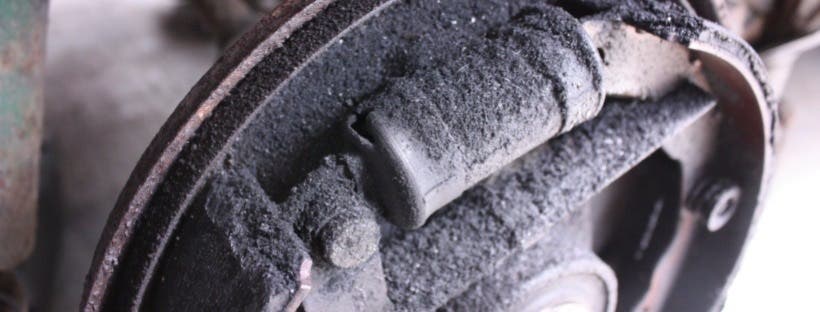
On drum brakes, front and rear up to 1971 and rear only 1971 onwards remove the brake drums and look for the following. Gently lift back the boots on the wheel cylinders and check that· there is no weeping of brake fluid. If there is you should replace the wheel cylinders (both sides on the rear or all 4 on the front). If you only replace one cylinder you are likely to have a brake imbalance.
Check the inside of the drums for ·excessive wear and grooves. Make sure that all the adjusting stars and nuts are free, clean and lubricated well with copper slip.
The brake shoes should be worn evenly and free from contamination from brake fluid etc.

You should not have an excessive difference in the thickness of the brake lining material. If you have you should replace the set of 4 shoes and ensure that they are correctly adjusted after fitment to prevent it from happening again.
The hand brake linkage in the rear drums is often worn or incorrectly fitted. Ensure that this is working before reassembling the rear drums. The hand brake should come out no more than 5 clicks before braking starts.
Front Disc Brakes.
Check that the discs are not excessively worn or scored. Min thickness 11.5mm 1971-72. Min thickness 11.5mm 1973-79 Min thickness 11.5mm 1980-85 Min thickness 13mm·1986-92.
Check the pads for wear. If you find one pad is worn less than the others you are likely to have a lazy or stuck piston on the calliper. Gently lift back the callipers dust jackets to ensure that there is no weeping of brake fluid.
You can either rebuild the calliper or replace the unit. Be aware of imbalance in the brakes if you replace or repair only one calliper!
Brake Lines / Flexi Hoses
Brake lines and flexible hoses. Check that the metal lines are not showing signs of excessive rust and corrosion. Replace any lines that are bad with copper brake lines. Look for cracking and damage on the flexi hoses, again replace any suspect hoses in pairs.

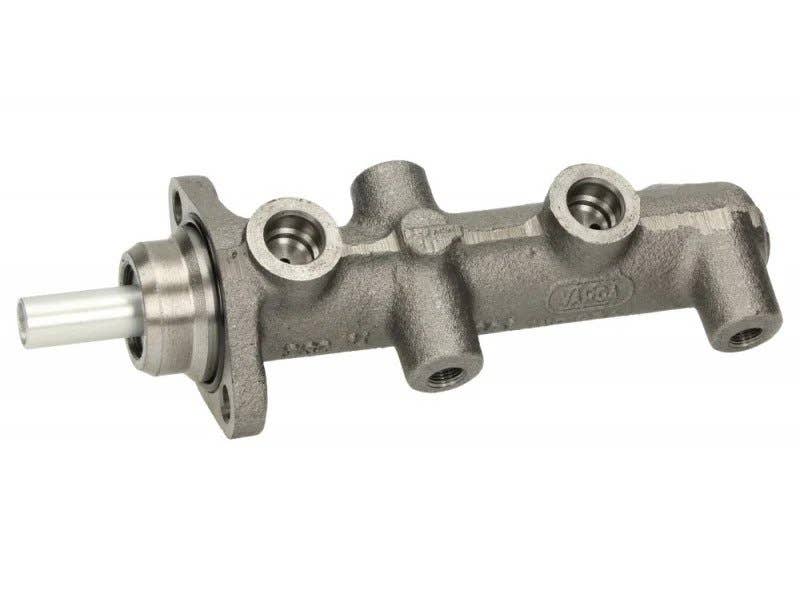
Master Cylinders
There are not often obvious signs of leaking on the master cylinder. (Located under the floor on the driver’s side of pre-1979 models and tucked above the pedal cluster on 1980 onwards models) Often the seals perish inside and as you brake the fluid can pass between the front and rear circuit, causing spongy brakes. The best remedy for this is replacement.