Meet the author-step up JK staffer Ian Brown...
"I’ve been into VW’s ever since I was a child. I guess the Herbie films were to blame for setting me on this path as they combined my two great loves…Beetles and Racing.
A part time job after school meant I’d already bought a 1974 1200cc Beetle, a year before I could even legally drive. Since then I’ve owned a Splitscreen Bus, 2 Bay Windows, 1 Beach Buggy and 4 Beetles including a 1303 Cabrio, 1968 steel sunroof semi-automatic and a nitrous 2007cc Beetle which ran mid 13 second ¼ miles.
To fund this habit I worked in the graphic design and advertising industry for 17 years before joining Just Kampers in 2003 and 16 years later I’m still here, surrounded by all the goodies I need to rebuild my most recent project. A 1970 Beetle that I’ve raced on some of the finest race tracks in Europe.
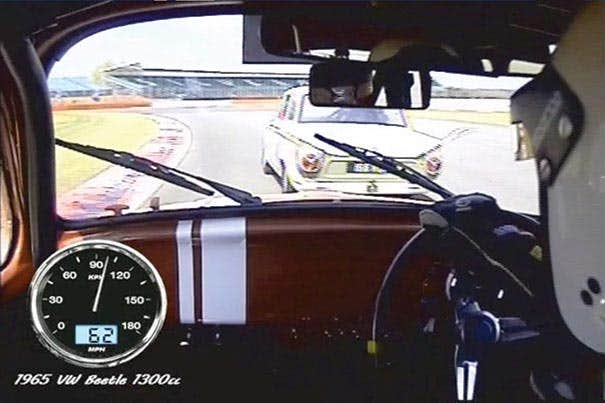
Little did I know, when I sat watching Herbie films all those years ago, that 40 years later I’d be the one trying to manhandle a mischievous Beetle around a race track…A Beetle which just once in a while - would have a mind of its own!"
Historic Touring Car rebuild (Part 1)
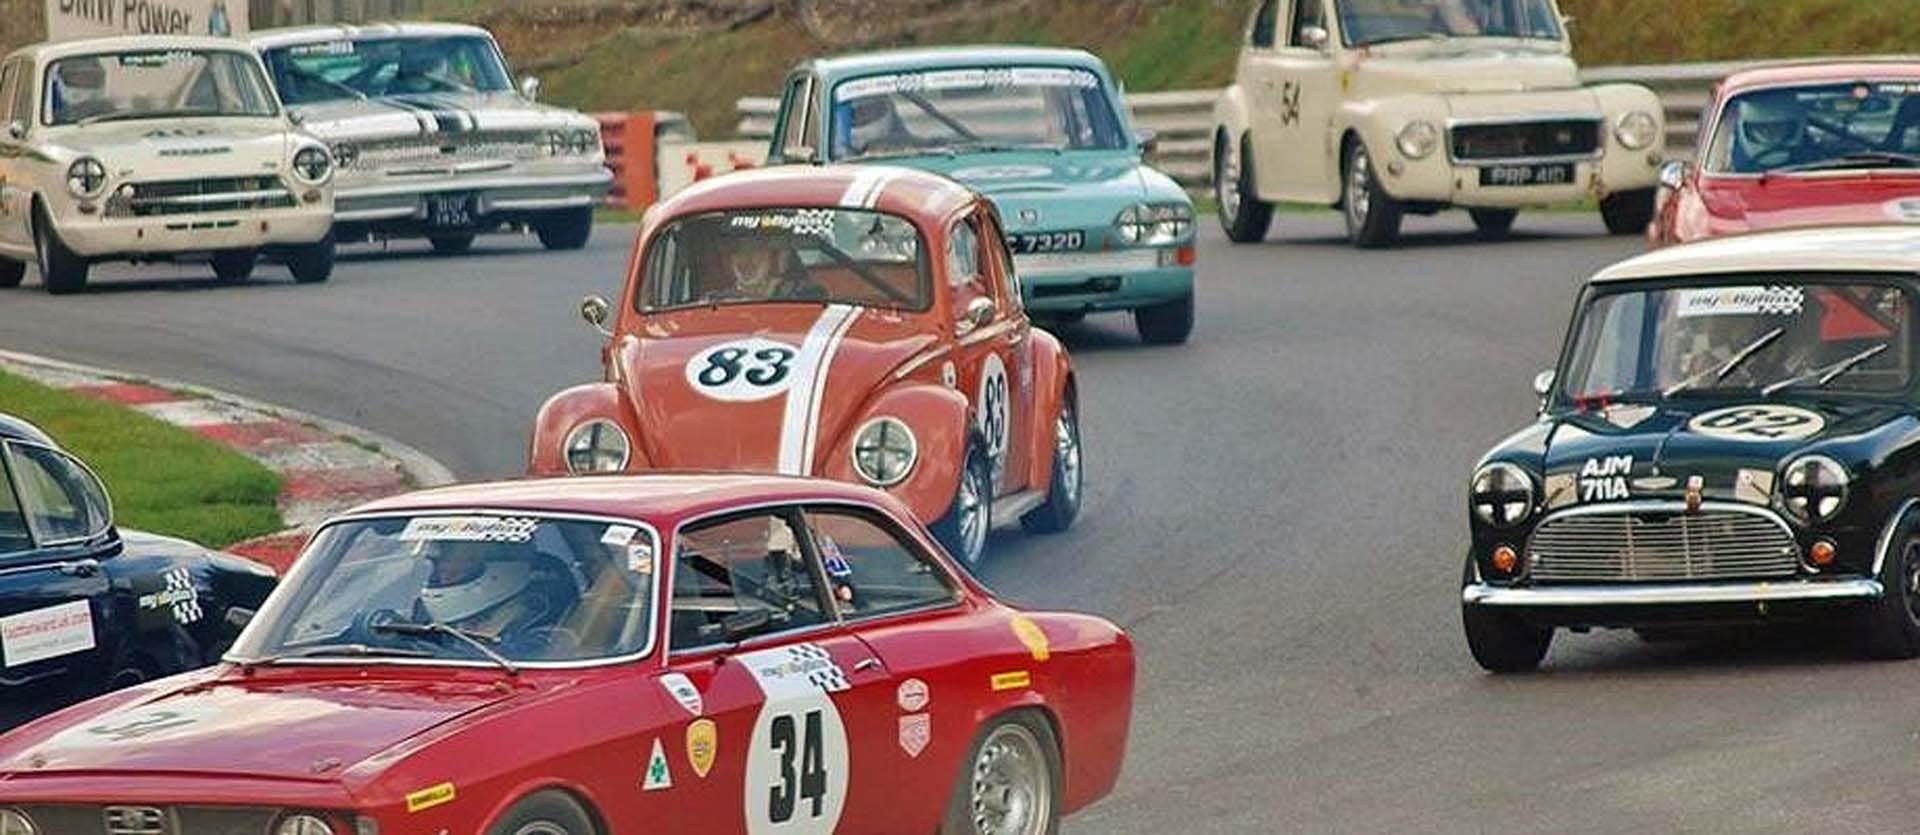
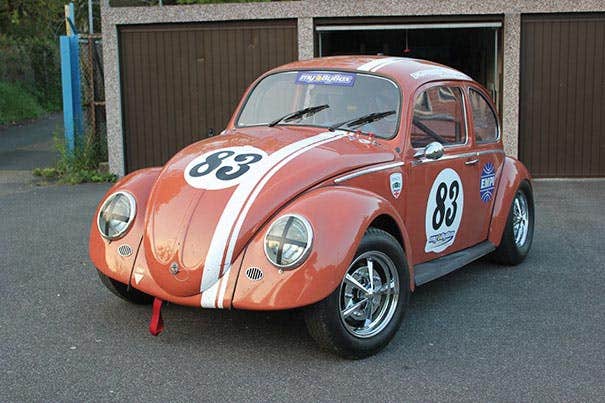
The car is a 1970 Beetle rebuilt to 1965 appearance to be eligible to compete in pre-1966 Historic Touring Car racing and despite being limited to 1300cc it’s proved pretty quick with a number of class wins to its name. Originally rebuilt as a race car back in 2008 it was time to freshen it up and make some improvements along the way.
My main competition in the 1151-1300cc class comes from a group of Mini Coopers which have the same power as me (126bhp) but being smaller, have an 80kg weight advantage, so top priority was to shed some weight in order to be more competitive.
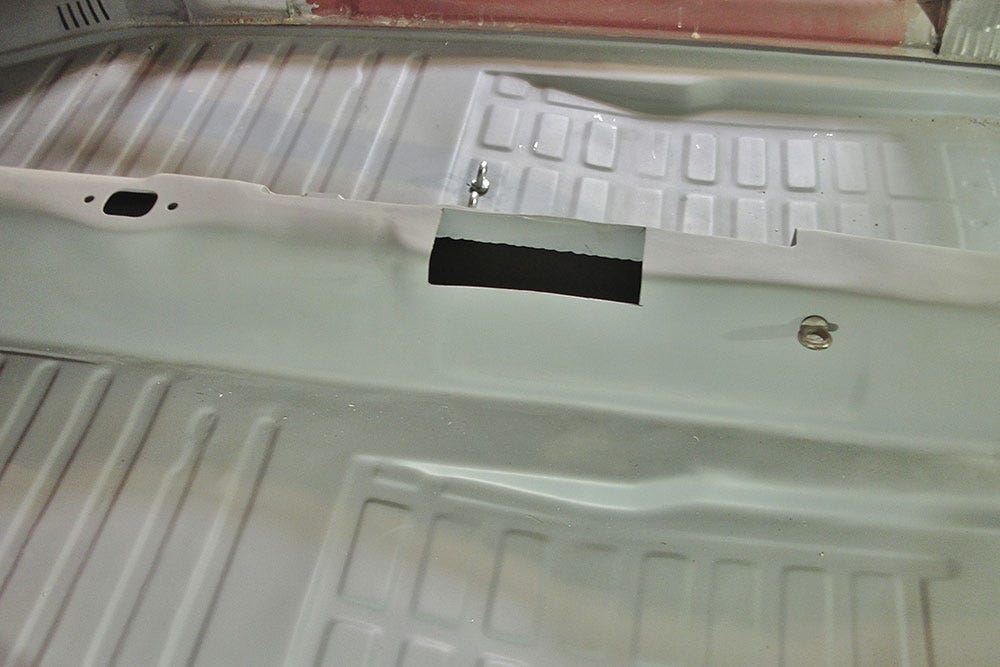
80kg is hard to find on a car which is already stripped bare meaning I’ve had to get quite imaginative, so on the floor pan I’ve cut out the handbrake (don’t need that!) and the resulting hole will store the fuse box, topped by an aluminium box containing all the cars electrical switches. Having a bulk of the electrics by the driver’s seat instead of behind the dashboard will save a lot of wiring, I’ll be saving over 2kg just on wiring alone compared to the cars original wiring loom. Next, all the steel heater cable and handbrake cable conduits were removed from inside the central tunnel which added up to 3kg.
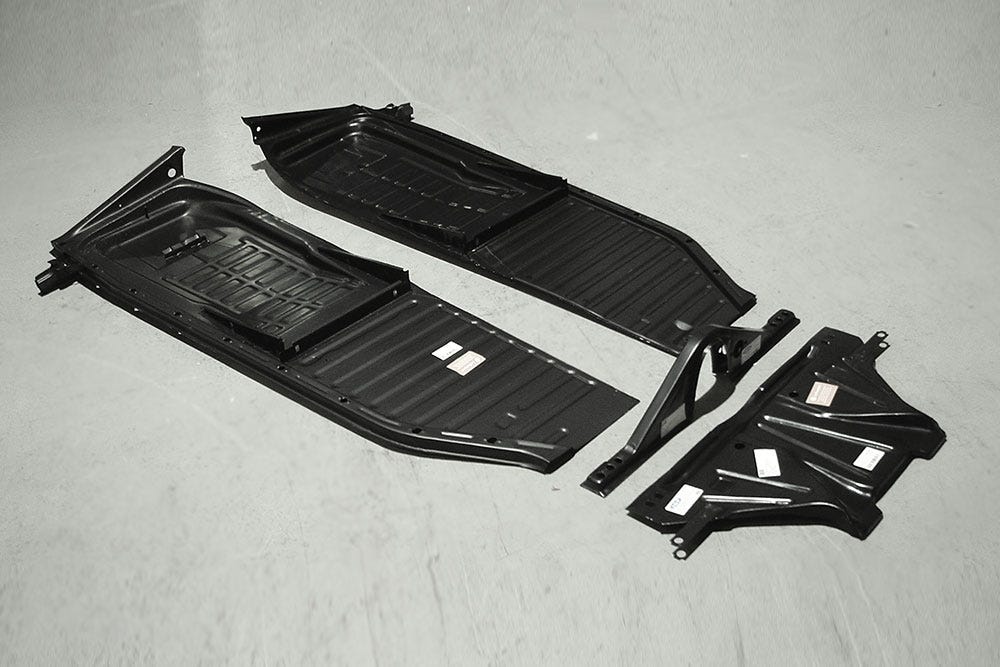
The floor pan halves were tired, so these were both replaced. I chose the alternative quality J14626 and J14627 which save another 2kg over JK’s top quality versions J21050 and J21049 (If it was my daily driver I would have opted for the higher quality, heavier gauge pans). Once welded in I lightened the floor further by removing the seat brackets and jacking points.
The central tunnel has been cut on the right-hand side allowing clearance for the driver’s seat to be mounted nearer the centre of the car. This helps with weight distribution, but the main reason is safety as the probability of being T-boned by another car is high and the American Muscle Cars we race against reach 140mph and are up to three times the weight of the Beetle, so I want to be as far away from that driver’s door as possible, especially as the doors are now going to be fibreglass. Another benefit of moving the seat (and steering column) inboard is that the seat, pedals and steering wheel now line up perfectly which makes for a more comfortable driving position.
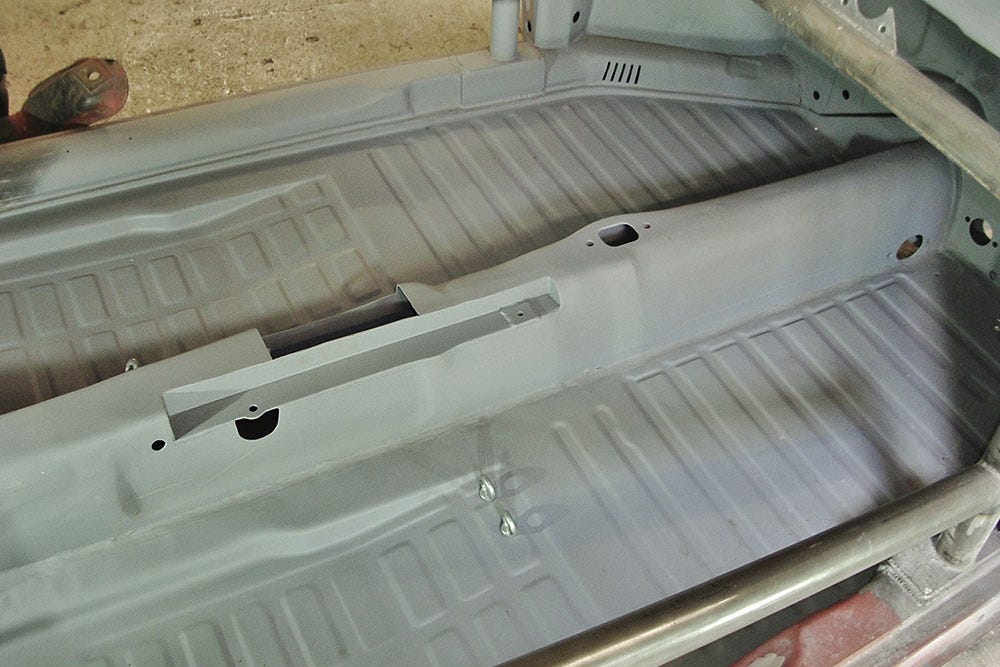
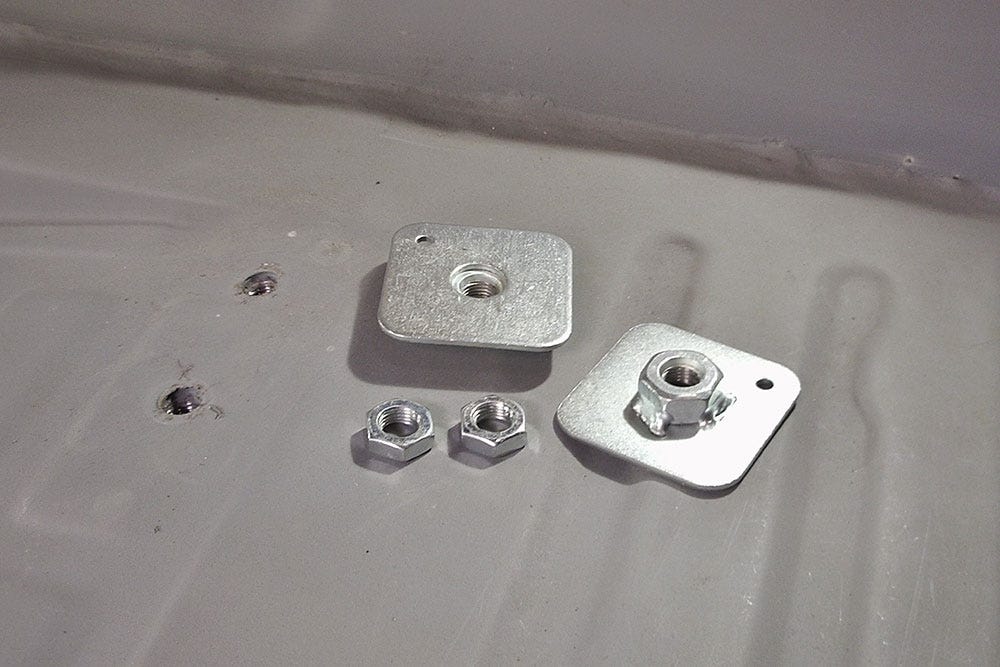
New seatbelt mountings were required for the six point harnesses as two straps go between the drivers legs and mount to the floor directly under the seat. For this I drilled two holes then welded a pair of seatbelt mounting plates J11582 under the floor.
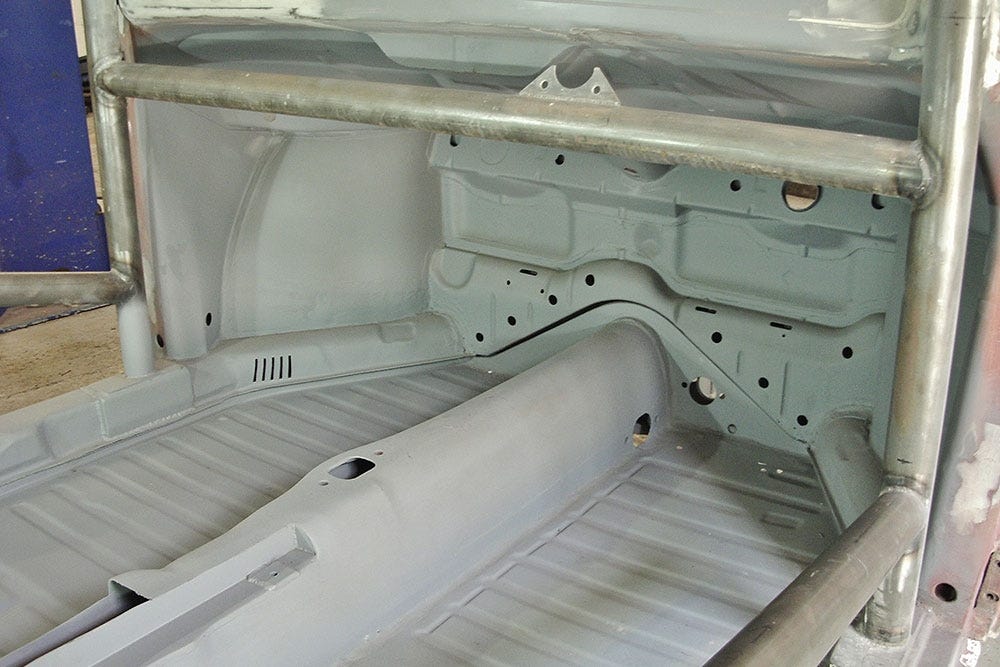
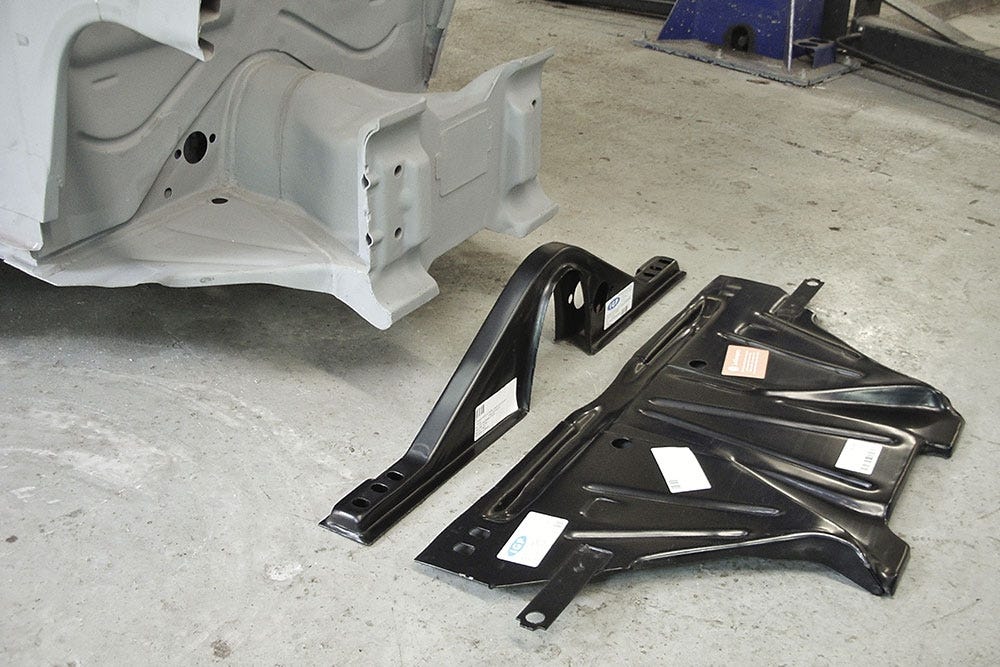
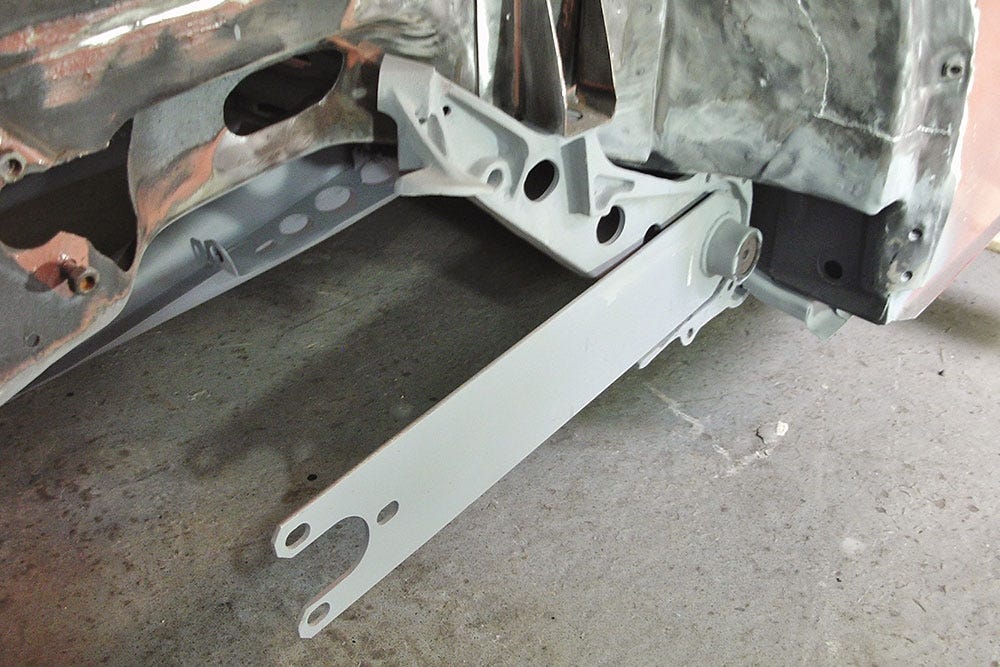
Next, the frame head was solid but the base plate and napoleons hat were beginning to rust, so these were replaced with new items J14776 and J18776. The napoleon hat is only available as left hand drive so I had a choice of drilling a new brake master cylinder hole and welding up the old one or turning the napoleon hat round 180 degrees then cutting the ends off and flipping them over. I went for the latter option.
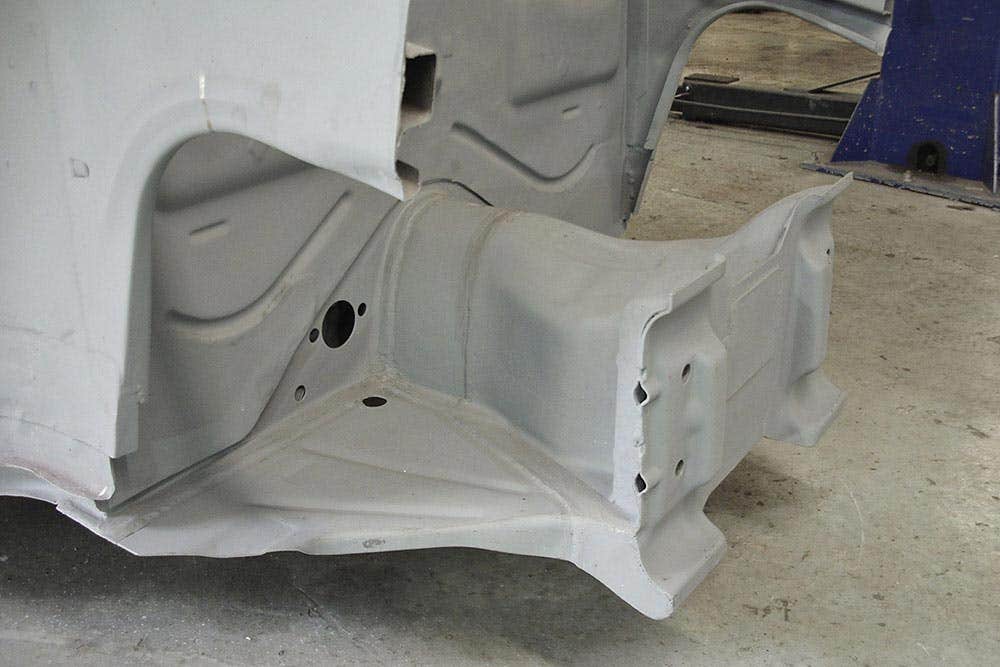
On the base plate I cut off the standard brake pipe mounting brackets as I’ll be using alternative fixings for the braided brake hoses and once all the welding was complete the welds and joins were sealed with seam sealer J11330 using a caulking gun J18186 to stop any future rust issues.

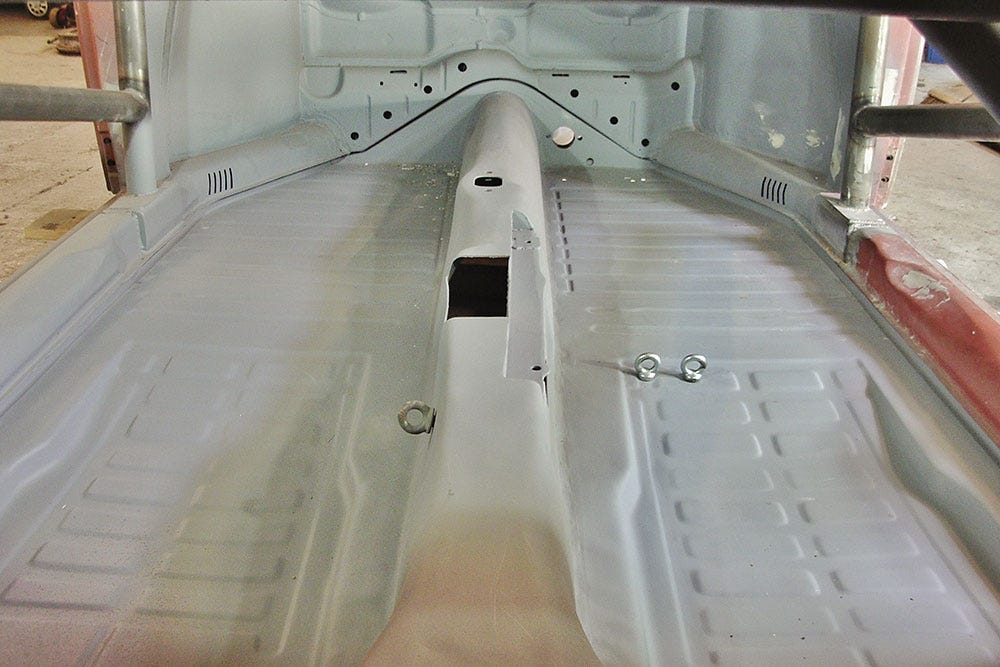
At the rear of the floor pan the holes where the heater/handbrake cable conduits exited were welded up and then I added some new holes of my own to try and shed some additional weight off the rear. Finally, the whole surface was sprayed in etch primer, so now the finished floor pan is ready for paint.
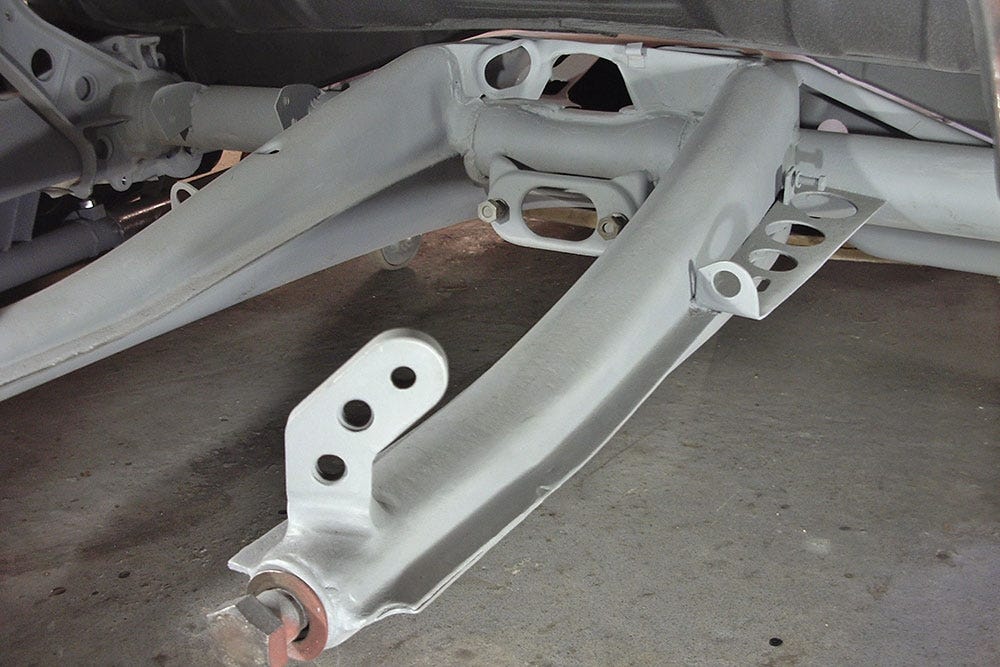
That’s it for now, but in Part 2 I’ll be sticking with the floor plan theme by getting to grips with the front suspension.